Render a House
Free Asphalt Texture Seamless
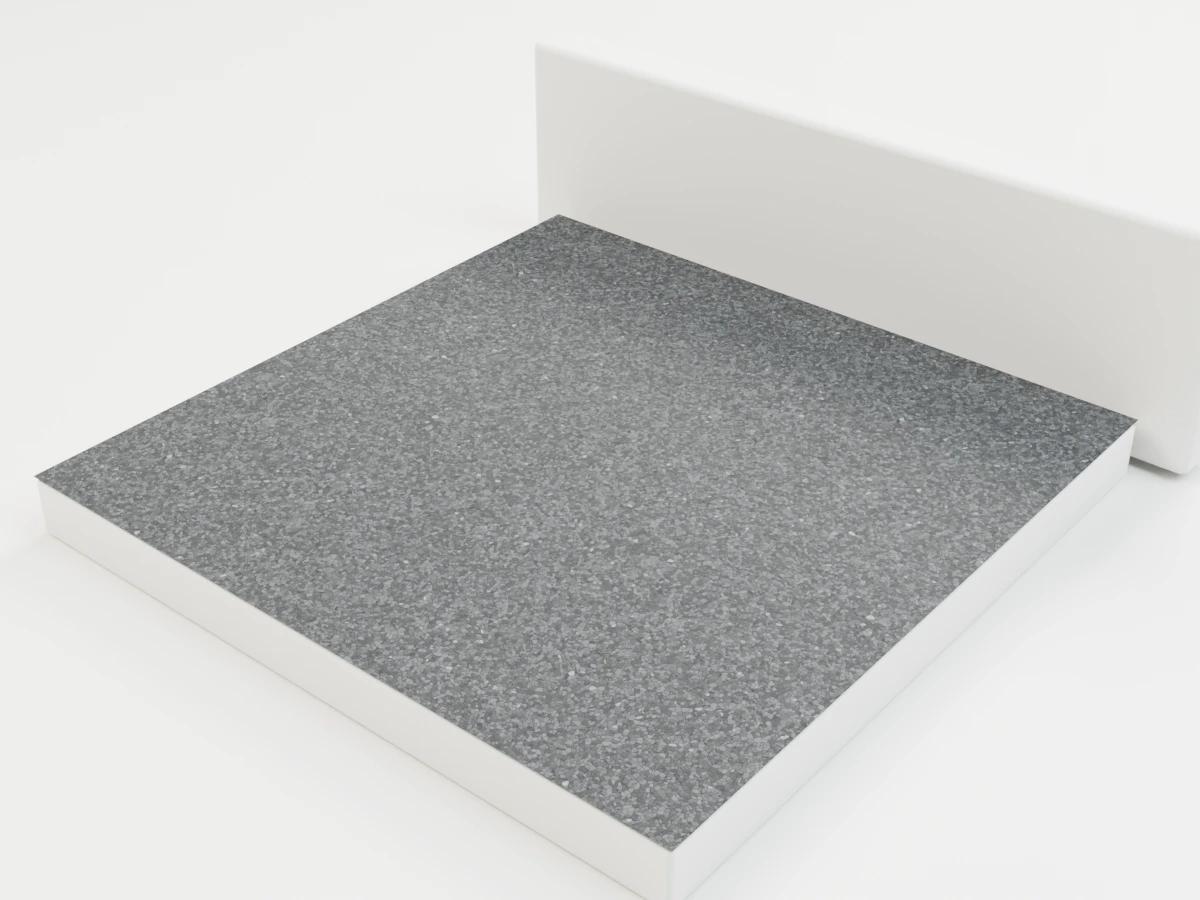
Download this free seamless asphalt texture for architectural visualization. One complete tile covers 0.8 × 0.8 meters. Each set includes 2K color, OpenGL normal and roughness maps, a ZIP, and a tiled preview. Free commercial use, no attribution and no signup.
Free texture downloads
Download asphalt PBR ZIP — 7.13 MB (maps, scale README and license).
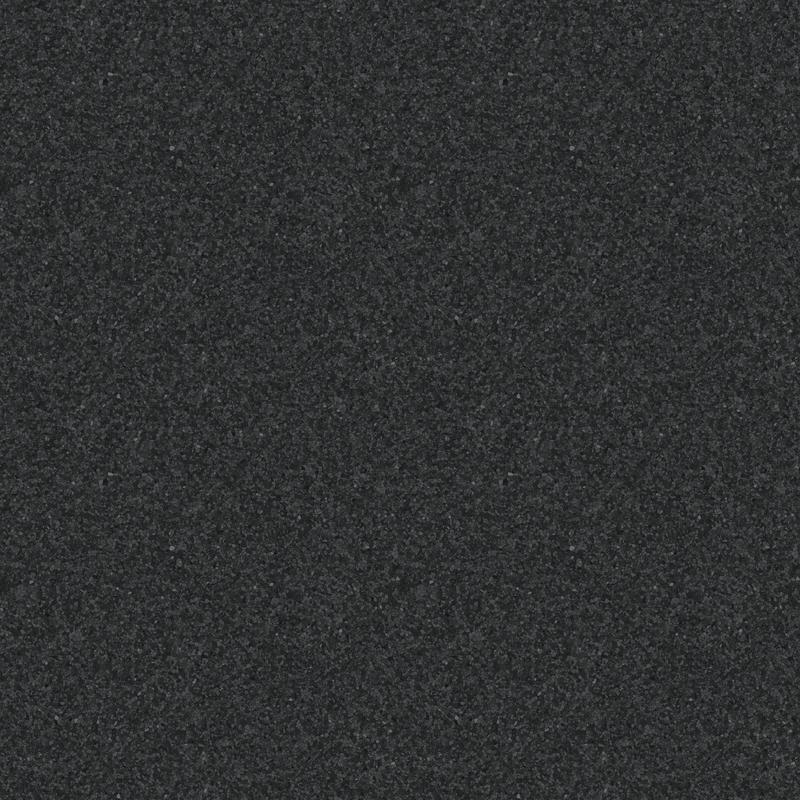
PBR maps and formats
| Map | Resolution / format | Color space | Size / download |
|---|---|---|---|
| color | 2048 × 2048 / JPG | sRGB | 1.08 MB (1,079,524 bytes) |
| normal | 2048 × 2048 / PNG | Non-Color | 5.71 MB (5,713,493 bytes) |
| roughness | 2048 × 2048 / JPG | Non-Color | 336.9 KB (336,929 bytes) |
Color uses sRGB; normal, roughness and height use Non-Color/linear data. OpenGL normals use +Y: invert green only for a DirectX workflow. PNG avoids normal-map JPEG blocks. Some matte normals use reduced channel precision before lossless compression to meet the download budget. These are original procedural materials, not measured scans.
Shader starting values: metallic=0, transmission=0, IOR=1.5.
Material and design notes
This asphalt texture suits driveways, service yards and quiet road surfaces in architectural site renders. Its fine dark aggregate is intentionally more restrained than coarse gravel. Use it to establish the pavement material first, then add road markings and local wear as separate design layers.
A repeating asphalt field does not include camber, drainage channels or repaired utility cuts. Those features need site geometry or additional masks. Keep the albedo dark without crushing it to pure black, so soft daylight can reveal the grain while parking lines and curbs remain easy to read.
Real-world scale and setup
One full tile is exactly 0.8 × 0.8 m (80 × 80 cm). Set the physical map width and height to 0.8 m. For a surface W meters wide and H meters high, use W / 0.8 repeats in U and H / 0.8 in V. On a 1 m square this is 1 / 0.8 repeats on each axis (approximately 1.25).
- SketchUp: create a material from the color JPG, unlock its aspect ratio only if needed, and enter 0.8 m for both texture dimensions. Apply it to correctly sized faces. Set normal and roughness in your renderer’s material editor; native SketchUp color mapping alone does not use all PBR maps.
- Revit: duplicate an appearance asset; in the image texture editor set the sample size to 0.8 m × 0.8 m. Match that scale in additional supported image channels. Image scale and drafting/model surface-pattern scale are separate settings; do not assume changing one changes the other.
- 3ds Max / V-Ray: use a box or planar UVW Map gizmo with width and length 0.8 m and bitmap tiling 1, or use matching Real-World Map Size on both bitmap and mapping modifier. Do not apply both methods at once. Use VRayNormalMap for the normal and linear roughness, or invert roughness for a reflection-glossiness workflow.
- Blender: apply object scale, unwrap a known W × H meter face, then set UV extents to W/0.8 by H/0.8. Alternatively, on a 1 m square with UVs 0–1, set Mapping X and Y to 1/0.8. Feed the linear normal into a tangent-space Normal Map node. Use roughness as data, not sRGB.
- D5 / Enscape / Lumion / Twinmotion: load color, normal and roughness in a suitable custom material. Set physical repeat width and height to 0.8 m (or 80 cm); where only relative tiling is exposed, calibrate against a known 1 m reference plane using 1/0.8 repeats. These controls and channel support vary by version; do not use the same arbitrary scale-slider number across applications.
Keep all map UV transforms identical. The preview’s 2×2 swatch does not change the map scale. Rotate the whole mapping for directional wood, fabric and brushing, and recheck visible normal direction after any renderer conversion.
Render your architectural design
Build your material study in your modeling tool, then use Render a House to turn a sketch, viewport export or architectural image into a presentation render. Describe the intended finishes in your prompt. Render a House works from images; downloading these maps does not automatically import a PBR material into the service.
Free commercial-use license
Free for commercial use, no attribution required — Render a House. These original procedural textures are supplied with CC0-style license text inside every ZIP. You may use and modify them for personal or commercial projects. No third-party texture images were downloaded. Provided as-is without warranty; visual maps are not construction or product-performance specifications.
Frequently asked questions
Are parking lines and road markings included?
- No. They would create an unwanted repeating traffic layout. Add markings as separate decals, thin geometry or masks positioned to suit the actual site, leaving the underlying asphalt at a consistent scale.
What real-world size does one asphalt tile cover?
- One complete image covers 0.8 × 0.8 meters. Set mapping width and height to 0.8 m; on a 1 m square use 1.25 repeats per axis. The 2×2 swatch shows 1.6 × 1.6 m, not a different-resolution download.
Does the asphalt download include a height map?
- No separate height map is included for this material. Use the supplied normal for surface shading; model actual thickness, silhouette changes and larger construction details independently rather than inventing displacement from the color image.
Can I use these textures in commercial architectural projects?
- Yes. These original procedural textures are free for commercial use, no attribution required — Render a House. No third-party source textures were downloaded; the ZIP includes the license and there is no signup requirement.
Which color spaces and normal convention should I use?
- Load color as sRGB. Load roughness, height and normal as Non-Color or linear data. Normals use tangent-space OpenGL +Y; invert the green channel only if your renderer requires DirectX normals. Roughness is not glossiness: invert it for a glossiness-only slot.
Related textures and 3D models
Browse all 19 free seamless textures.
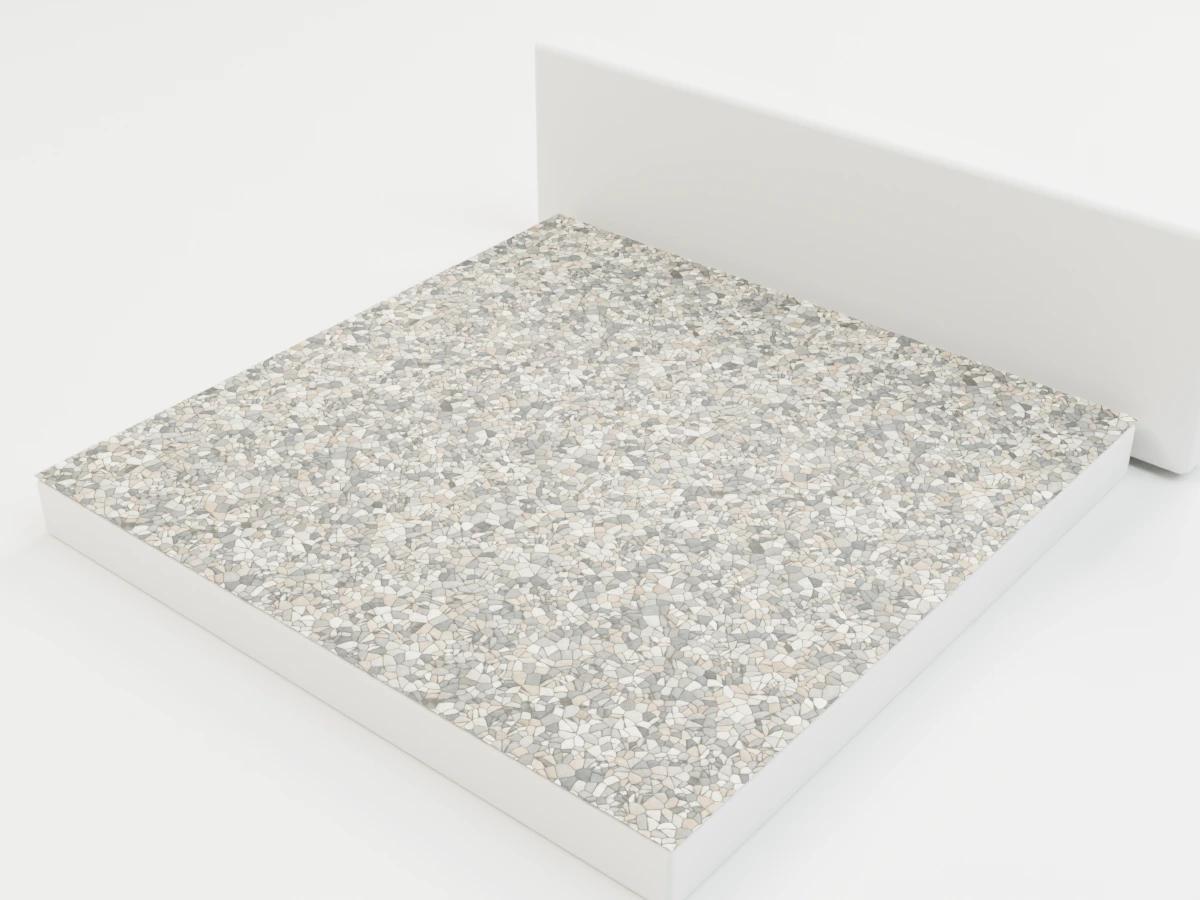
Gravel texture
2K PBR · 0.6 × 0.6 m per tile
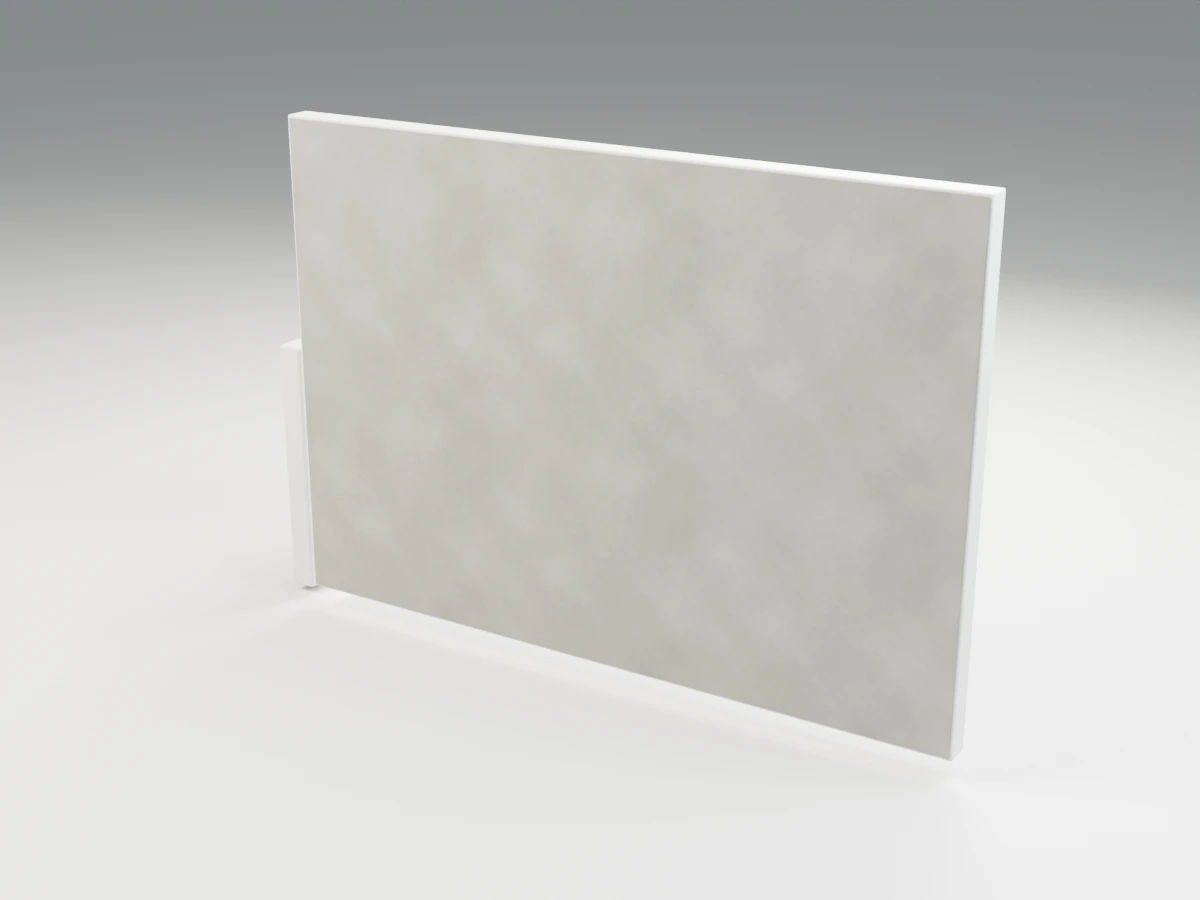
Concrete texture
2K PBR · 1 × 1 m per tile
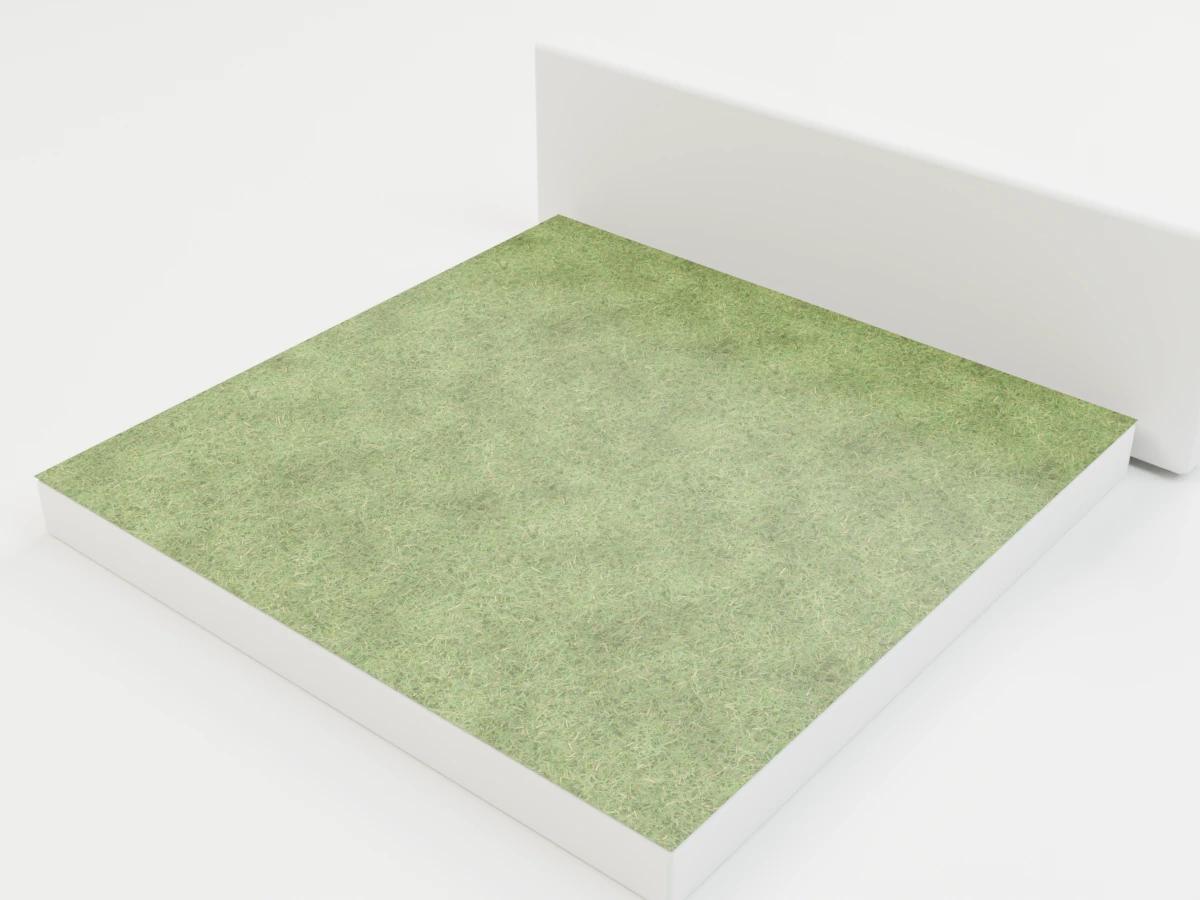
Grass texture
2K PBR · 0.6 × 0.6 m per tile
- Free living room furniture 3D models for material and seating studies.
- Free bathroom 3D models for stone and tile schemes.
- Free outdoor and landscape 3D models for planted and paved spaces.