 Render a House
Free Seamless PBR Textures for Architects
Download 19 free seamless PBR textures for architects, from oak and marble to concrete, grass and brick. Each set includes 2K color, OpenGL normal and roughness maps, a ZIP, and a tiled preview. Free commercial use, no attribution and no signup.
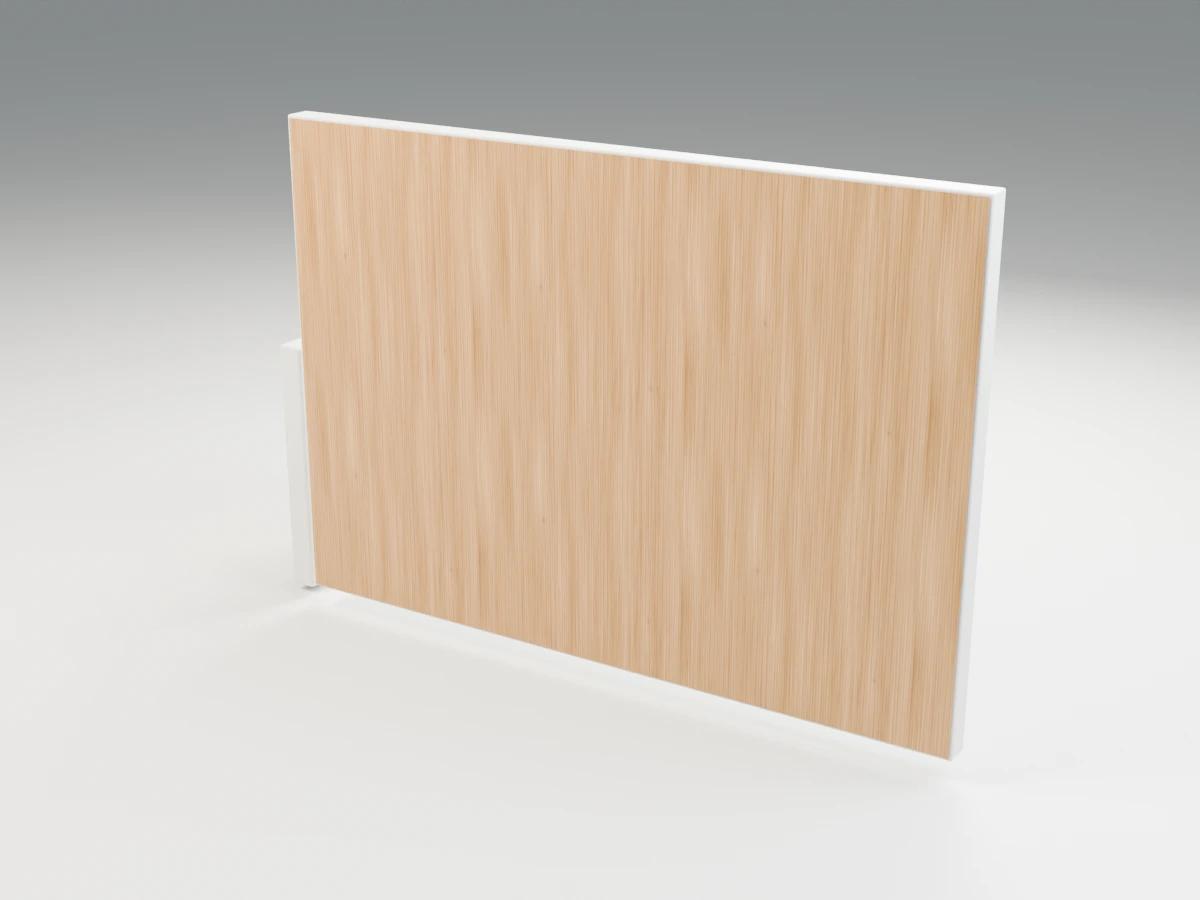
Free texture downloads
Download the library using the 19 ZIP links below. A duplicate all-in-one ZIP is omitted to keep the total public assets below 130 MB while preserving individual map downloads.
Wood texture
2K PBR · 1 × 1 m per tile
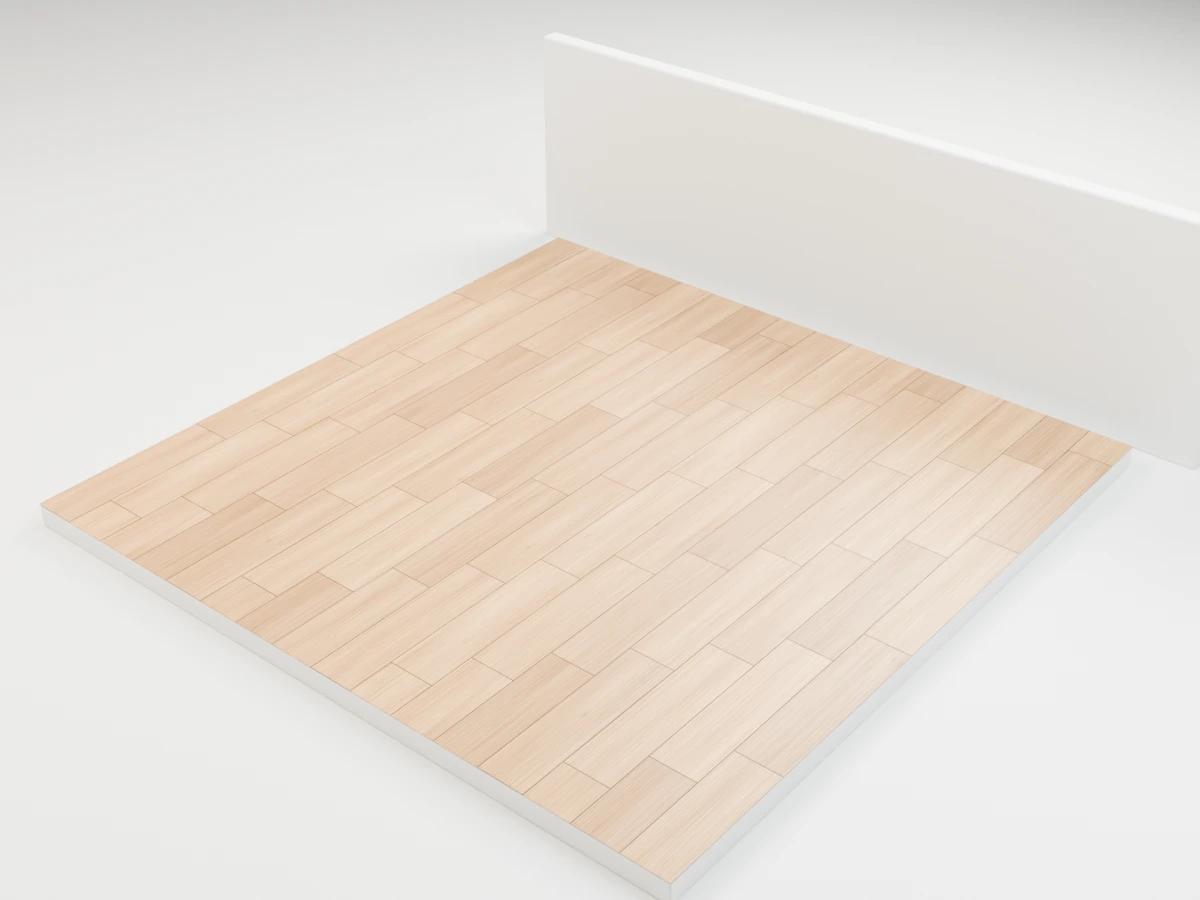
Wood Floor texture
2K PBR · 1.6 × 1.6 m per tile
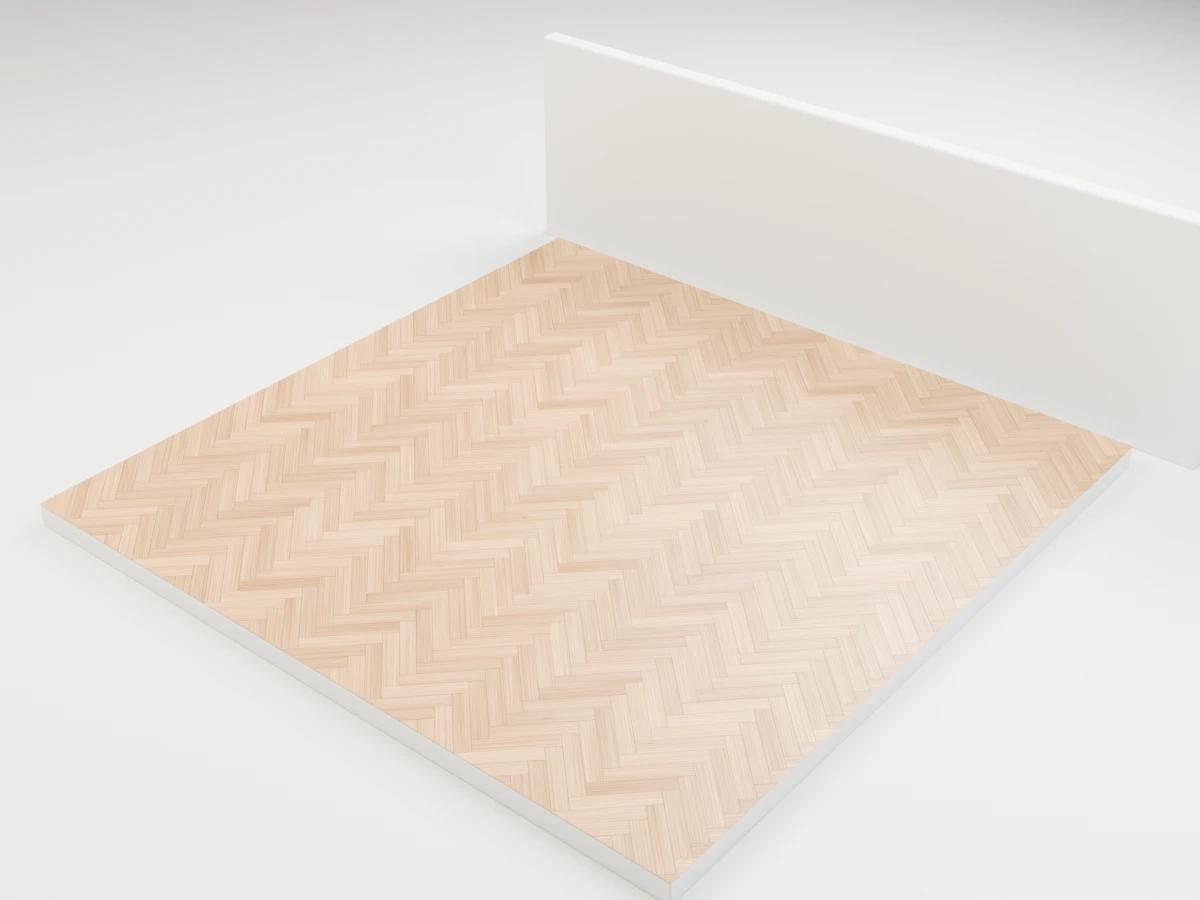
Parquet texture
2K PBR · 1.7 × 1.7 m per tile
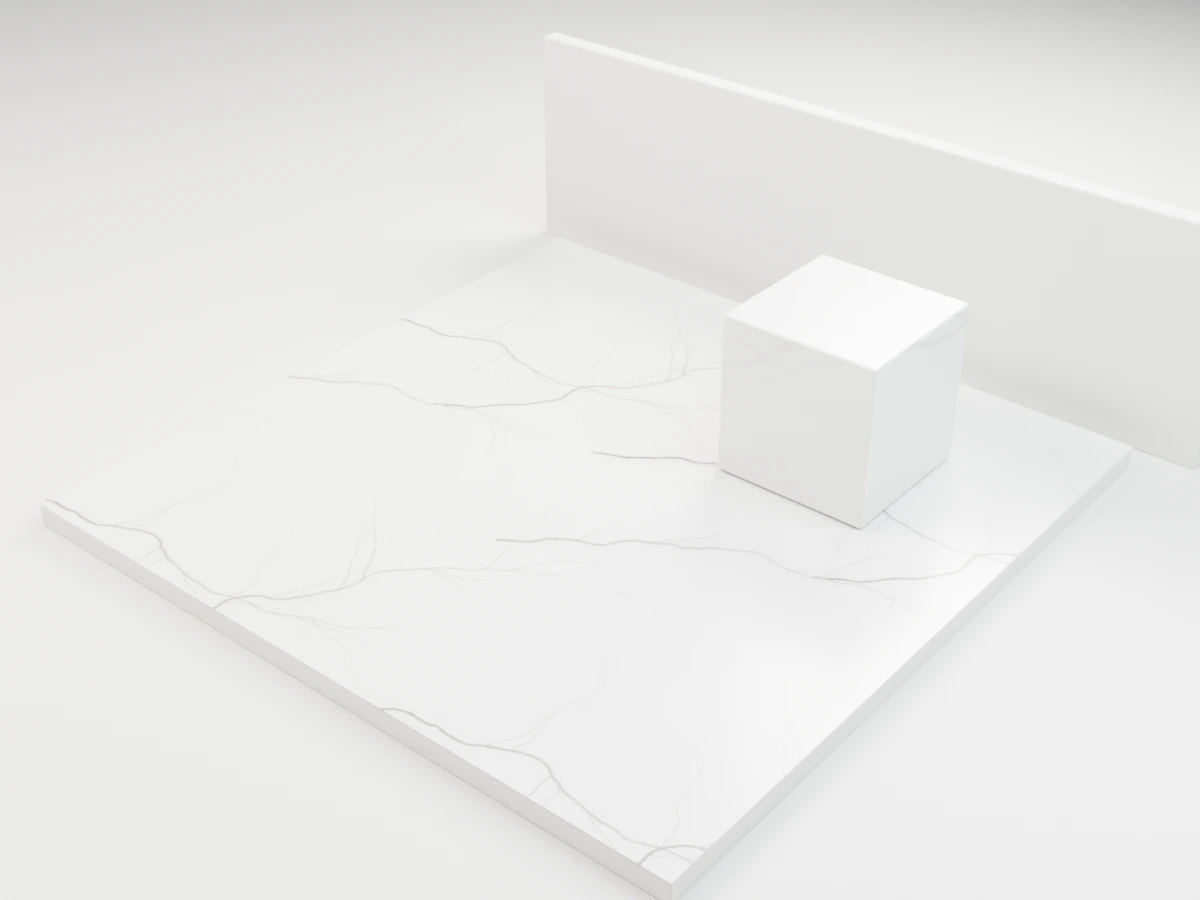
Marble texture
2K PBR · 2 × 2 m per tile
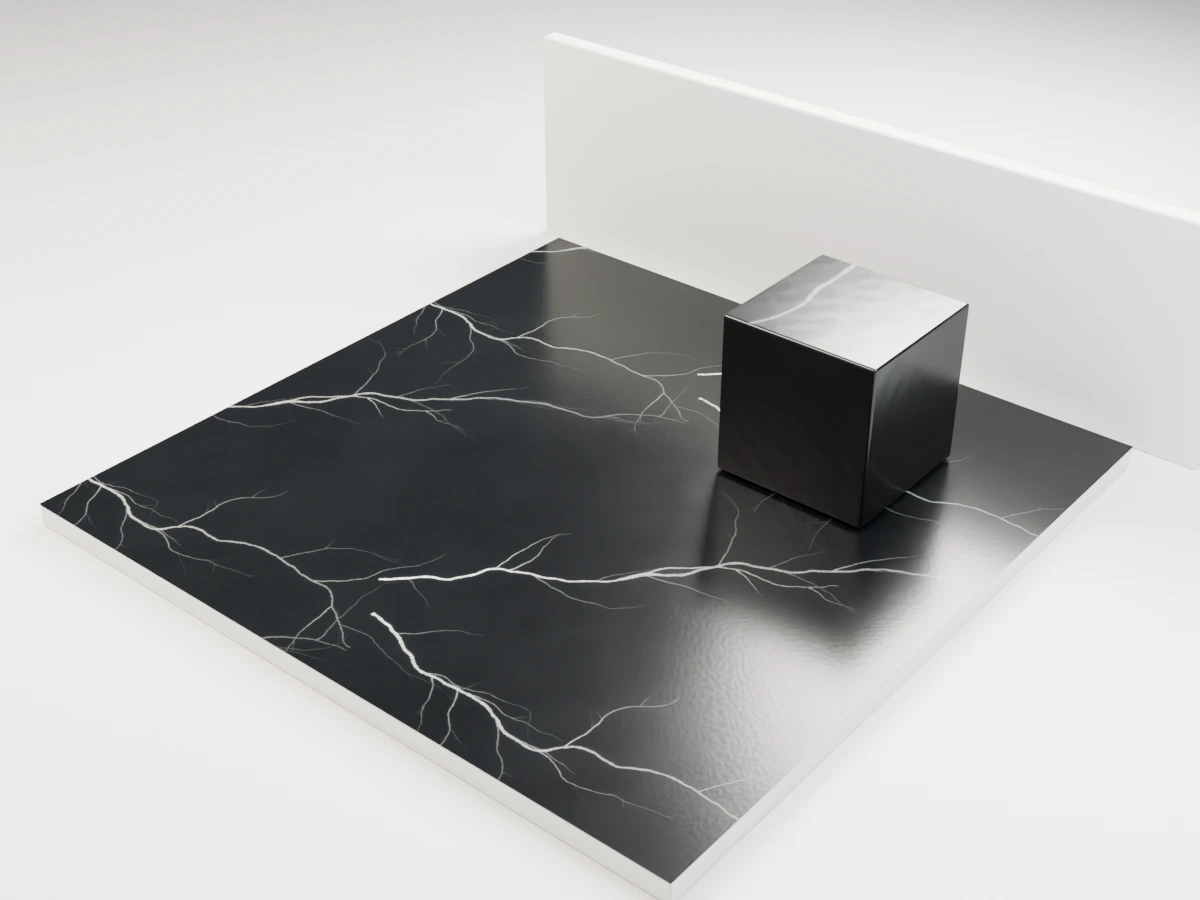
Black Marble texture
2K PBR · 2 × 2 m per tile
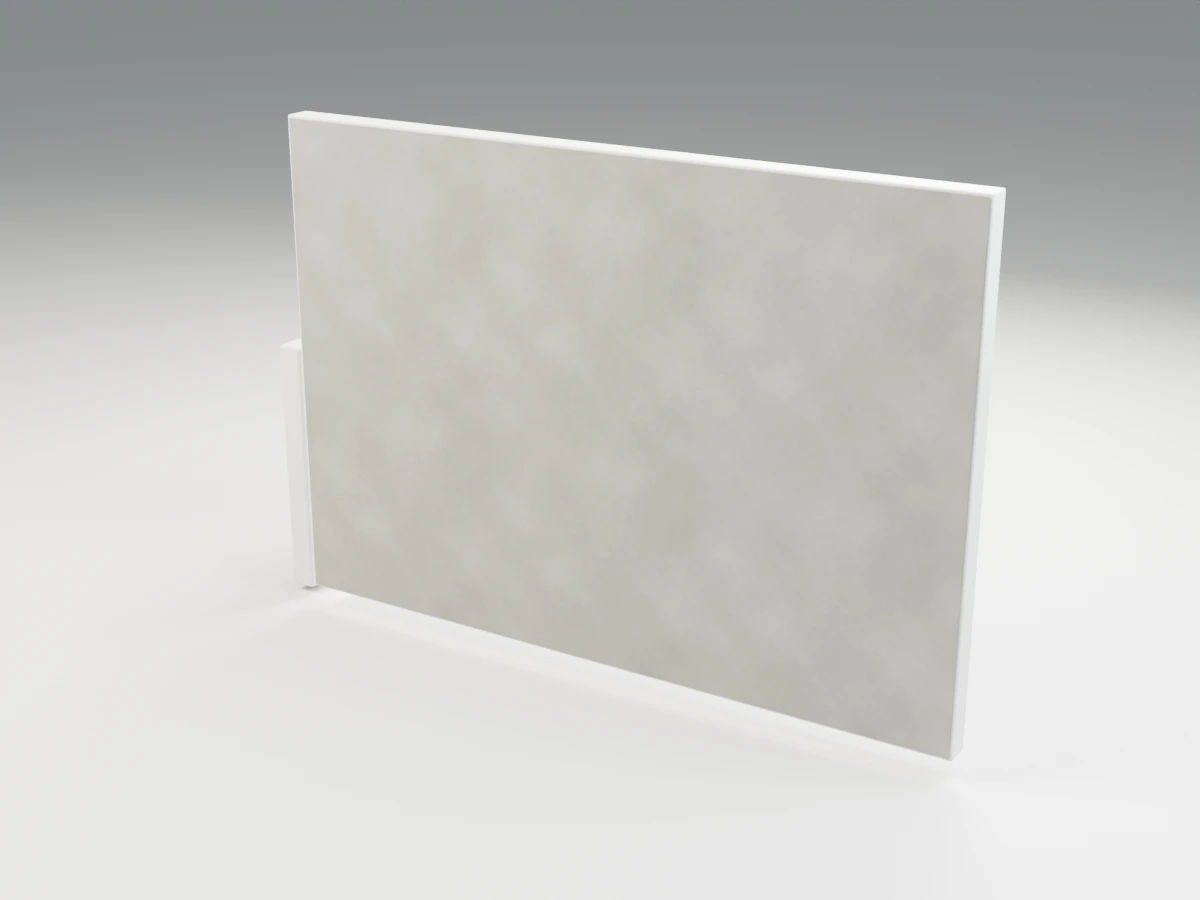
Concrete texture
2K PBR · 1 × 1 m per tile
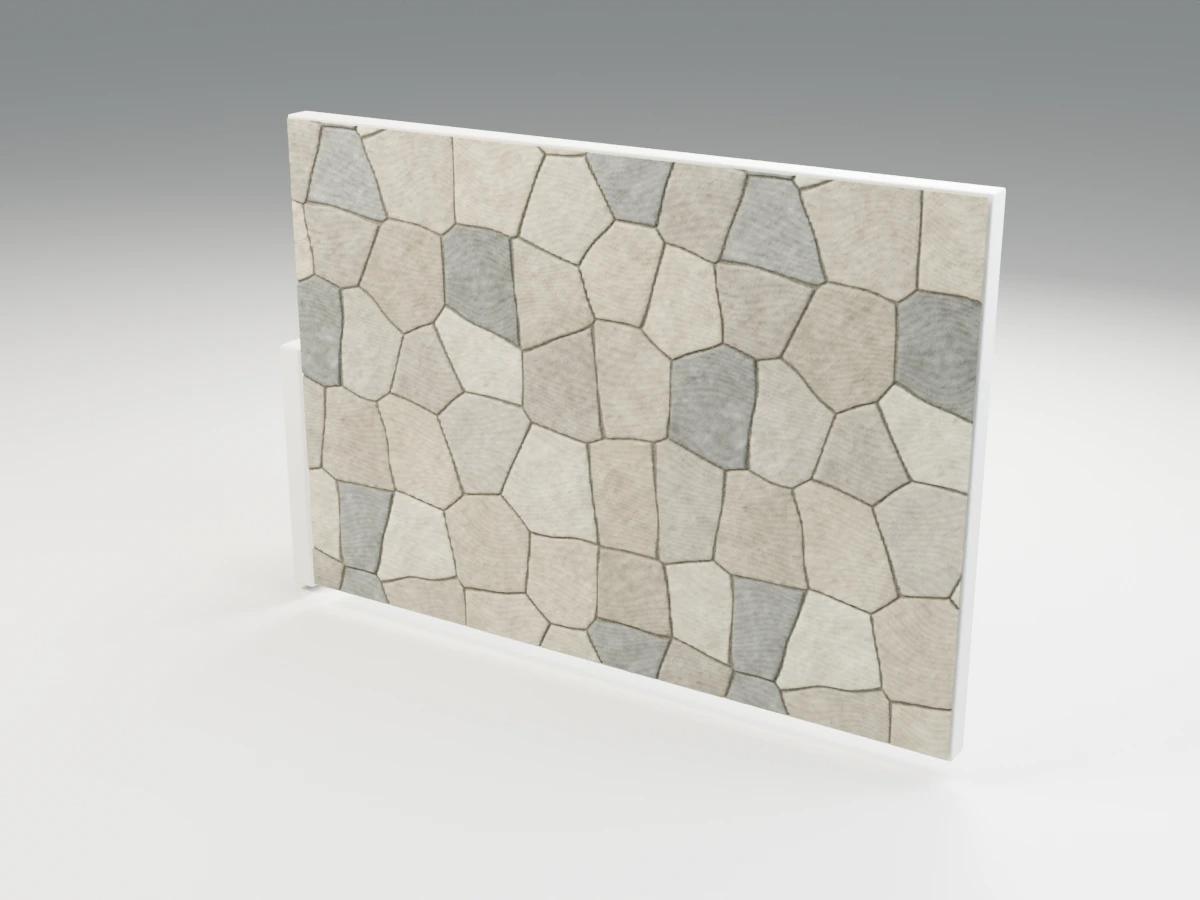
Stone Wall texture
2K PBR · 2 × 2 m per tile
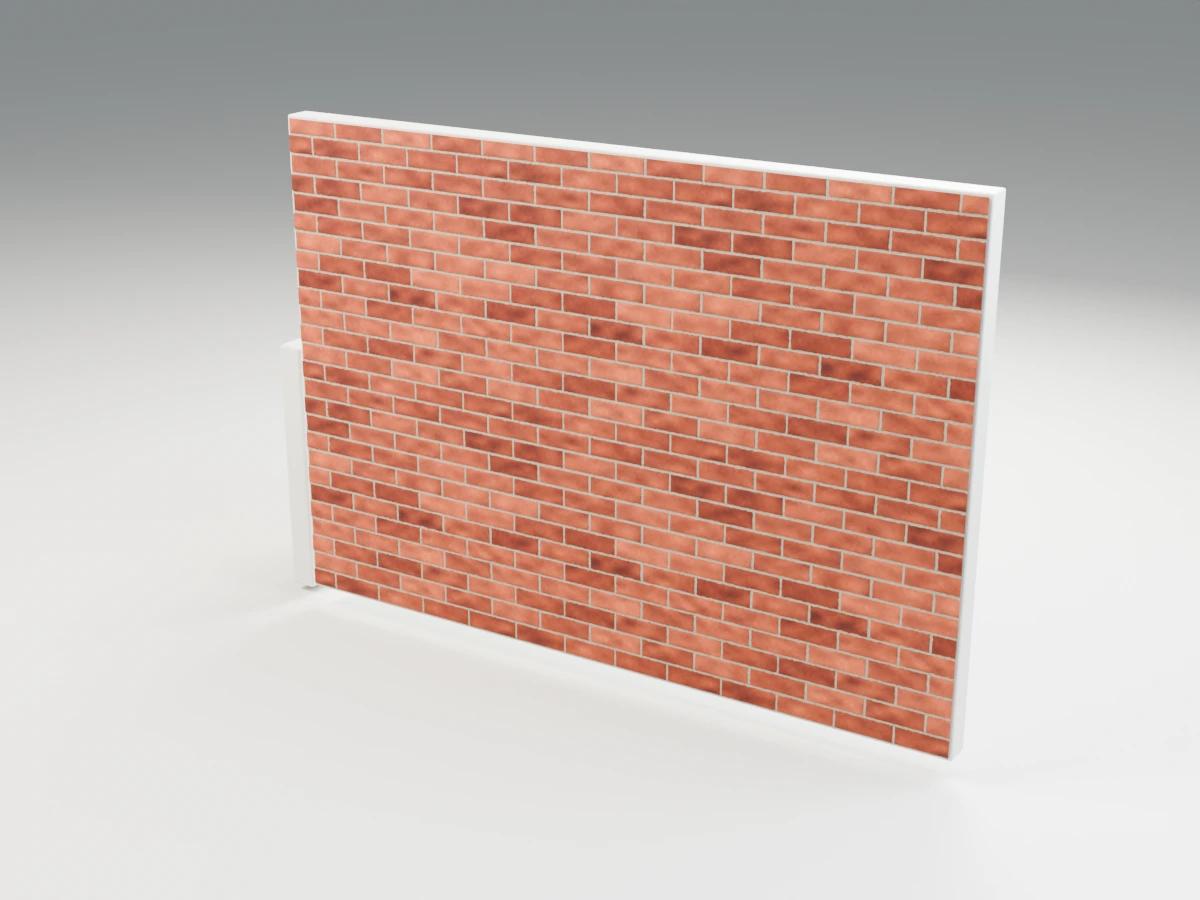
Brick texture
2K PBR · 1 × 1 m per tile
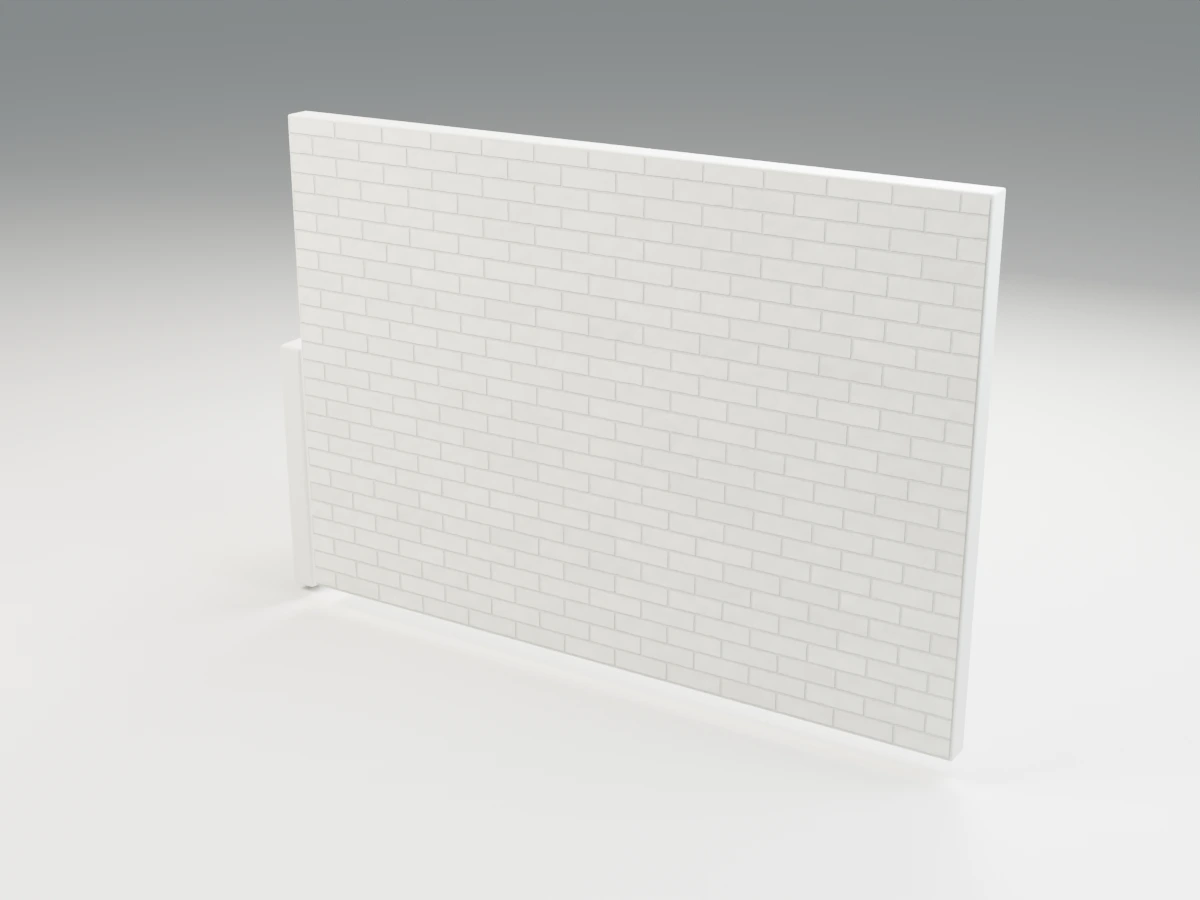
White Brick texture
2K PBR · 1 × 1 m per tile
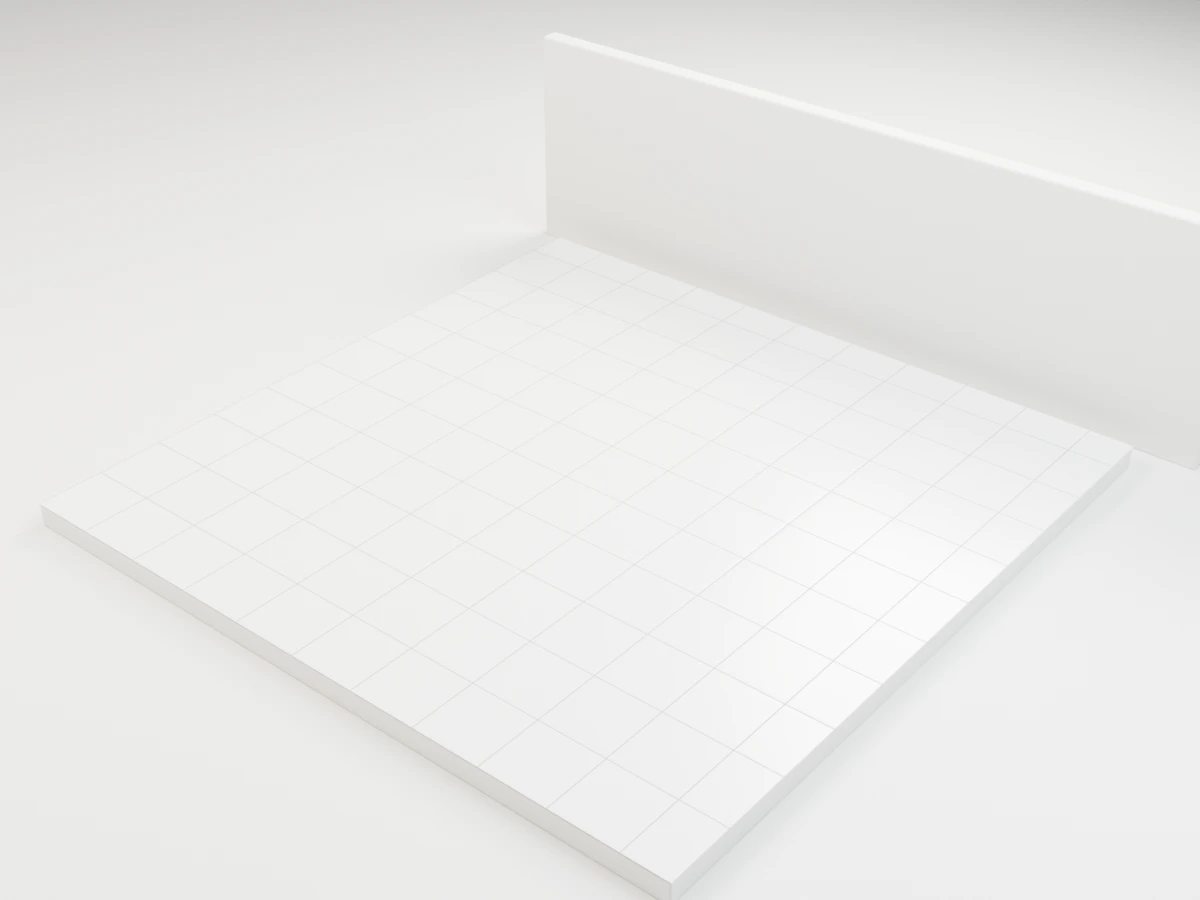
Tile texture
2K PBR · 1.2 × 1.2 m per tile
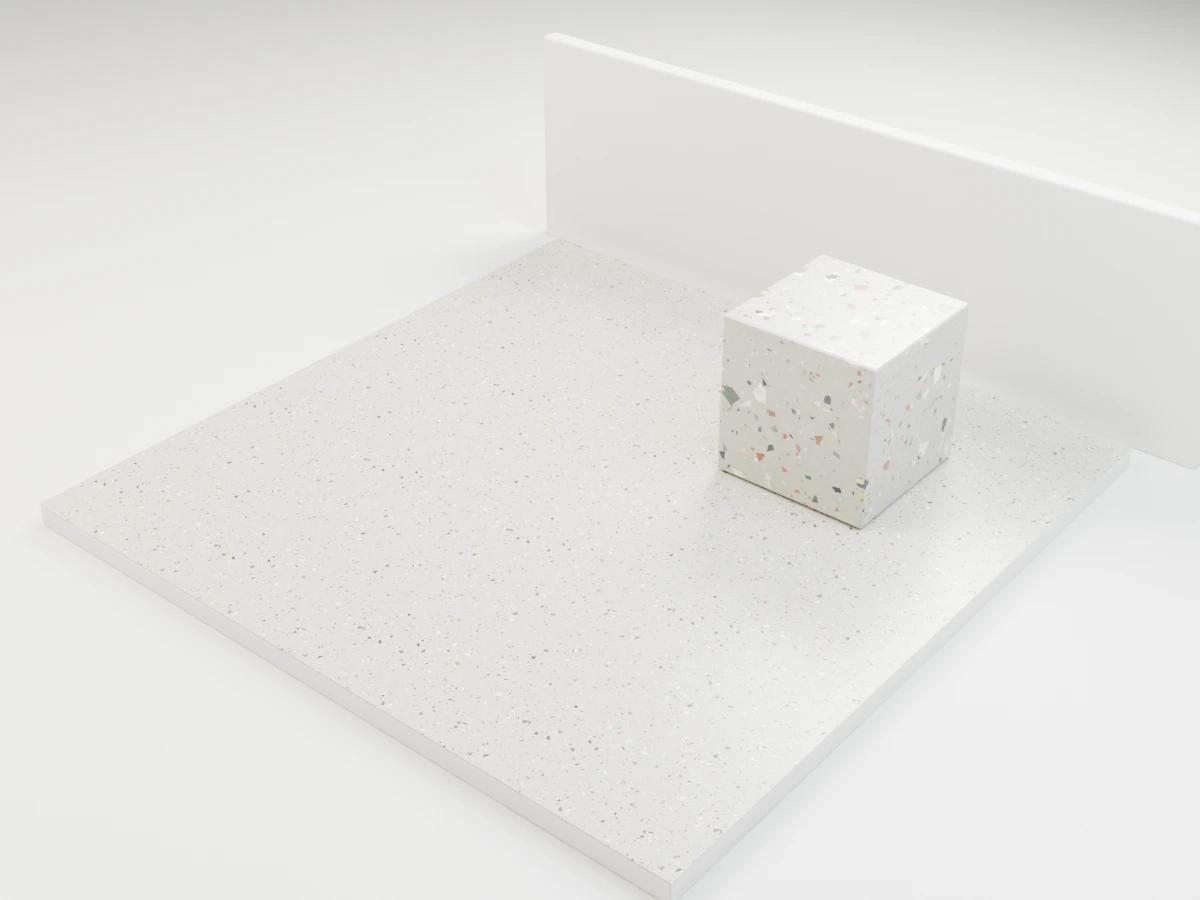
Terrazzo texture
2K PBR · 0.8 × 0.8 m per tile
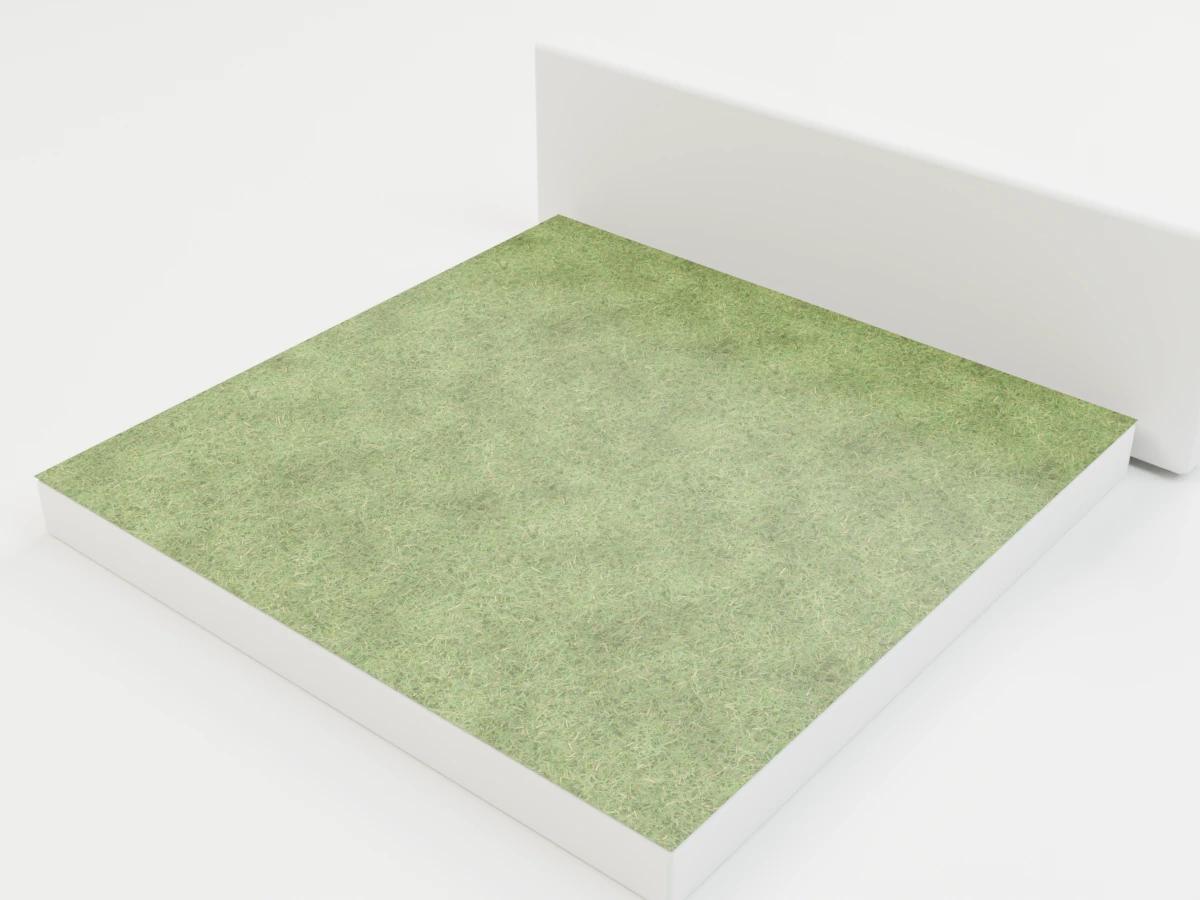
Grass texture
2K PBR · 0.6 × 0.6 m per tile
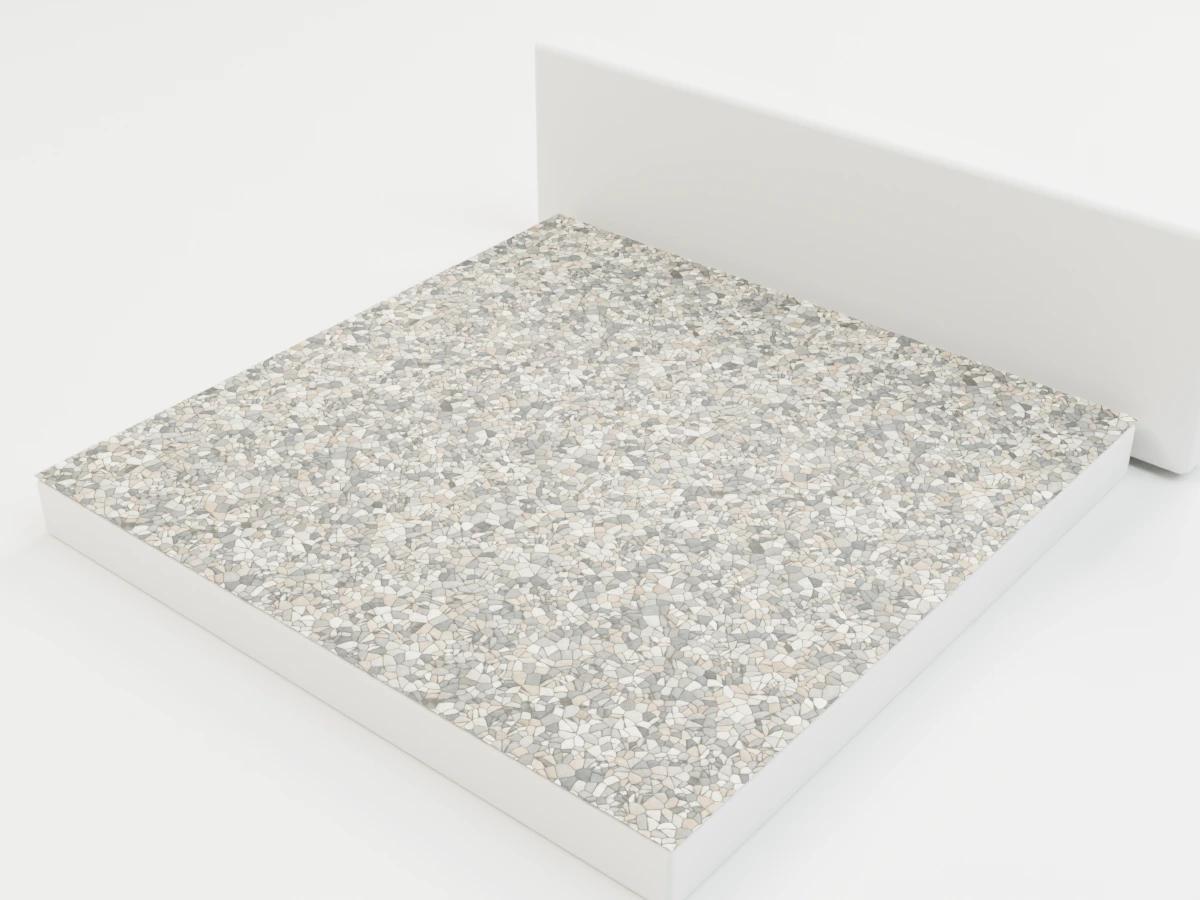
Gravel texture
2K PBR · 0.6 × 0.6 m per tile
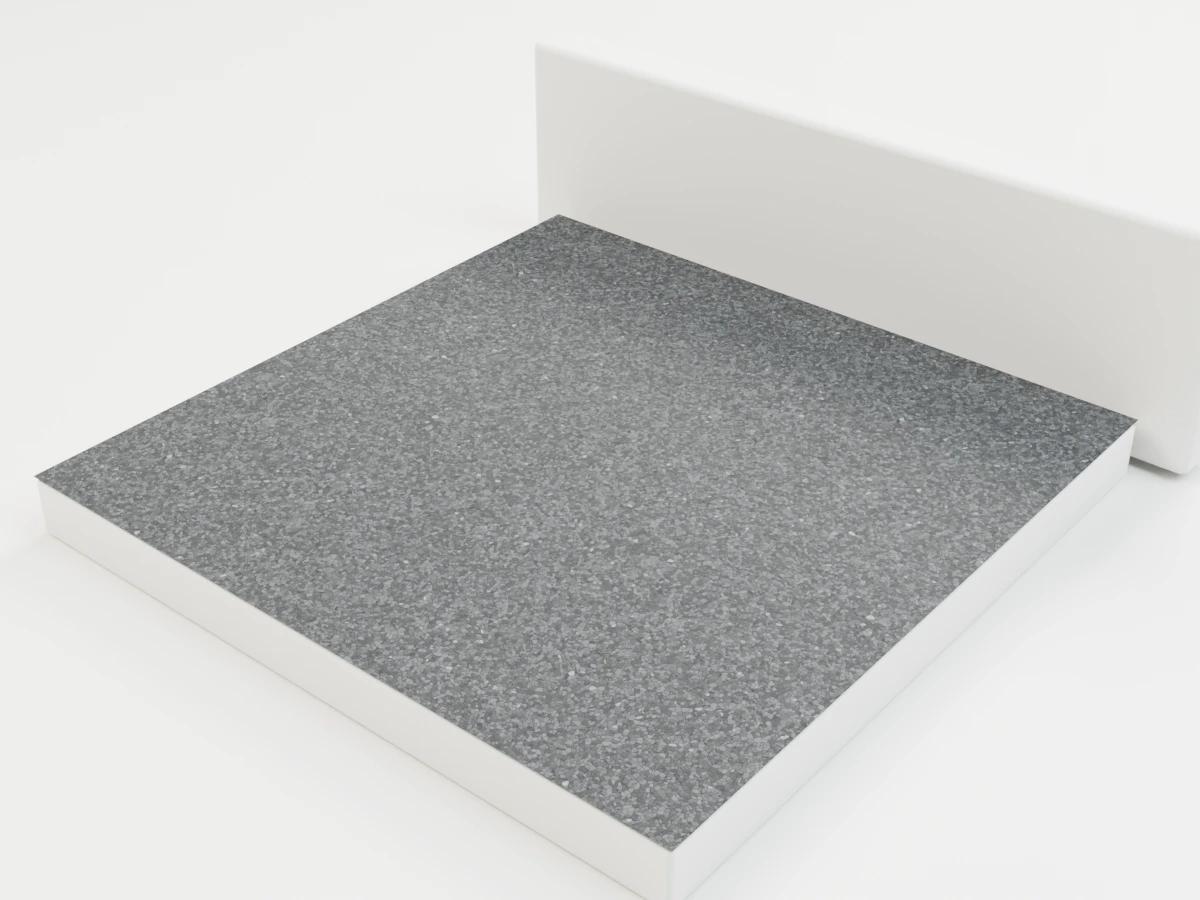
Asphalt texture
2K PBR · 0.8 × 0.8 m per tile
Plaster texture
2K PBR · 1 × 1 m per tile
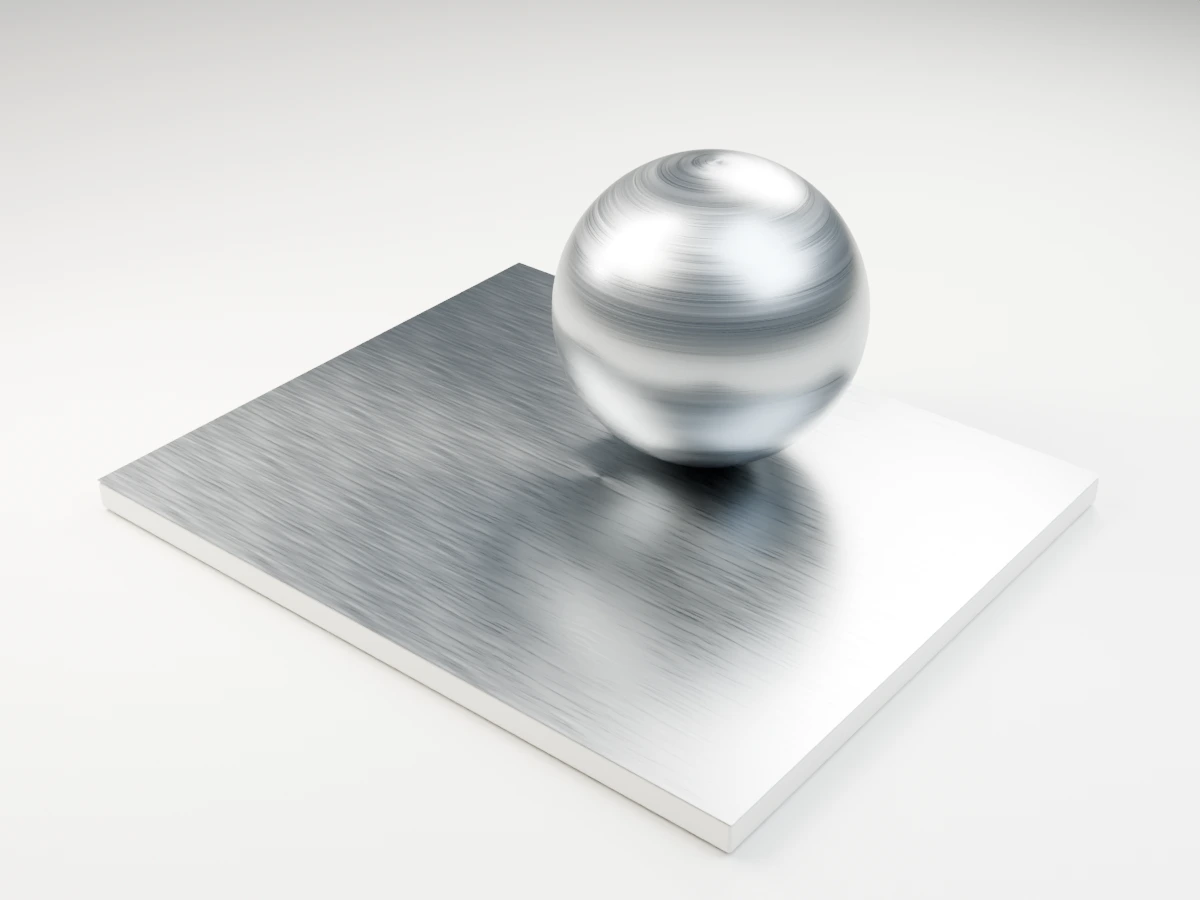
Brushed Metal texture
2K PBR · 0.5 × 0.5 m per tile
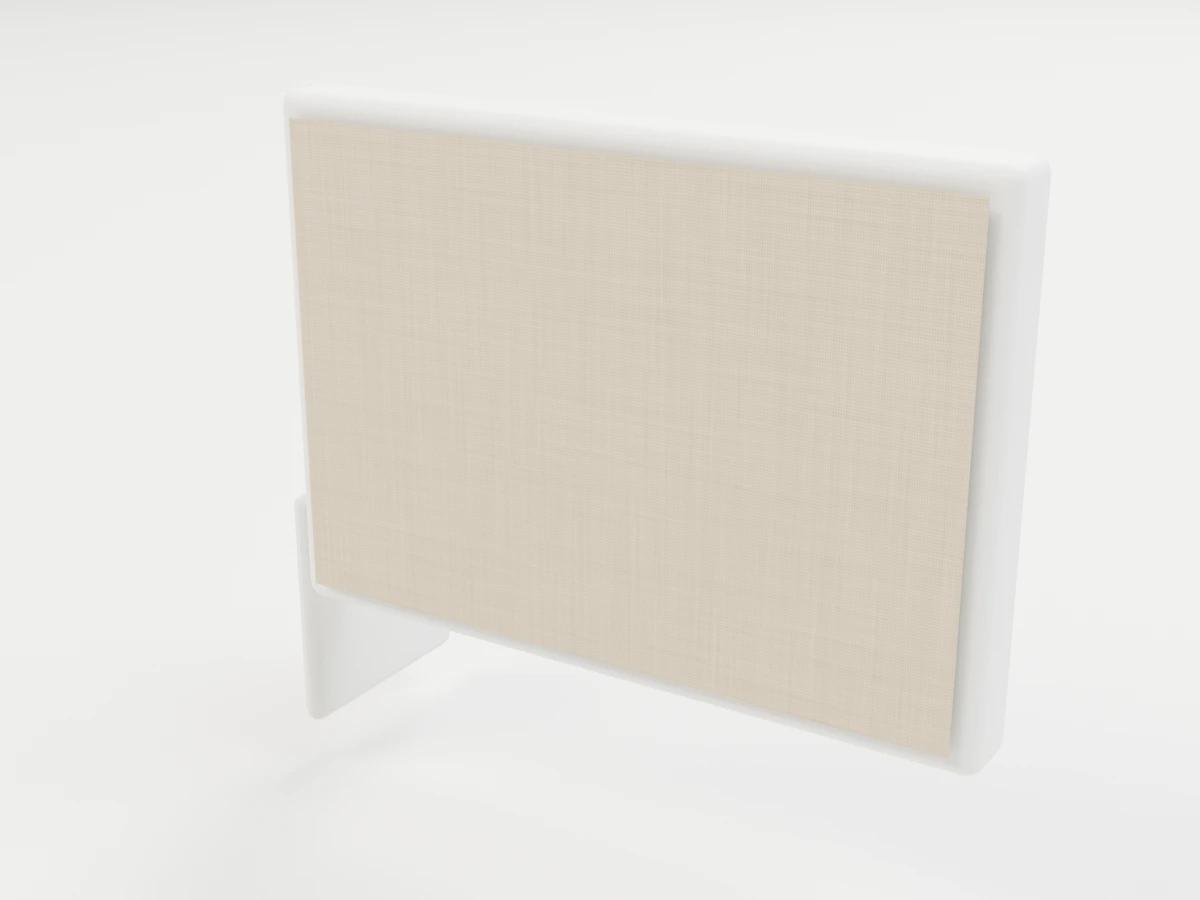
Fabric texture
2K PBR · 0.24 × 0.24 m per tile
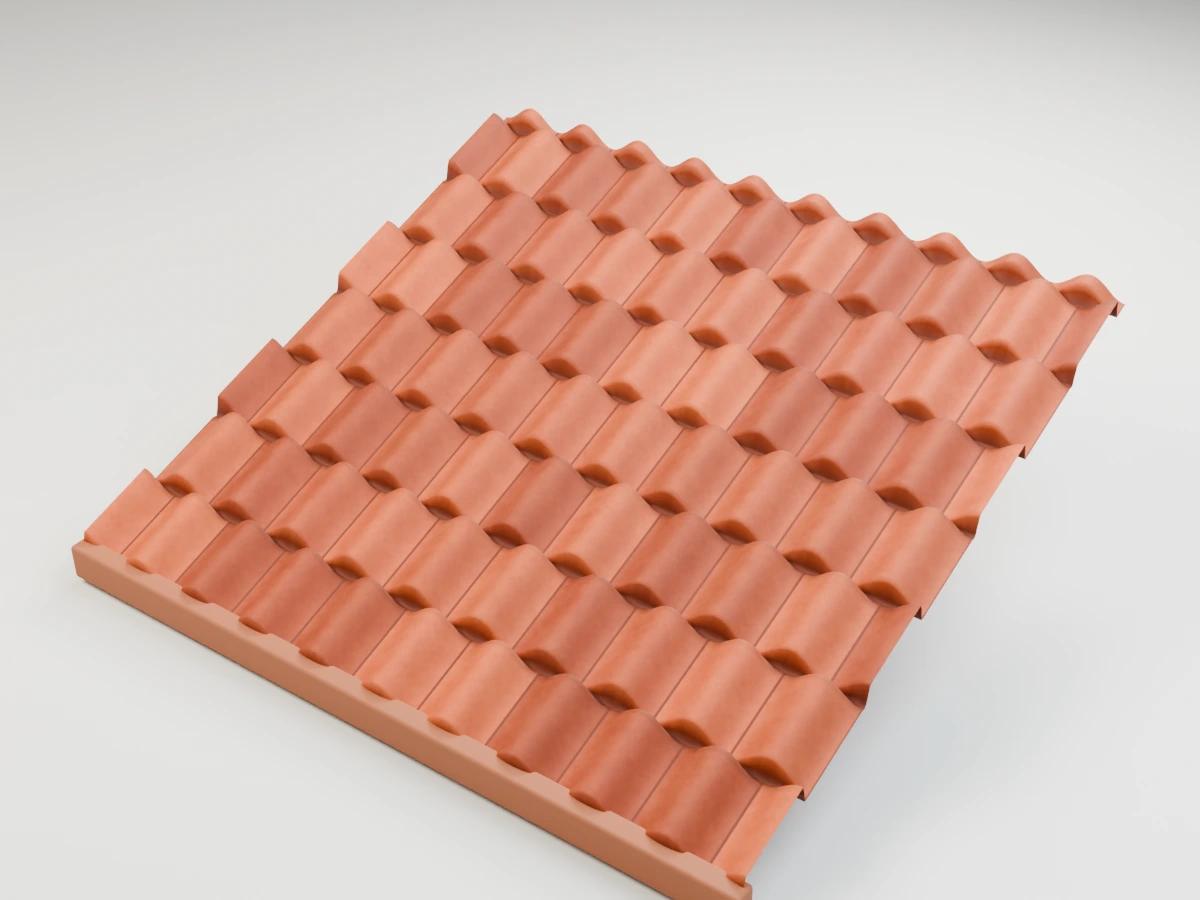
Roof Tile texture
2K PBR · 1.5 × 1.5 m per tile
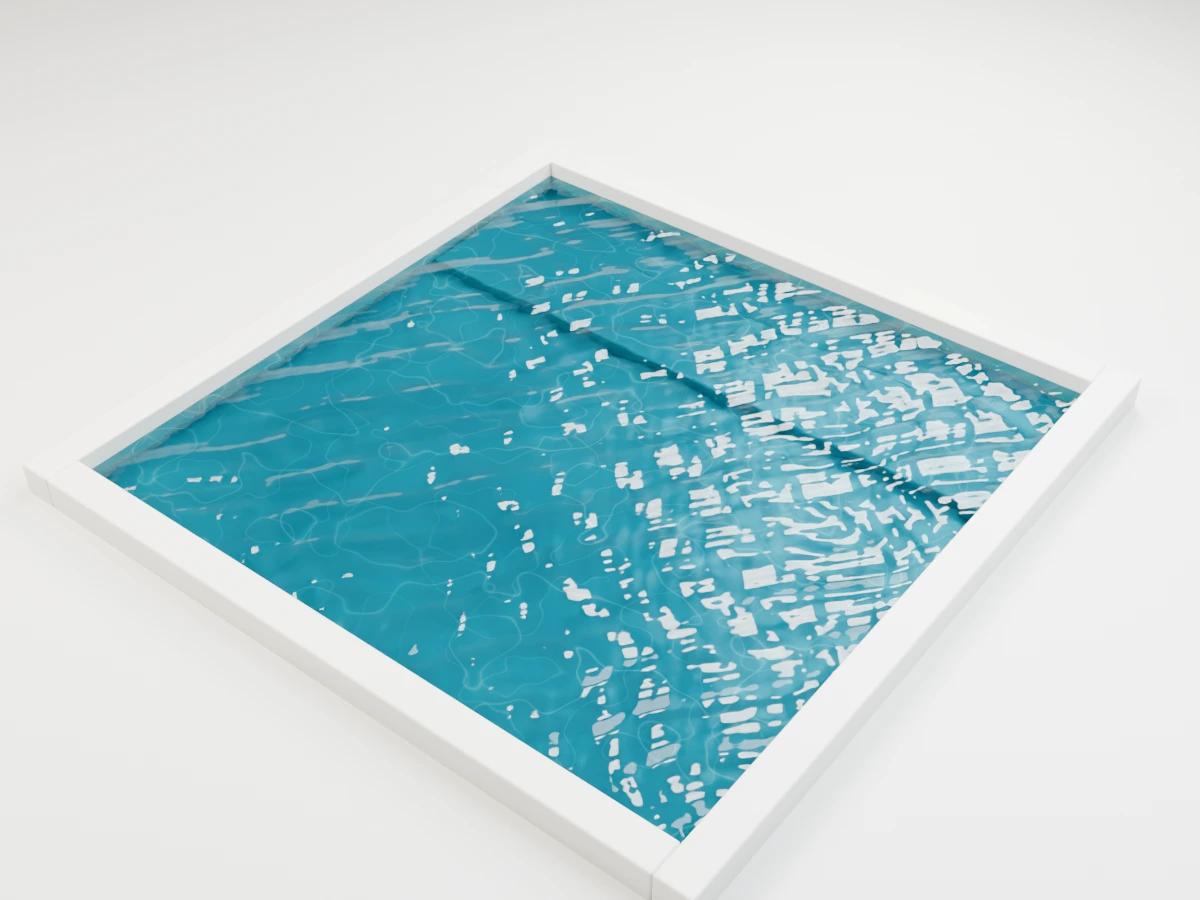
Water texture
2K PBR · 2 × 2 m per tile
PBR maps and formats
| Map | Format | Use |
|---|---|---|
| Color | 2048 × 2048 sRGB JPG | Base color / albedo |
| Normal | 2048 × 2048 linear PNG | OpenGL tangent-space +Y |
| Roughness | 2048 × 2048 grayscale JPG | Linear roughness; invert for a glossiness slot |
| Height (7 sets) | 2048 × 2048 grayscale JPG | Brick, stone-wall, roof-tile, parquet, wood-floor, tile, gravel |
| Previews | 1200 × 900 and 800 × 800 WebP | Blender render and 2×2 inspection swatch |
Color uses sRGB; normal, roughness and height use Non-Color/linear data. OpenGL normals use +Y: invert green only for a DirectX workflow. PNG avoids normal-map JPEG blocks. Some matte normals use reduced channel precision before lossless compression to meet the download budget. These are original procedural materials, not measured scans.
Material and design notes
Use the oak family for joinery and floors; wood-floor has straight staggered planks, while parquet rotates grain with the herringbone pieces. White and black marble have independent branching veins; concrete and plaster offer quieter continuous backgrounds. Ground materials include lawn grass, loose gravel and fine asphalt.
Choose finishes at a believable physical scale, not simply to fill a face with one image. A seamless field still needs architectural boundaries: joints, thresholds, slab edges, masonry returns and roof junctions remain design geometry. Use the 2×2 swatches to inspect repetition before applying a finish across a large area.
Real-world scale and setup
Each material card states the length of one full square tile in meters. For tile size S, a W × H meter surface needs W/S repeats in U and H/S in V. For example, the 1.2 m tile material repeats 5 × 3 times across a 6 × 3.6 m floor.
- SketchUp: create a material from the color JPG, unlock its aspect ratio only if needed, and enter the stated tile size for width and height. Apply it to correctly sized faces. Set normal and roughness in your renderer’s material editor; native SketchUp color mapping alone does not use all PBR maps.
- Revit: duplicate an appearance asset; in the image texture editor set the sample size to the listed square tile size. Match that scale in additional supported image channels. Image scale and drafting/model surface-pattern scale are separate settings; do not assume changing one changes the other.
- 3ds Max / V-Ray: use a box or planar UVW Map gizmo with width and length equal to the tile size and bitmap tiling 1, or use matching Real-World Map Size on both bitmap and mapping modifier. Do not apply both methods at once. Use VRayNormalMap for the normal and linear roughness, or invert roughness for a reflection-glossiness workflow.
- Blender: apply object scale, unwrap a known W × H meter face, then set UV extents to W/S by H/S. Alternatively, on a 1 m square with UVs 0–1, set Mapping X and Y to 1/S. Feed the linear normal into a tangent-space Normal Map node. Use roughness as data, not sRGB.
- D5 / Enscape / Lumion / Twinmotion: load color, normal and roughness in a suitable custom material. Set physical repeat width and height to the card’s stated size; where only relative tiling is exposed, calibrate against a known 1 m reference plane using 1/S repeats. These controls and channel support vary by version; do not use the same arbitrary scale-slider number across applications.
Keep all map UV transforms identical. The preview’s 2×2 swatch does not change the map scale. Rotate the whole mapping for directional wood, fabric and brushing, and recheck visible normal direction after any renderer conversion.
Render your architectural design
Build your material study in your modeling tool, then use Render a House to turn a sketch, viewport export or architectural image into a presentation render. Describe the intended finishes in your prompt. Render a House works from images; downloading these maps does not automatically import a PBR material into the service.
Free commercial-use license
Free for commercial use, no attribution required — Render a House. These original procedural textures are supplied with CC0-style license text inside every ZIP. You may use and modify them for personal or commercial projects. No third-party texture images were downloaded. Provided as-is without warranty; visual maps are not construction or product-performance specifications.
Frequently asked questions
What comes with the free seamless texture library?
- There are nineteen material sets, each with 2048 × 2048 color, OpenGL normal and roughness maps. Seven also include height. Every material has a ZIP with README and license, a Blender preview, a 2×2 tiled swatch and direct individual map downloads.
Is there one download for the entire texture library?
- This release provides nineteen per-material ZIPs instead of a duplicate all-in-one archive to keep the public asset payload within 130 MB while retaining loose map downloads. Use the material grid to collect all nineteen sets or just the finishes your project needs.
How was seamlessness checked?
- Decoded JPG and PNG deliverables were tested on both opposite edges, wrapped border gradients and encoded 2×2 swatch center joins. The seven revised sets were rechecked, and approved unchanged assets were verified by SHA-256. A seamless tile can still show recognizable repetition across very large surfaces.
Can I use these textures in commercial architectural projects?
- Yes. These original procedural textures are free for commercial use, no attribution required — Render a House. No third-party source textures were downloaded; the ZIP includes the license and there is no signup requirement.
Which color spaces and normal convention should I use?
- Load color as sRGB. Load roughness, height and normal as Non-Color or linear data. Normals use tangent-space OpenGL +Y; invert the green channel only if your renderer requires DirectX normals. Roughness is not glossiness: invert it for a glossiness-only slot.
Related textures and 3D models
- Free living room furniture 3D models for material and seating studies.
- Free bathroom 3D models for stone and tile schemes.
- Free outdoor and landscape 3D models for planted and paved spaces.
