
Choose edit
Use Edit this image
Use the local edit path when one object, person, prop, or patch of clutter is the problem.
Run a quick local image check, then continue into Render a House to select the unwanted object, describe the cleanup, review the generated result, and keep editing when needed.
Check it here. Remove the object in the signed-in editor.
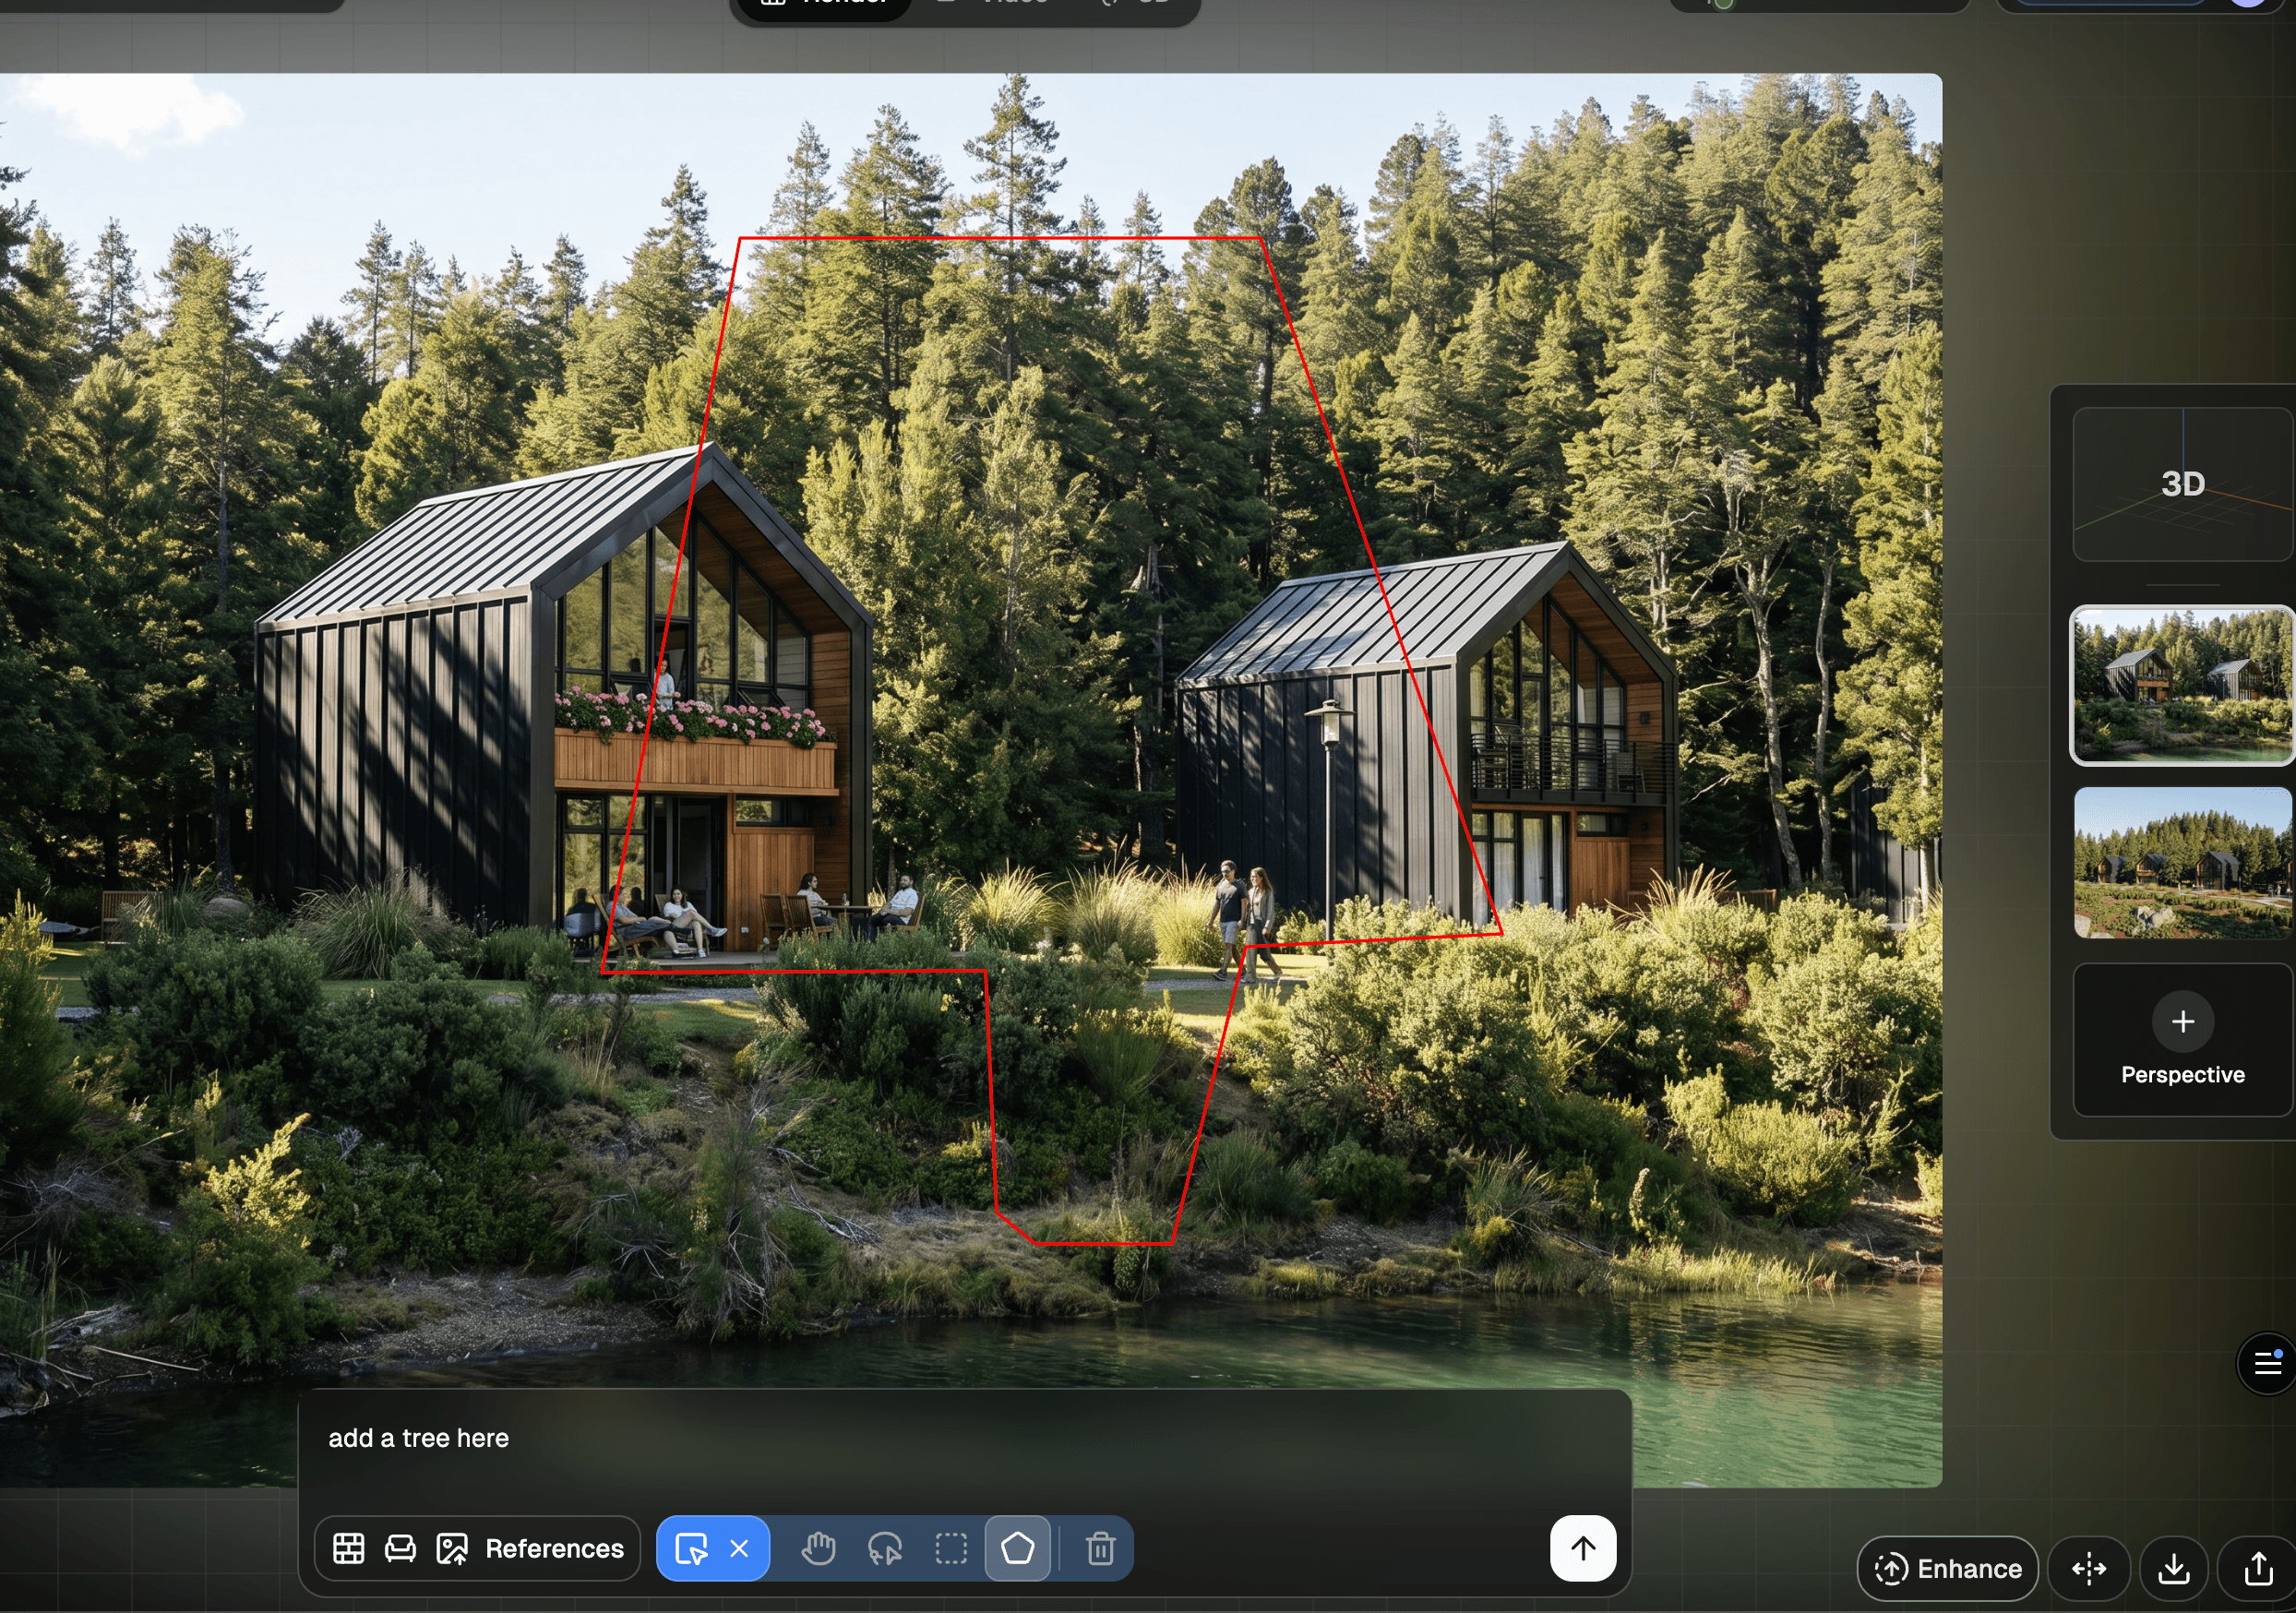
Select an object. Describe the cleanup.
Check your image here first, then continue to the editor to upload, select the object, and run the actual edit.
Object removal in Render a House uses the same edit path as other local corrections: open or create an image, mark the area that should change, and keep the instruction narrow.
Choose edit
Use the local edit path when one object, person, prop, or patch of clutter is the problem.
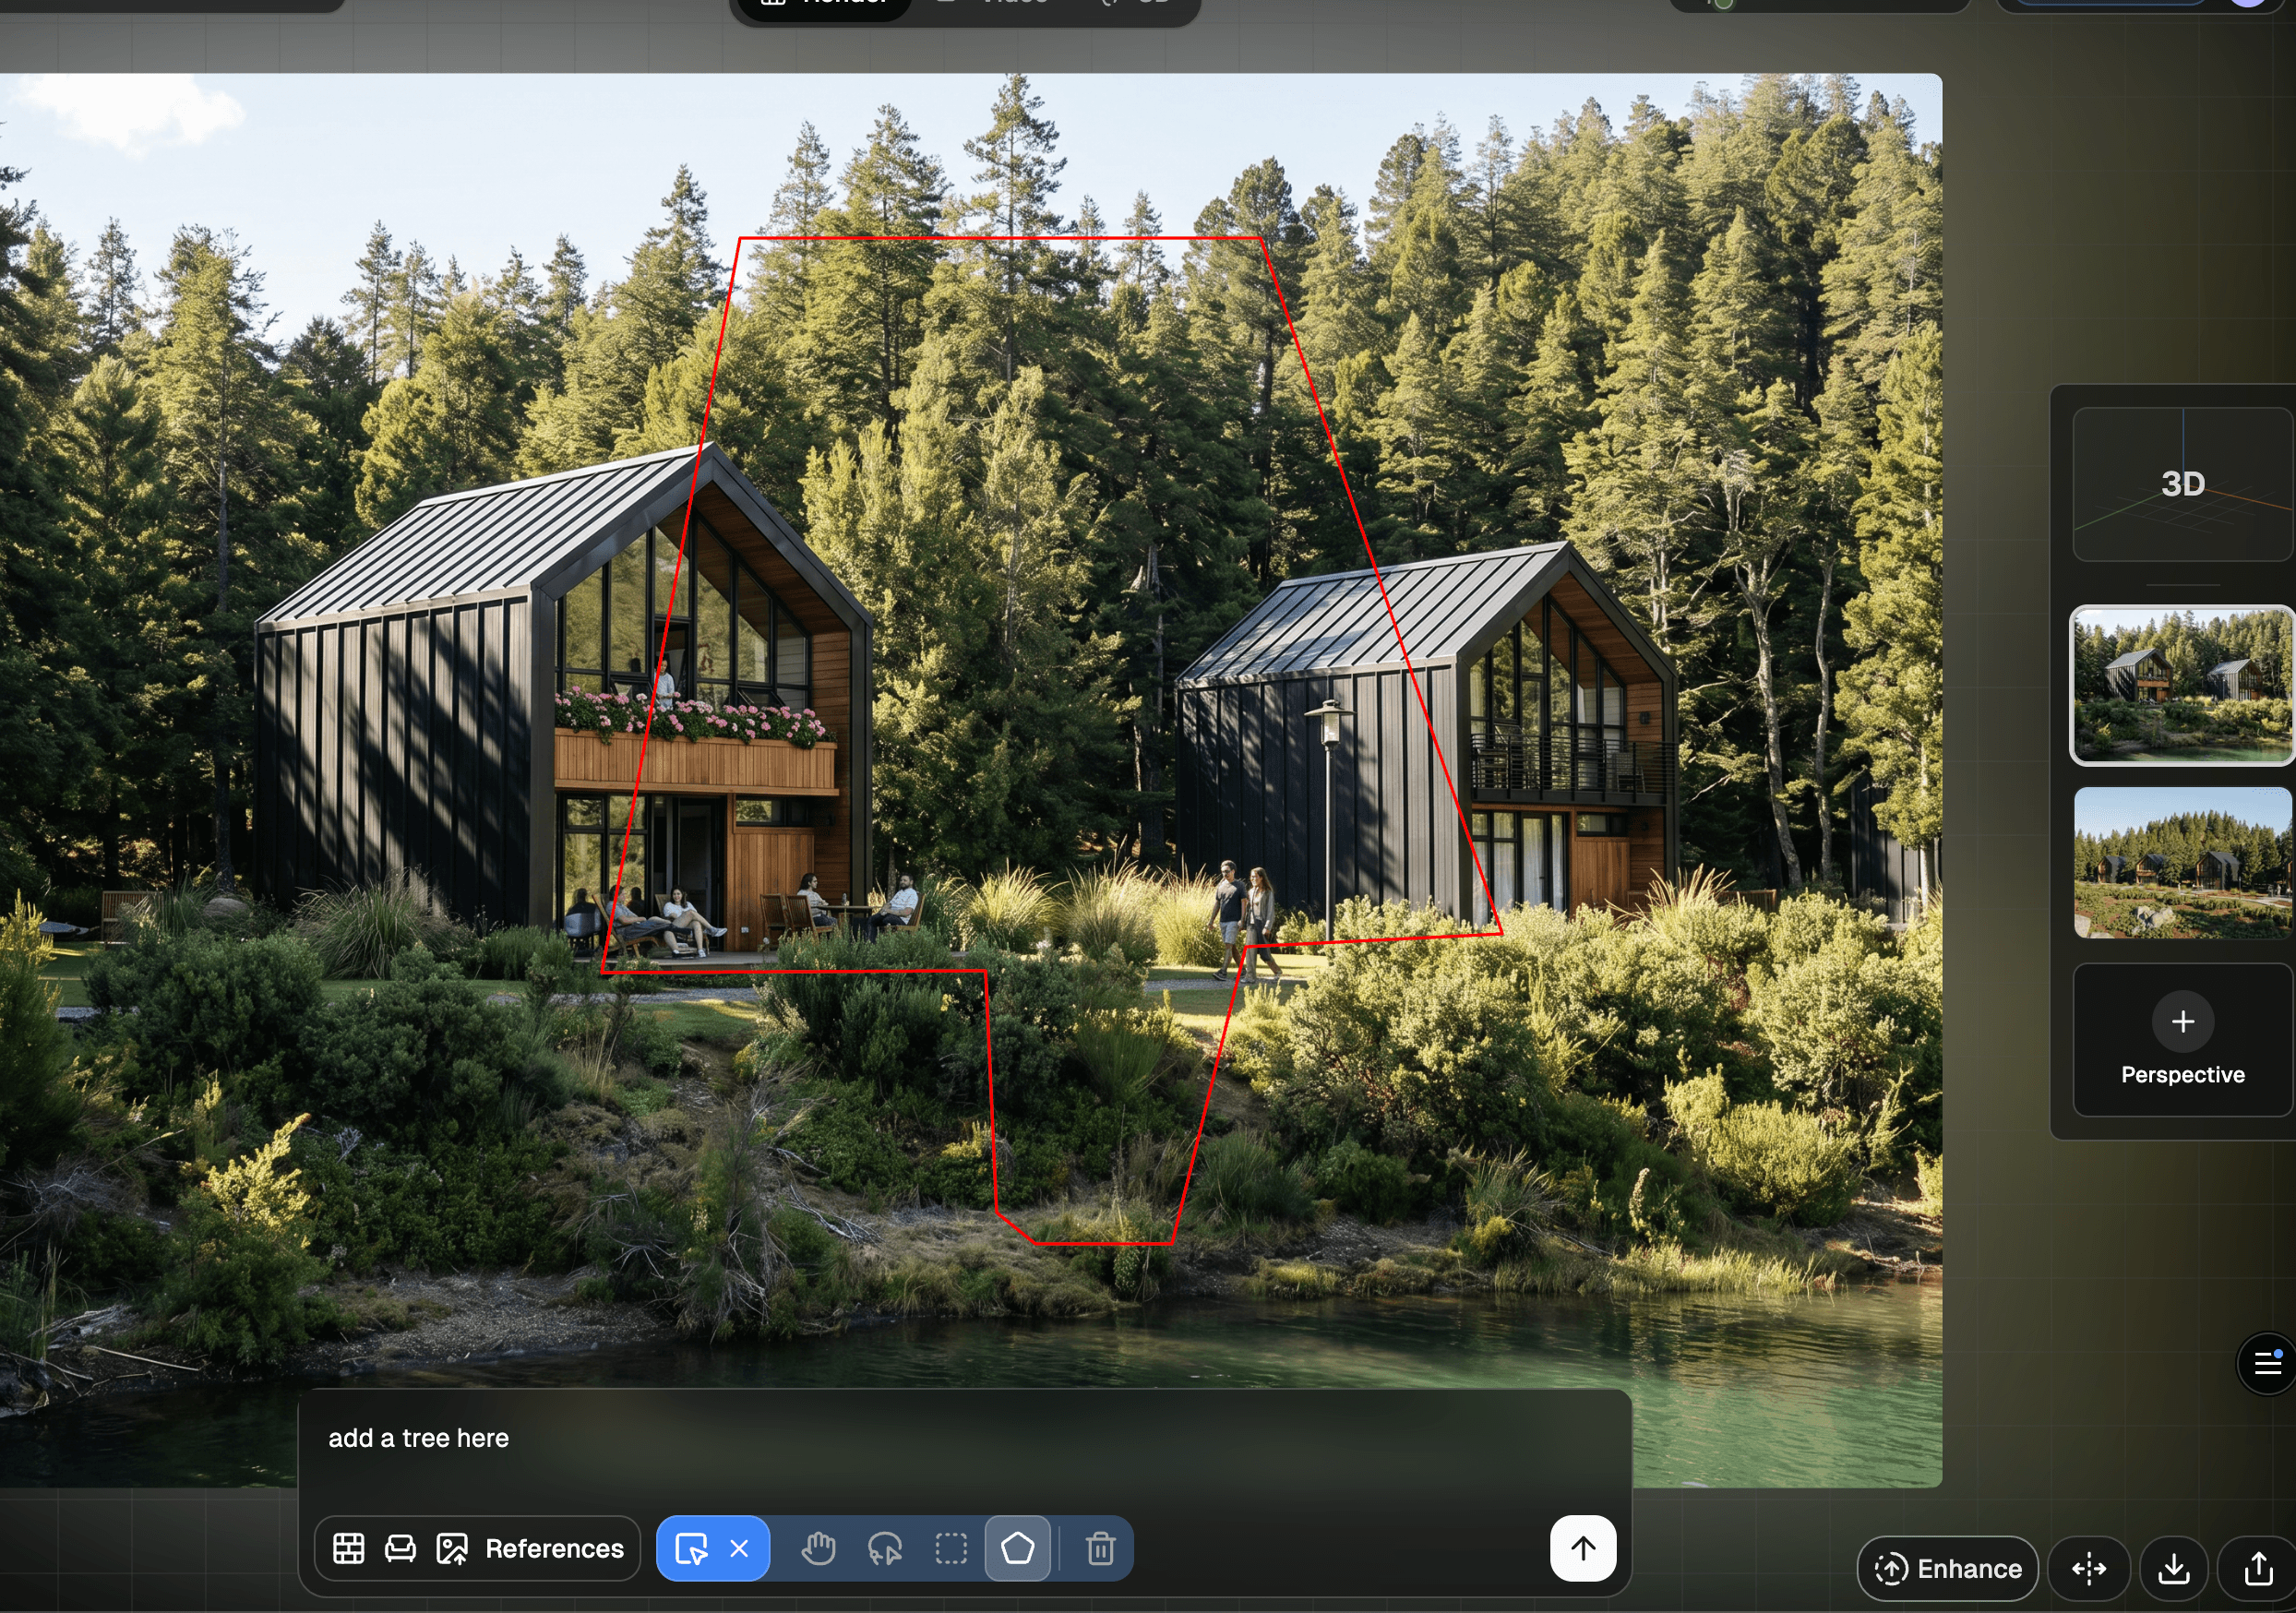
Select area
Mark the unwanted item and a small edge around it so the model knows exactly where to work.
Review result
Review the generated result in the real editor, use Compare, and make another edit only if the fill needs work.
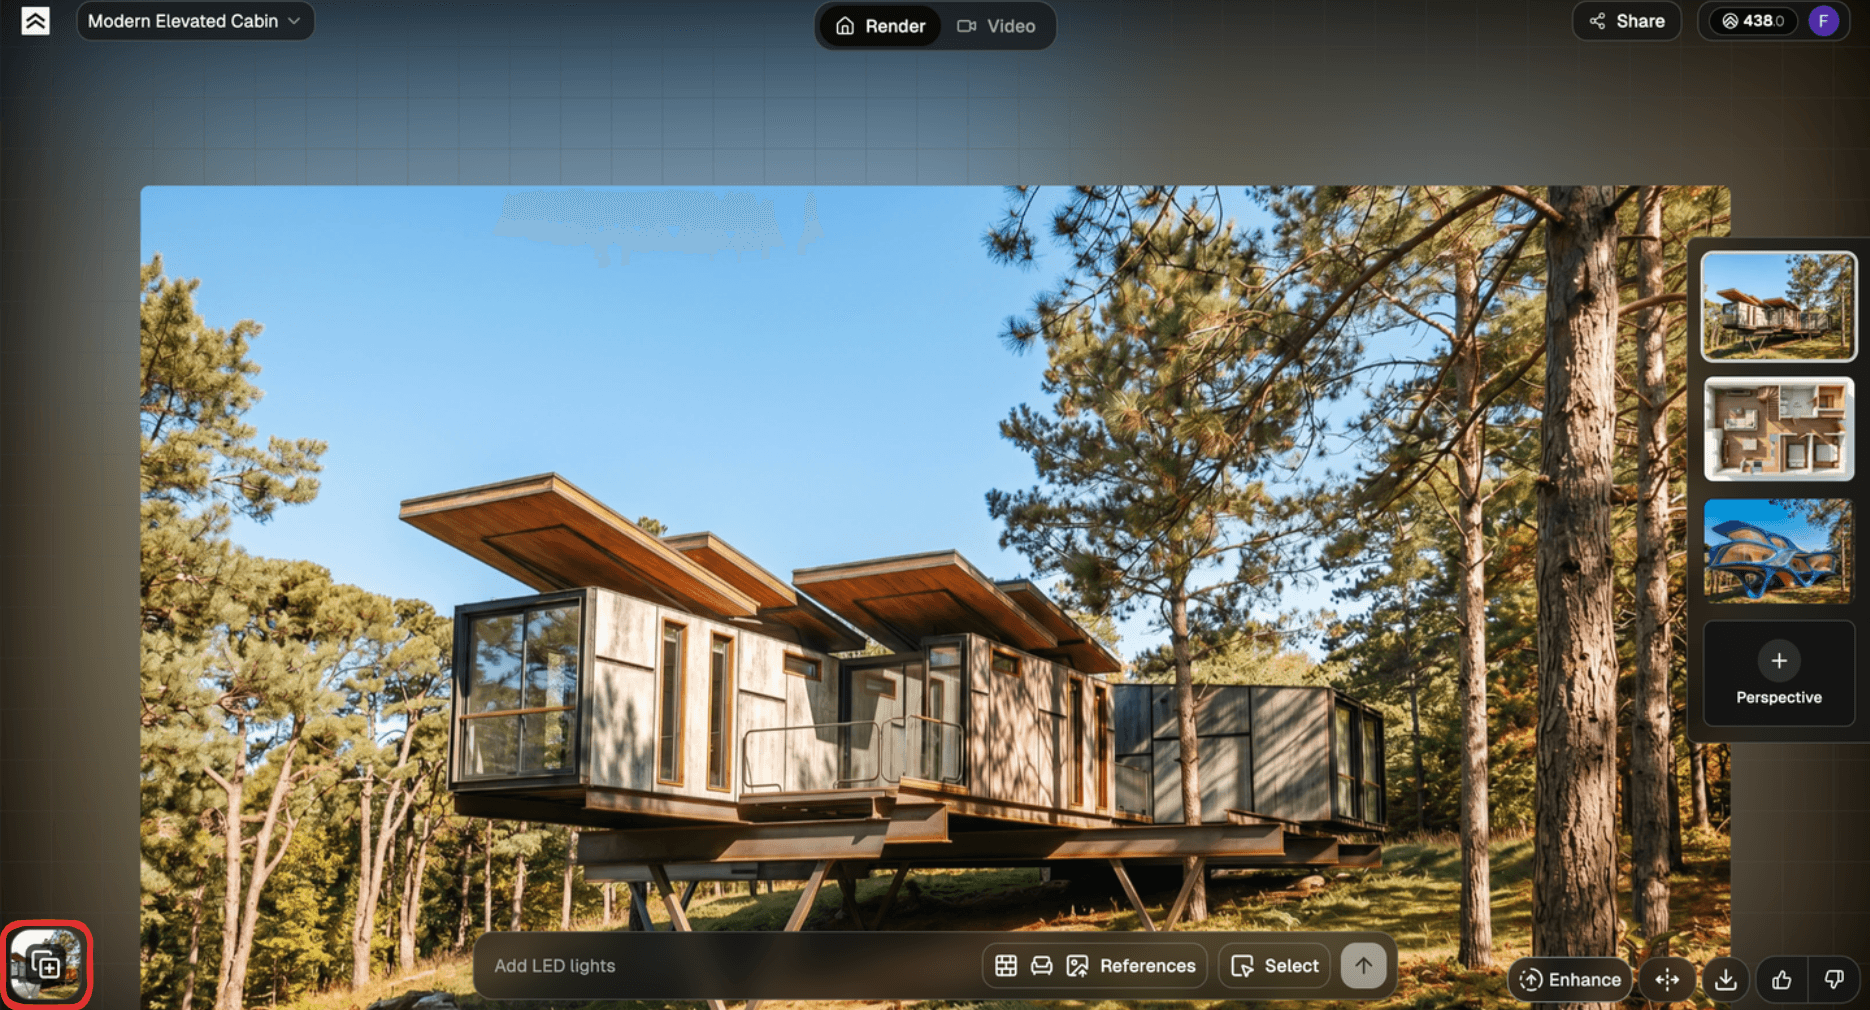
Review happens inside Render a House. Use Compare and the result history to decide whether the selected object disappeared cleanly and the surrounding area still looks natural.
Compare
Toggle the edited image against the original before deciding the object is removed well enough.
Pass criteria
Start with a JPG, PNG, or WebP photo, render, screenshot, or design image. For the editor workflow, keep image files under 5 MB.
Use Select to draw around the object, person, furniture piece, landscape element, or clutter you want removed.
Write a short instruction, generate the edit, compare it with the original, and continue editing only when the result needs another pass.
An AI object remover edits a selected area of a photo or render so an unwanted object disappears and the background is filled in. It is most useful when the rest of the image already works and only one local detail needs cleanup.
The key is being specific. Select the object and a little surrounding context, then describe the change in plain language: remove the patio chair, clean up the driveway, remove the sign, or replace this clutter with matching floor. Small, clear edits are easier to judge and easier to repeat if the first result is not ready.
Point the model to the exact object or area instead of asking it to guess what matters.
Use comparison and render history to decide whether the cleanup is good enough.
Keep the promise local: remove or clean one area, then continue editing when needed.
Better inputs make object removal easier to judge. Use a clear source image, avoid heavy compression, and resize large files before upload.
JPG, PNG, and WebP image files are the safest path for image editing.
Keep image uploads under 5 MB. Resize or compress larger files first.
Name the selected object and the action: remove, clean up, replace, or simplify.
If the edit covers more than about one-third of the image, generate a new version instead.
An object remover from photo tool helps clean up a picture by changing a selected area of the image. In Render a House, you choose a render or photo, select the unwanted object or clutter, describe what should be removed, and review the generated result.
No. Render a House works best when you point to the part of the image that should change. Use Select to mark the object or area, then write a short instruction such as 'remove this chair and keep the wall unchanged.'
For the image-editing workflow, use a JPG, PNG, or WebP image under 5 MB. Large images should be resized or compressed before upload.
Not always. AI can fill the selected area with plausible background detail, but hard reflections, text, repeating patterns, people, and complex geometry can need another edit or a new version.
Render a House is built for architecture and design images, but the same edit flow can help with photos, renders, screenshots, and concept images when the change is local and clearly selected.
Open the render, choose Edit this image, click Select, draw around the object, describe what to remove, and submit the edit. Use Compare and the render history to check the result against the original.
Start free, then choose the monthly credit allowance that fits your rendering, editing, and enhancement work. Annual billing is also available.
$0forever
Try Render a House before choosing a paid plan.
$39per month
For professionals and small teams.
$99per month
For studios with a higher-volume workflow.
Prices are shown in USD. The signed-in pricing page shows the current checkout terms before purchase.
Enlarge and sharpen the cleaned image when you need a bigger presentation asset.
Turn a clear object image into a downloadable 3D model.
Learn when to edit this image, when to generate a new version, and how to use Select.
Ready for a cleaner image