AutoCAD Rendering Workflow: How to Turn an AutoCAD View Into a Realistic AI Render
If you want better rendering in AutoCAD, the shortest path is usually not a fully built native rendering setup. Start by deciding whether you need one believable still from a view you already like or a model-based workflow with exact site context. For most fast client-facing images, export one clean AutoCAD view as a PNG or JPEG, upload it to Render a House, start with Pro, keep the camera on Same as drawing, and describe only the materials, light, and mood the source image does not yet show. If you need repeatable viewpoints or exact placement on a real site, switch to 3D Preview instead.
AutoCAD can render by itself. The bigger question is whether the native route is the fastest way to get something a client trusts. Once the model or view is already doing its job, AI is often better at the last mile: turning readable geometry into a polished still without forcing you to finish every light, material, and background decision inside AutoCAD first.
Quick answer
For most fast client-facing AutoCAD renders, export one clean PNG or JPEG from a view you already trust, upload it to Render a House, start with Pro, and keep Same as drawing. Switch to 3D Preview only when exact site context, repeatable viewpoints, or a multi-angle set justify the extra model-export step.
Key takeaways
- AutoCAD can render natively, but the native workflow still depends on materials, user lights, backgrounds, and repeated passes before the image feels presentation-ready.
- If you only need one strong still from an AutoCAD view you already like, a clean image export is usually the simplest handoff.
- Render a House accepts PNG, JPEG, WebP, GLB, GLTF, and OBJ. Images cap at 5 MB.
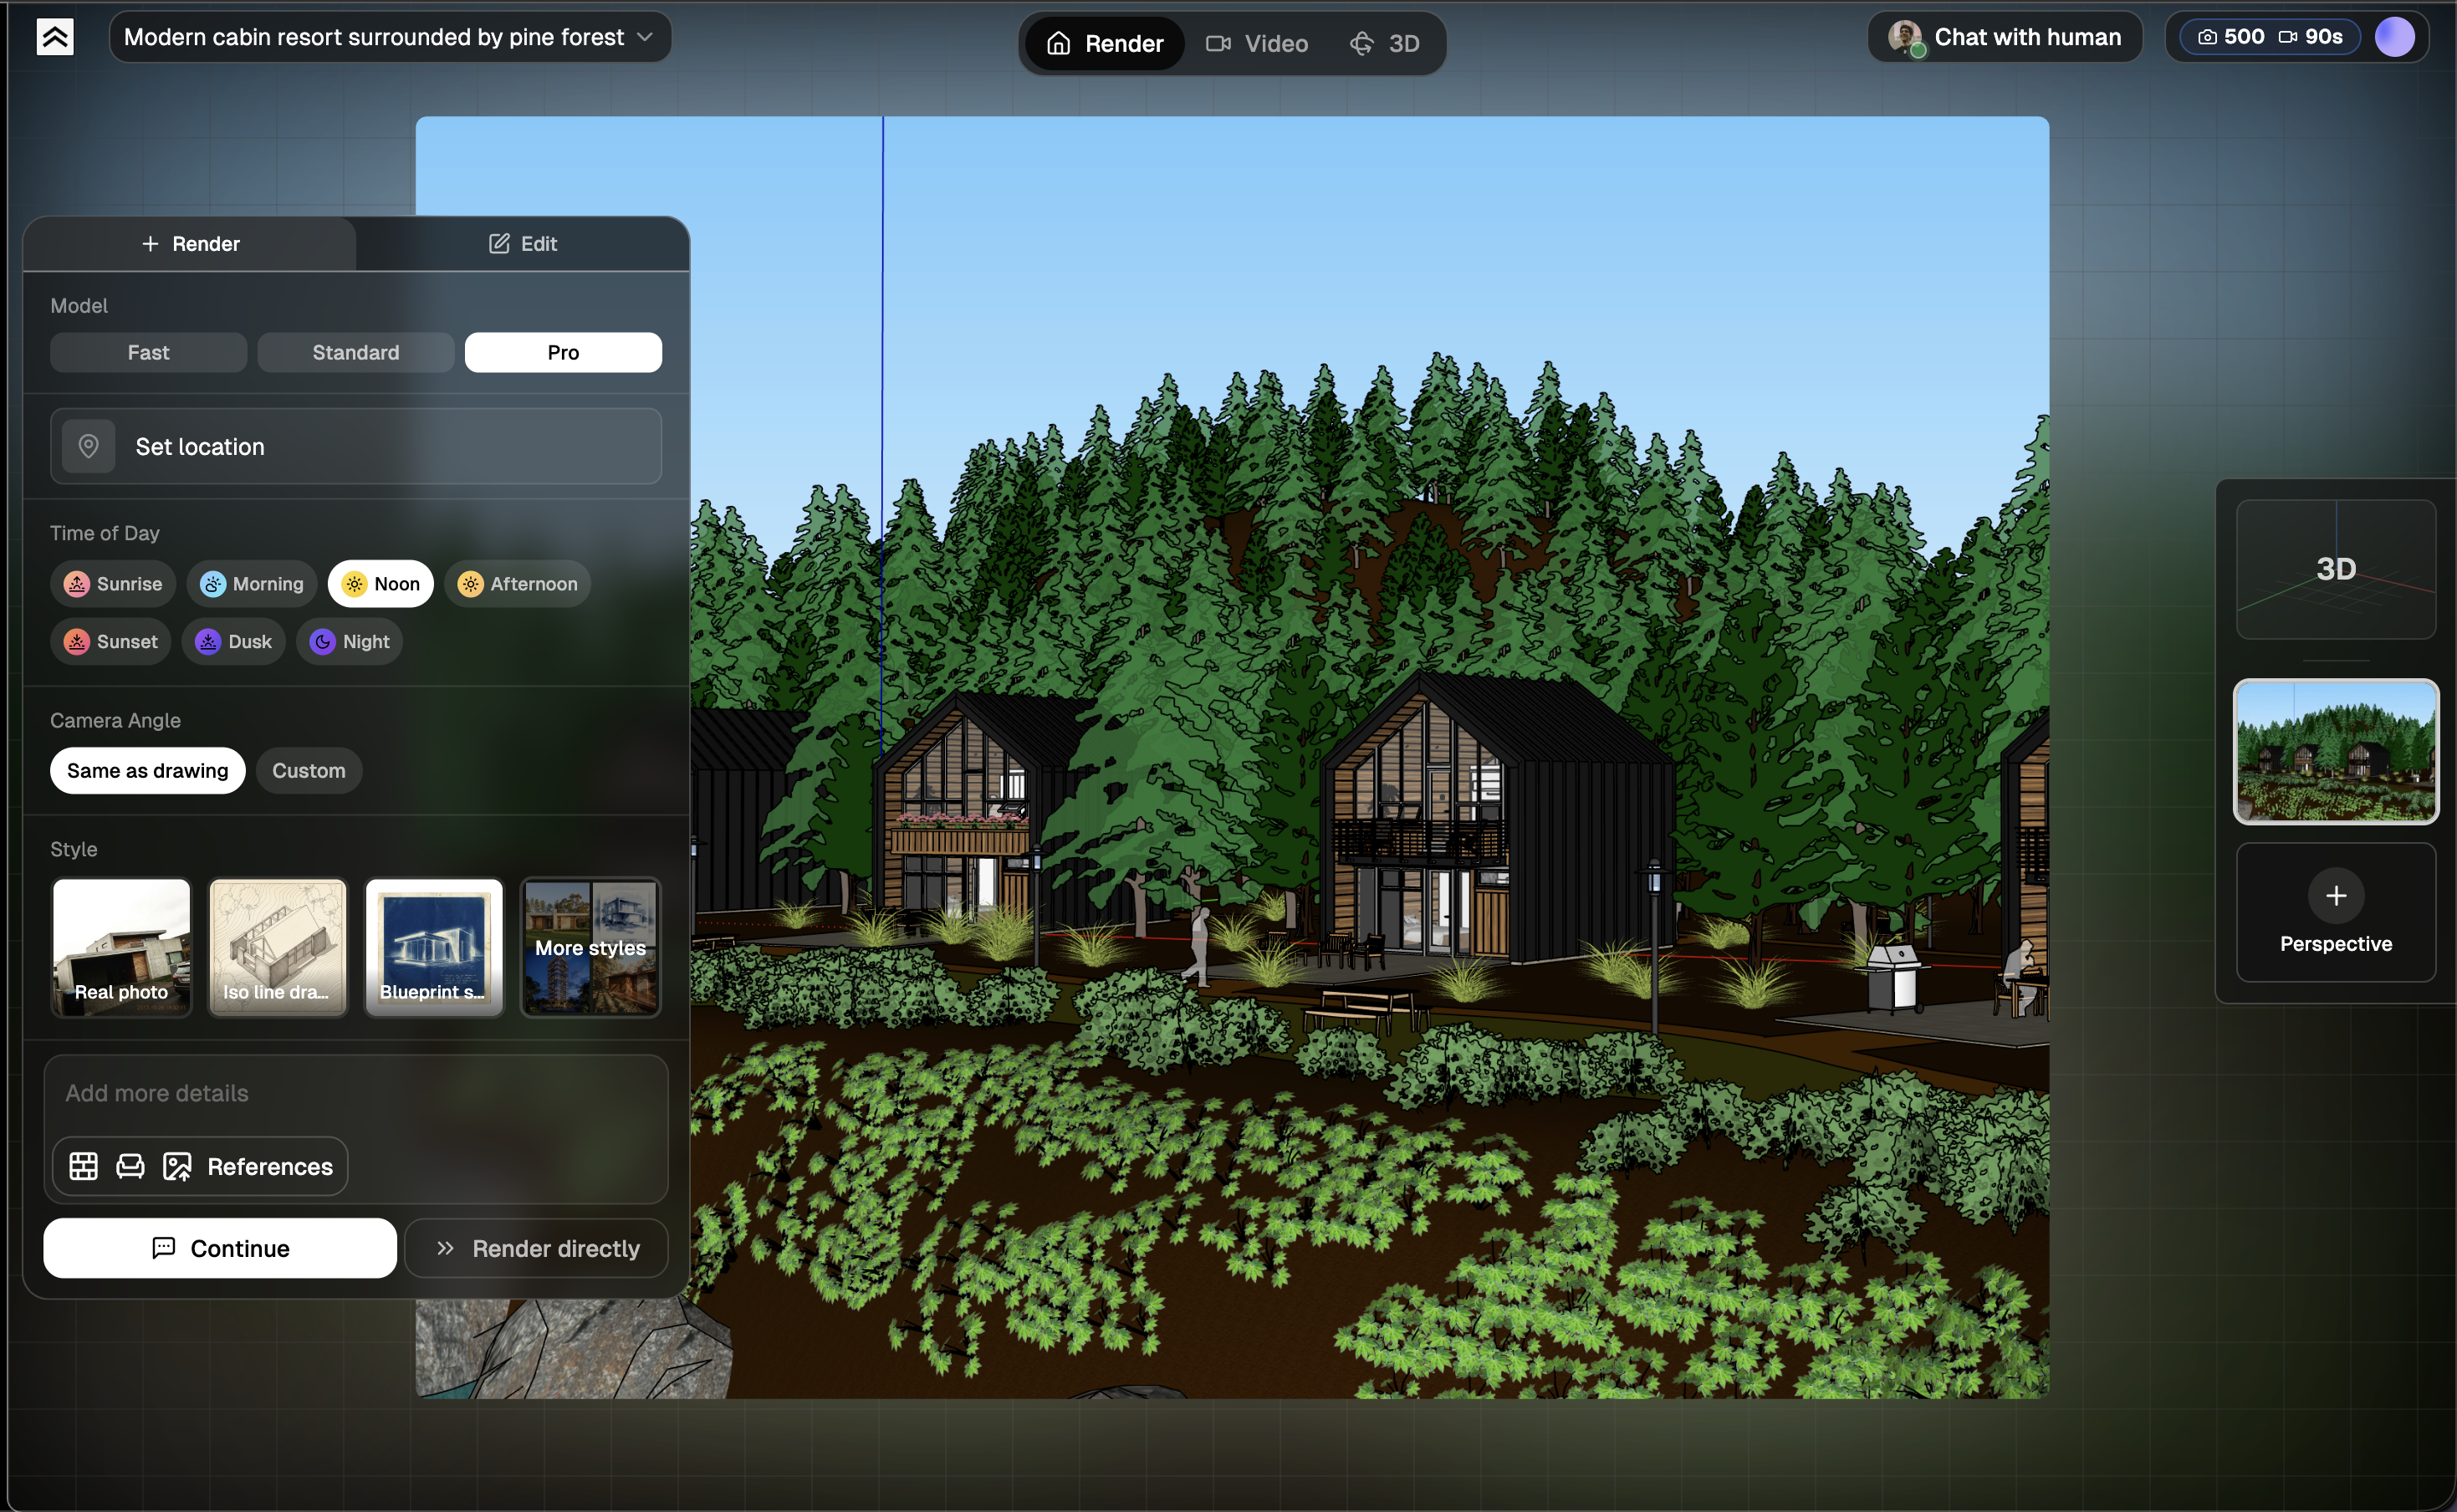
- For a first pass, start with Pro, keep the camera on Same as drawing when fidelity matters, and use Render directly if the visual direction is already clear.
- If more than about 30% of the image is wrong, generate a new version. If the problem is local, edit the image instead.
- Move to 3D Preview only when exact context, saved perspectives, or several matched views matter enough to justify the extra model-export step.
First choose the right AutoCAD rendering path for this job
This is the decision that keeps the rest of the workflow simple.
Use AutoCAD's native render when:
- you are still exploring materials, lights, and general scene direction inside AutoCAD,
- you want in-app feedback before you commit to a presentation image,
- or you are still shaping the view itself rather than polishing the final result.
Use Autodesk Rendering when:
- your team wants to stay inside the Autodesk stack,
- you want cloud rendering instead of leaning on local hardware,
- or the project already follows an Autodesk-native review workflow.
Use an exported AI workflow when:
- the model or view is already ready,
- the job is mainly to get a believable still image fast,
- you want to compare mood, materials, or lighting directions quickly,
- or you need a stronger client-facing visual without spending more time building the native render setup.
Then split the AI path one more time:
- Flat image export if you need one persuasive still from an AutoCAD view.
- Model-based handoff if the job depends on exact site context, saved perspectives, or several consistent views.
That is the practical answer to rendering in AutoCAD. AutoCAD can render. The real choice is which path matches this exact deliverable.
Prepare the AutoCAD view before you export it
Most weak AI renders start with a weak handoff, not a weak prompt.
Before you export anything from AutoCAD, lock down the view you actually want to show.
1. Choose the view that already explains the design well
Do not export a random working viewport. Pick the angle that already tells the story: a street-level exterior, an eye-level interior, or a clean three-quarter massing view.
Even the native AutoCAD rendering workflow depends on the quality of the starting camera. If the view is confusing before export, the render usually stays confusing after upload.
2. Remove clutter before the handoff
If you are exporting a screenshot or rendered viewport image, keep the source easy to read.
That usually means:
- hide helper geometry, construction layers, and temporary annotations,
- crop tightly around the part of the model that matters,
- keep only the surrounding context that helps explain the scene,
- and avoid heavy overlays that make the building harder to understand.
A clean, high-contrast AutoCAD export gives the AI a much better chance of preserving the design.
3. Make the source readable, not perfect
You do not need a finished marketing render before export. You do need a source image with enough structure to protect the geometry.
If every surface is flat gray, or the building disappears into shadow, the AI has less to hold on to. The goal is not to finish the image in AutoCAD. The goal is to hand off one clear view with enough light, contrast, and shape to guide the render.
4. Decide whether this is an image job or a model job
If you only need one convincing still, an image export is usually faster.
If the same project will need several matched views, or if the result has to sit in real site context, stop and plan for a 3D-model workflow instead. That saves time later because you are not forcing a flat image to solve a model-based problem.
Export and upload the file the simple way
Render a House supports both image and 3D uploads, but the simplest AutoCAD handoff is usually the image route.
For image uploads, the practical rules are:
- use
PNGwhen line clarity matters, - use
JPEGwhen the export is closer to a screenshot or shaded viewport image, - keep the file under 5 MB,
- and aim for roughly 2000 to 3000 px on the long side.
If you want the exact matrix, see Supported File Formats and Upload Your Design.
A few important boundaries:
DWGis not a direct upload format.- The accepted 3D formats are
GLB,GLTF, andOBJ. - Base AutoCAD does not give you a frictionless built-in
GLBorOBJexport path in the normal workflow.
That last point matters. If you need the model-based route, expect an extra step such as a plugin or an intermediate conversion path. Some exporter options exist, but that is still an escalation path, not the default recommendation.
If your design lives in SketchUp rather than AutoCAD, the export is more direct — see SketchUp to Render for the step-by-step.
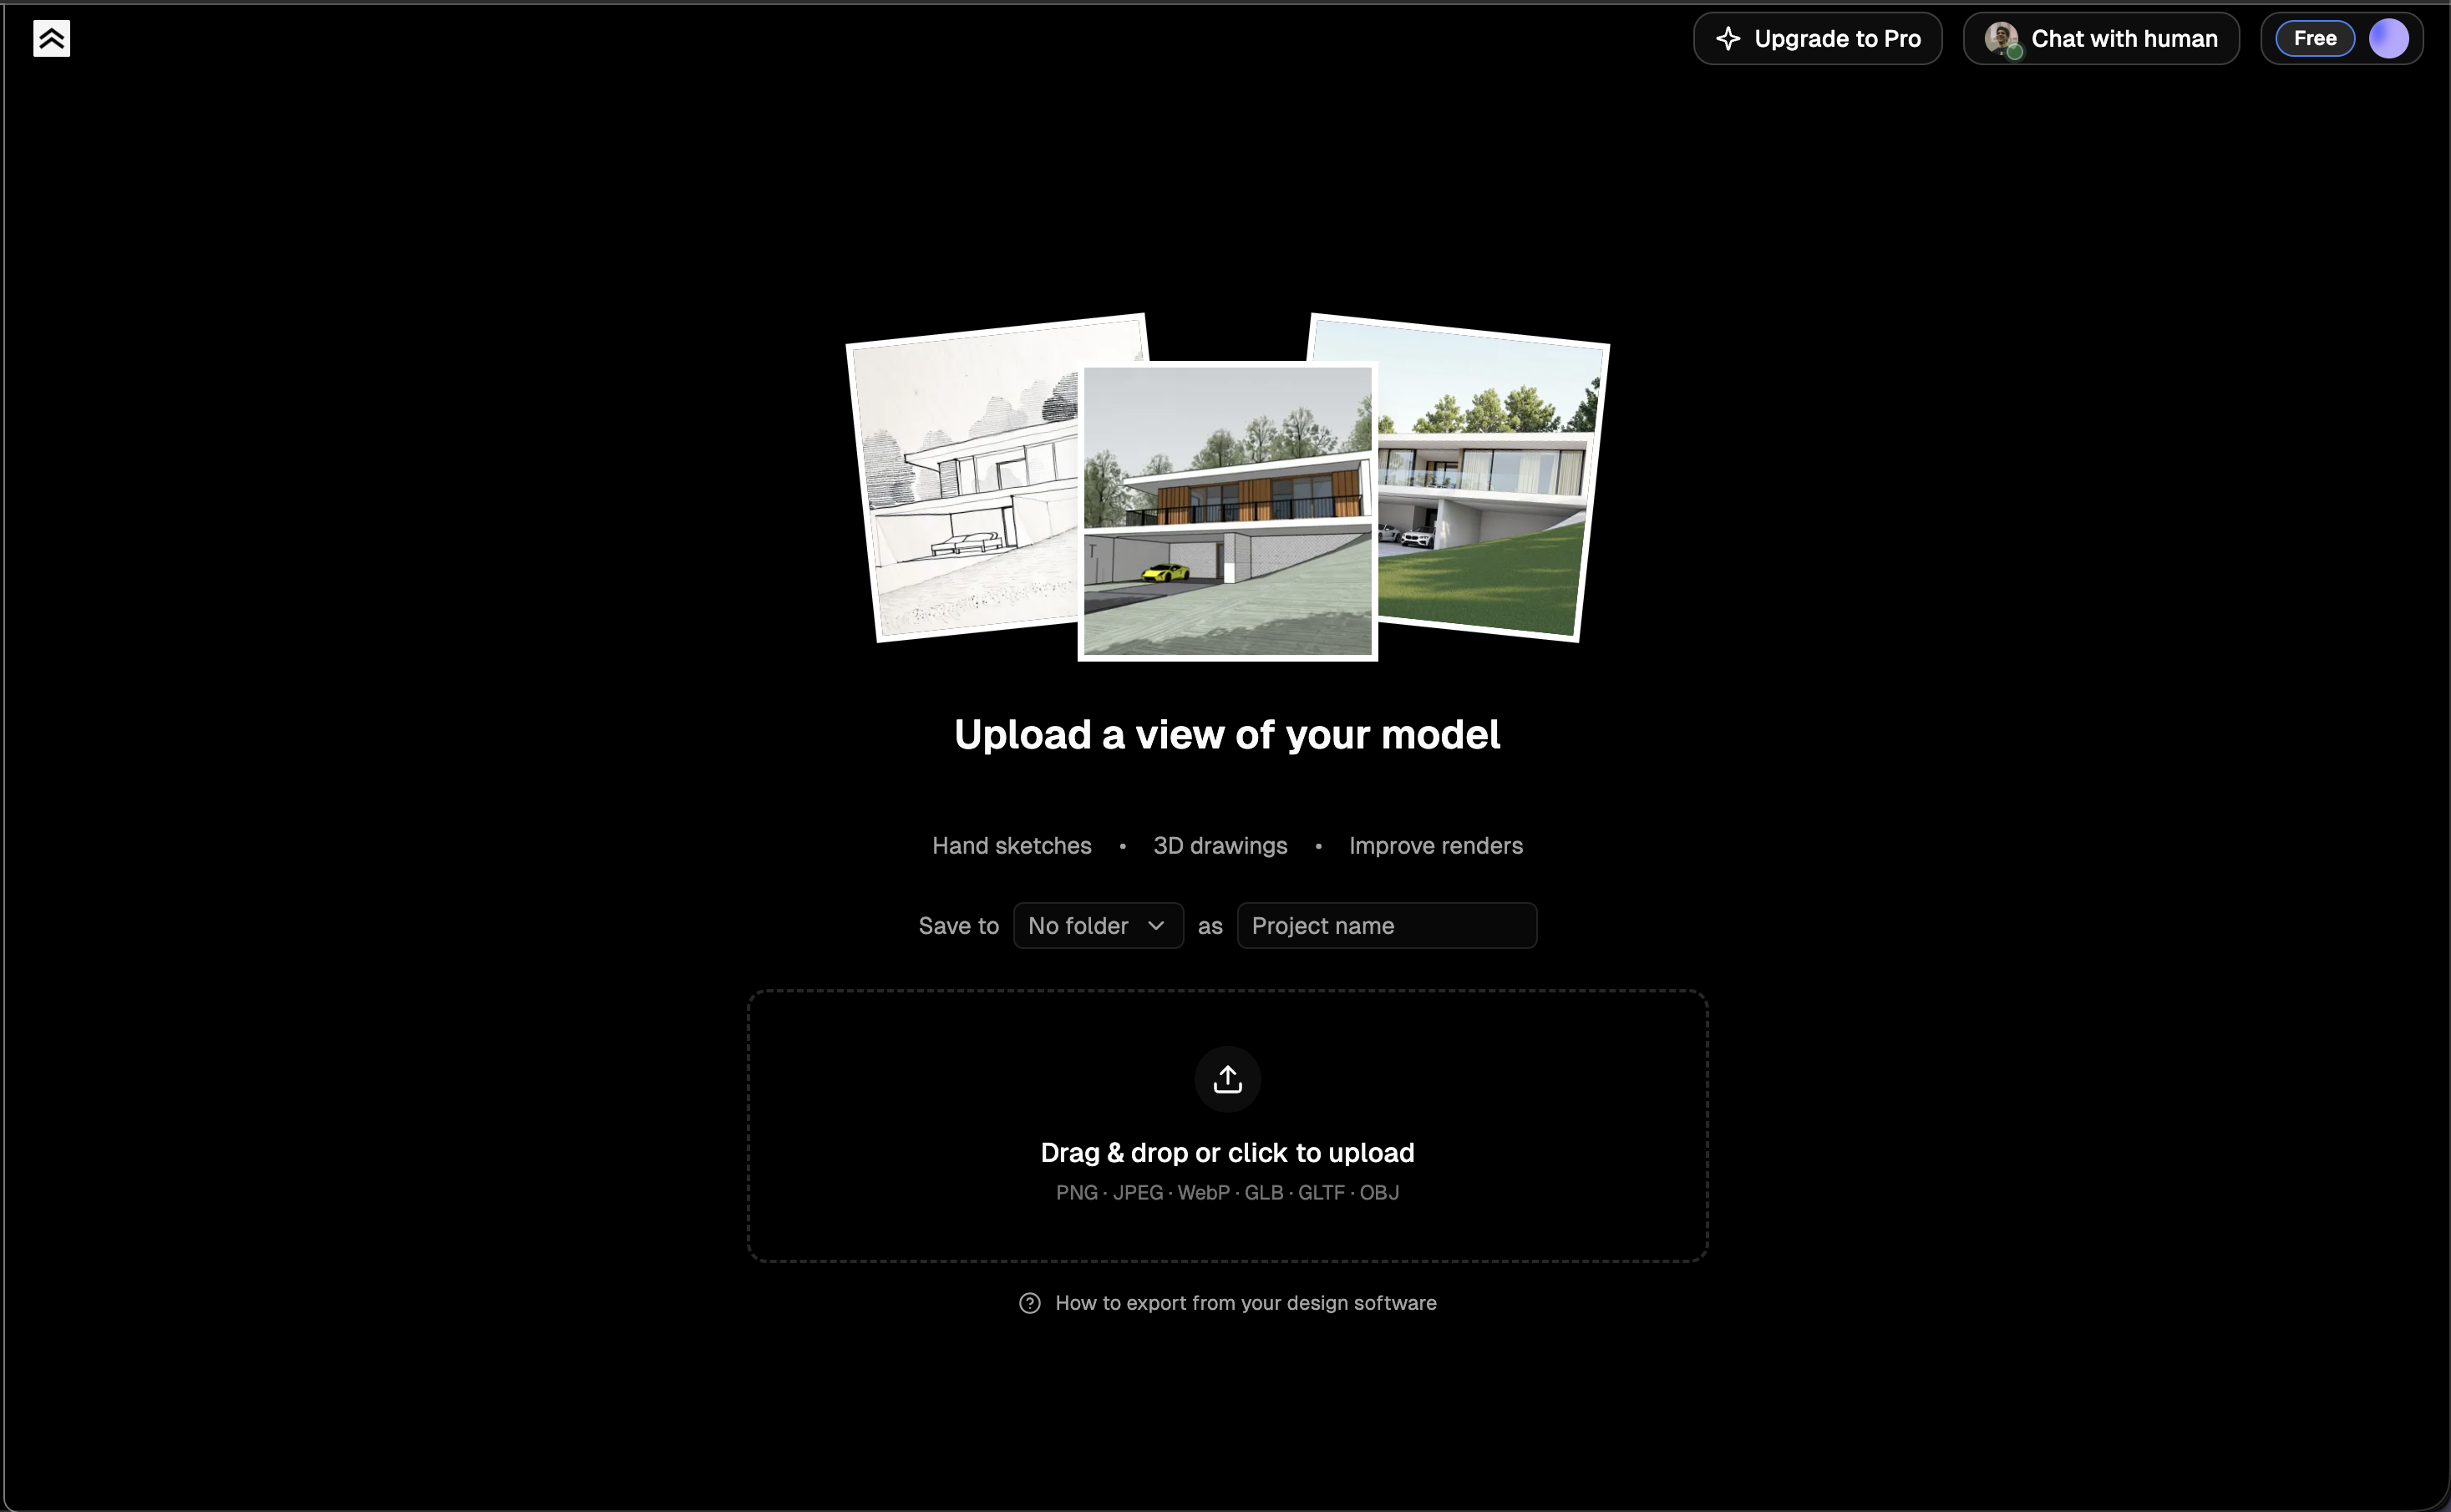
Image path: best for one strong still
If your goal is one client-ready image from an existing AutoCAD view, export the cleanest PNG or JPEG you can and upload that file.
This is usually the right path when:
- you already like the camera angle,
- the job is mainly to improve materials, light, and mood,
- and exact real-world placement is not the main requirement.
Model path: better for exact context and repeatable viewpoints
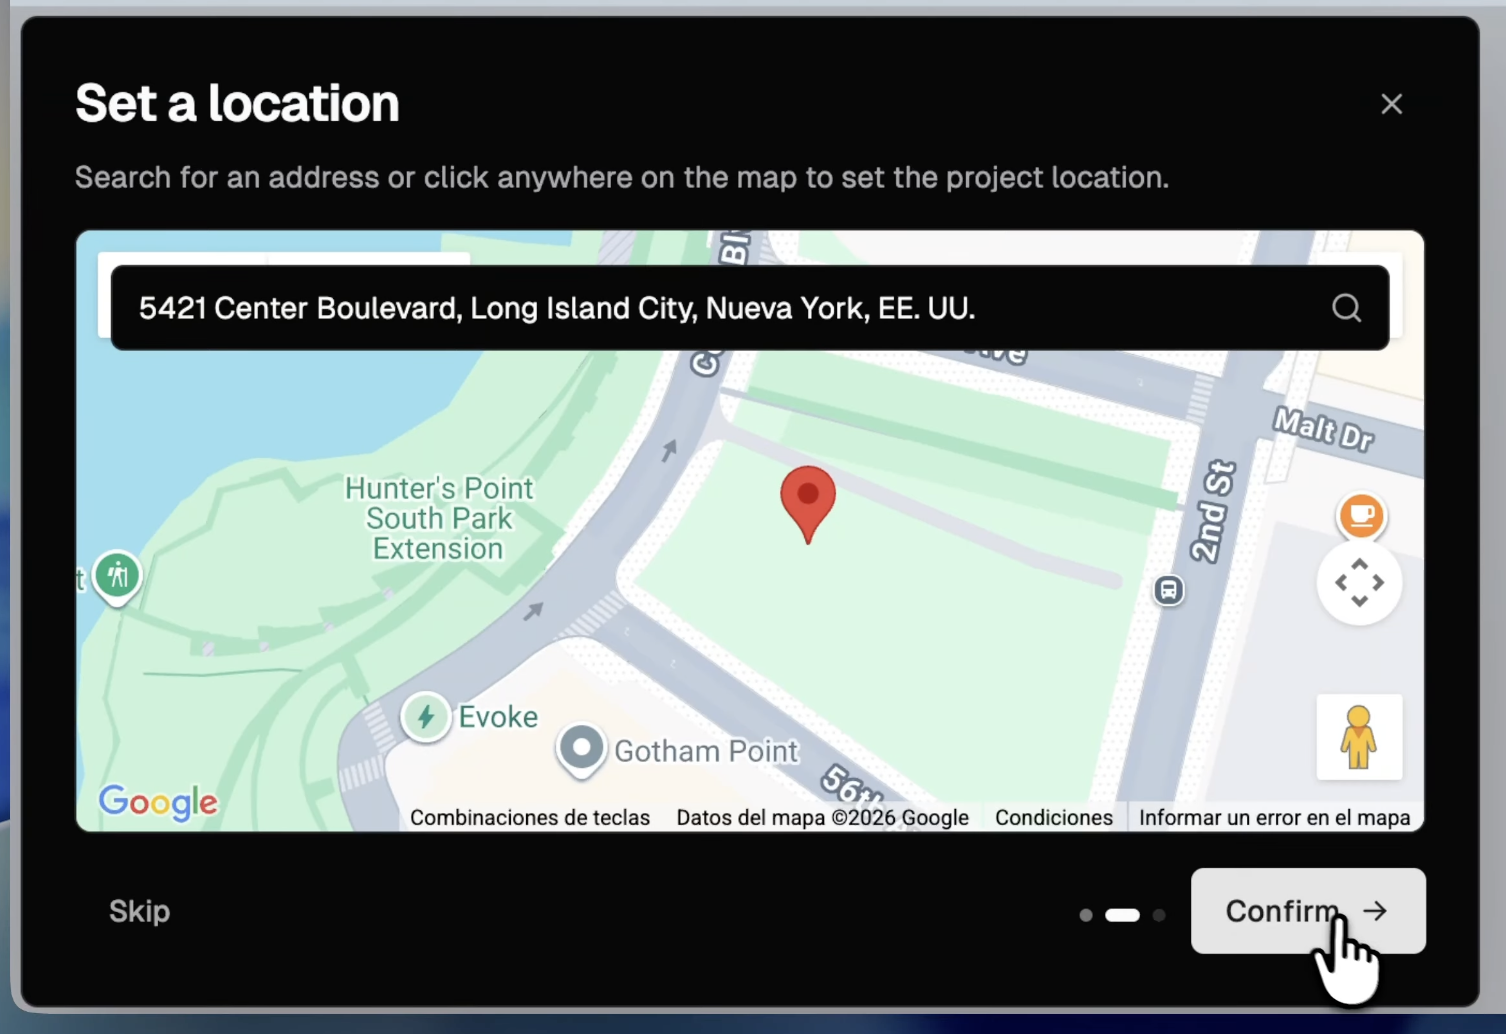
If you need exact placement, saved perspectives, or several consistent angles, solve the model export and move into 3D Preview.
That path makes sense when:
- the building must sit on a real plot or street,
- the camera position has to stay repeatable,
- or you are creating a set of related visuals instead of one isolated render.
If you are unsure which route to use, start with the image path unless you already know the project needs exact context.
Build the first render in Render a House
Once the AutoCAD export is inside Render a House, keep the first pass calm and deliberate.
Start with Pro
Start with Pro for the first render. It is the strongest default when you want a believable first pass from an AutoCAD source image.
Keep the camera on Same as drawing when fidelity matters
If you exported a specific AutoCAD view for a reason, protect it. Same as drawing preserves the framing of the uploaded source. That is the safest choice when the view already communicates the design well.
Keep the prompt short and practical
Your AutoCAD view already supplies a lot of structure:
- geometry,
- proportions,
- camera direction,
- and the basic composition.
Your prompt should add only what the export does not fully show yet:
- material direction,
- lighting mood,
- entourage or landscape density,
- and the realism level you want.
Good first-pass prompts are short and specific.
For example:
Photorealistic exterior render from the uploaded AutoCAD view, warm late-afternoon light, light stone facade, black metal window frames, keep massing, openings, and camera angle unchanged.Photorealistic interior render from the uploaded AutoCAD perspective, soft daylight, light oak cabinetry, warm limestone floor, keep layout, geometry, and camera angle unchanged.
If the material or mood is hard to describe, use a reference image instead of a longer prompt.
Use Render directly when the direction is already clear
If the export is clean and you already know what the image should become, Render directly is usually the fastest route.
Use the guided conversation only when you want help shaping the brief. When the view and direction are already clear, going straight to the render is simpler.
For the full settings walkthrough, see Generate Renders.
Keep the result faithful to the AutoCAD model
This is where many AutoCAD workflows go off track. Most users do not want realism at the cost of losing the geometry, proportions, or camera they already set up.
The safest move is to describe the realism you want while being equally clear about what should not change.
Useful phrases include:
keep existing massing,preserve openings and proportions,keep the camera angle unchanged,only improve materials and lighting,- and
do not redesign the facade.
Be careful with stronger style pushes. If fidelity matters, it is usually safer to keep the style controlled and write the realism directly into the prompt than to push the image toward a more aggressive transformation.
If one finish or one zone keeps going wrong, use references. They are often more reliable than writing a longer and longer text prompt.
If you want to see how style strength changes the result, Choose a Style is the right reference.
Iterate without wasting time or credits
Once the first render is on screen, the next decision is straightforward.
Generate a new version when the whole image is off
Do this when:
- the overall mood is wrong,
- the lighting is wrong,
- the image feels too stylized or not realistic enough,
- or the composition needs a broader reset.
Edit the image when the problem is local
Do this when:
- one material is wrong,
- one object should be removed or added,
- one landscape area needs cleanup,
- or one part of the building needs a targeted fix.
Render a House gives a practical rule that is worth keeping: if more than about 30% of the image needs to change, generate a new version. If the problem is smaller and local, edit the image instead.
That keeps the workflow from turning into random trial and error.
For local corrections and version control, see Refine and Iterate.
When AI is faster than native AutoCAD or Autodesk Rendering
This is the decision many AutoCAD users are really trying to make.
AI is usually faster when:
- the AutoCAD geometry is already ready,
- the camera is already chosen,
- the missing piece is presentation polish,
- you want to compare several material or lighting directions quickly,
- or you need a believable still sooner than a full native render setup would allow.
That is where the native AutoCAD path starts to feel heavy. You still have to manage materials, user-defined lights, backgrounds, and repeated render passes before the image gets close to a polished presentation visual.
AutoCAD's native render still makes sense when you are exploring directly inside the model. Autodesk Rendering still makes sense when staying inside the Autodesk stack matters more than simplifying the workflow.
So the practical answer is not AI replaces every AutoCAD render.
It is this:
- use native AutoCAD rendering when you are still shaping the scene inside AutoCAD,
- use Autodesk Rendering when your team wants a cloud-rendered Autodesk-native path,
- and use the AI handoff when the model and view already work and speed to a persuasive still matters most.
When a flat export stops being enough: switch to 3D Preview
A flat image export is the fast path. It stops being the best path when the job depends on exact context or multiple consistent viewpoints.
Move to 3D Preview when:
- the building must sit on a real site,
- the exact camera angle matters,
- you need several matched perspectives of the same project,
- or the visuals need to stay consistent across a set.
That workflow is:
- solve the AutoCAD model export into a supported 3D format,
- place the model in 3D Preview,
- save the perspectives you need,
- render those views,
- then use Copy Render when you want several angles to keep the same look.
This is the right move when the project has stopped being one strong still and has become a repeatable presentation system.
If exact context does not justify the export overhead, stay on the image route. It is usually the simpler and faster answer.
Conclusion
A good AutoCAD rendering workflow is mostly about choosing the right handoff.
If you need one fast visual, export a clean AutoCAD view, upload it as an image, start with Pro, protect the camera and geometry, and iterate quickly.
If you need exact context or a multi-angle set, solve the model export and move into 3D Preview instead.
That is the simplest way to get the speed advantage of AI without pretending every AutoCAD rendering job should follow the same path.
FAQ
Can AutoCAD render by itself?
Yes. AutoCAD has native rendering tools. The question is not whether it can render. The question is whether that path is the fastest way to get the exact visual you need.
Is AutoCAD good for photorealistic renders?
It can produce presentation visuals, but the native route usually asks for more setup around materials, lights, backgrounds, and repeated passes. If the model and camera are already ready, an exported AI workflow is often faster for a client-facing still.
Can AutoCAD export OBJ or GLB directly?
Not cleanly in the normal base workflow. If you need a model-based handoff, expect a plugin or intermediate conversion step before you get to a supported GLB, GLTF, or OBJ file.
Should I use PNG or JPEG from AutoCAD?
Use PNG when line clarity matters more. Use JPEG when the export is closer to a shaded viewport image or screenshot.
Can I turn an AutoCAD 2D drawing into a render?
If the goal is a client-friendly visual rather than a native 3D render, yes. The simplest route is usually to export the drawing as a clean image and use the AI workflow to add material, light, and atmosphere.
Next step
Build the fastest AutoCAD handoff for the job
If you want to test the workflow directly, start with a clean AutoCAD export, keep the docs nearby, and decide early whether you really need the heavier 3D path.
