 Render a House/Updated Sep 16, 2026
How to Render in Blender 5.2: 8-Step Architecture Guide
Blender 5.2 is the current long-term-support line identified on the official Blender LTS page. It includes EEVEE for real-time rendering, Cycles for physically based path tracing, and Workbench for fast modeling and layout views.
The practical answer is an 8-step workflow: define the deliverable, import and audit the model, clean the scene, choose the engine, establish lighting, build materials, lock the camera, then test and save the output. The visible workflow table below is the source for the 8-step figure in this page's title and description.
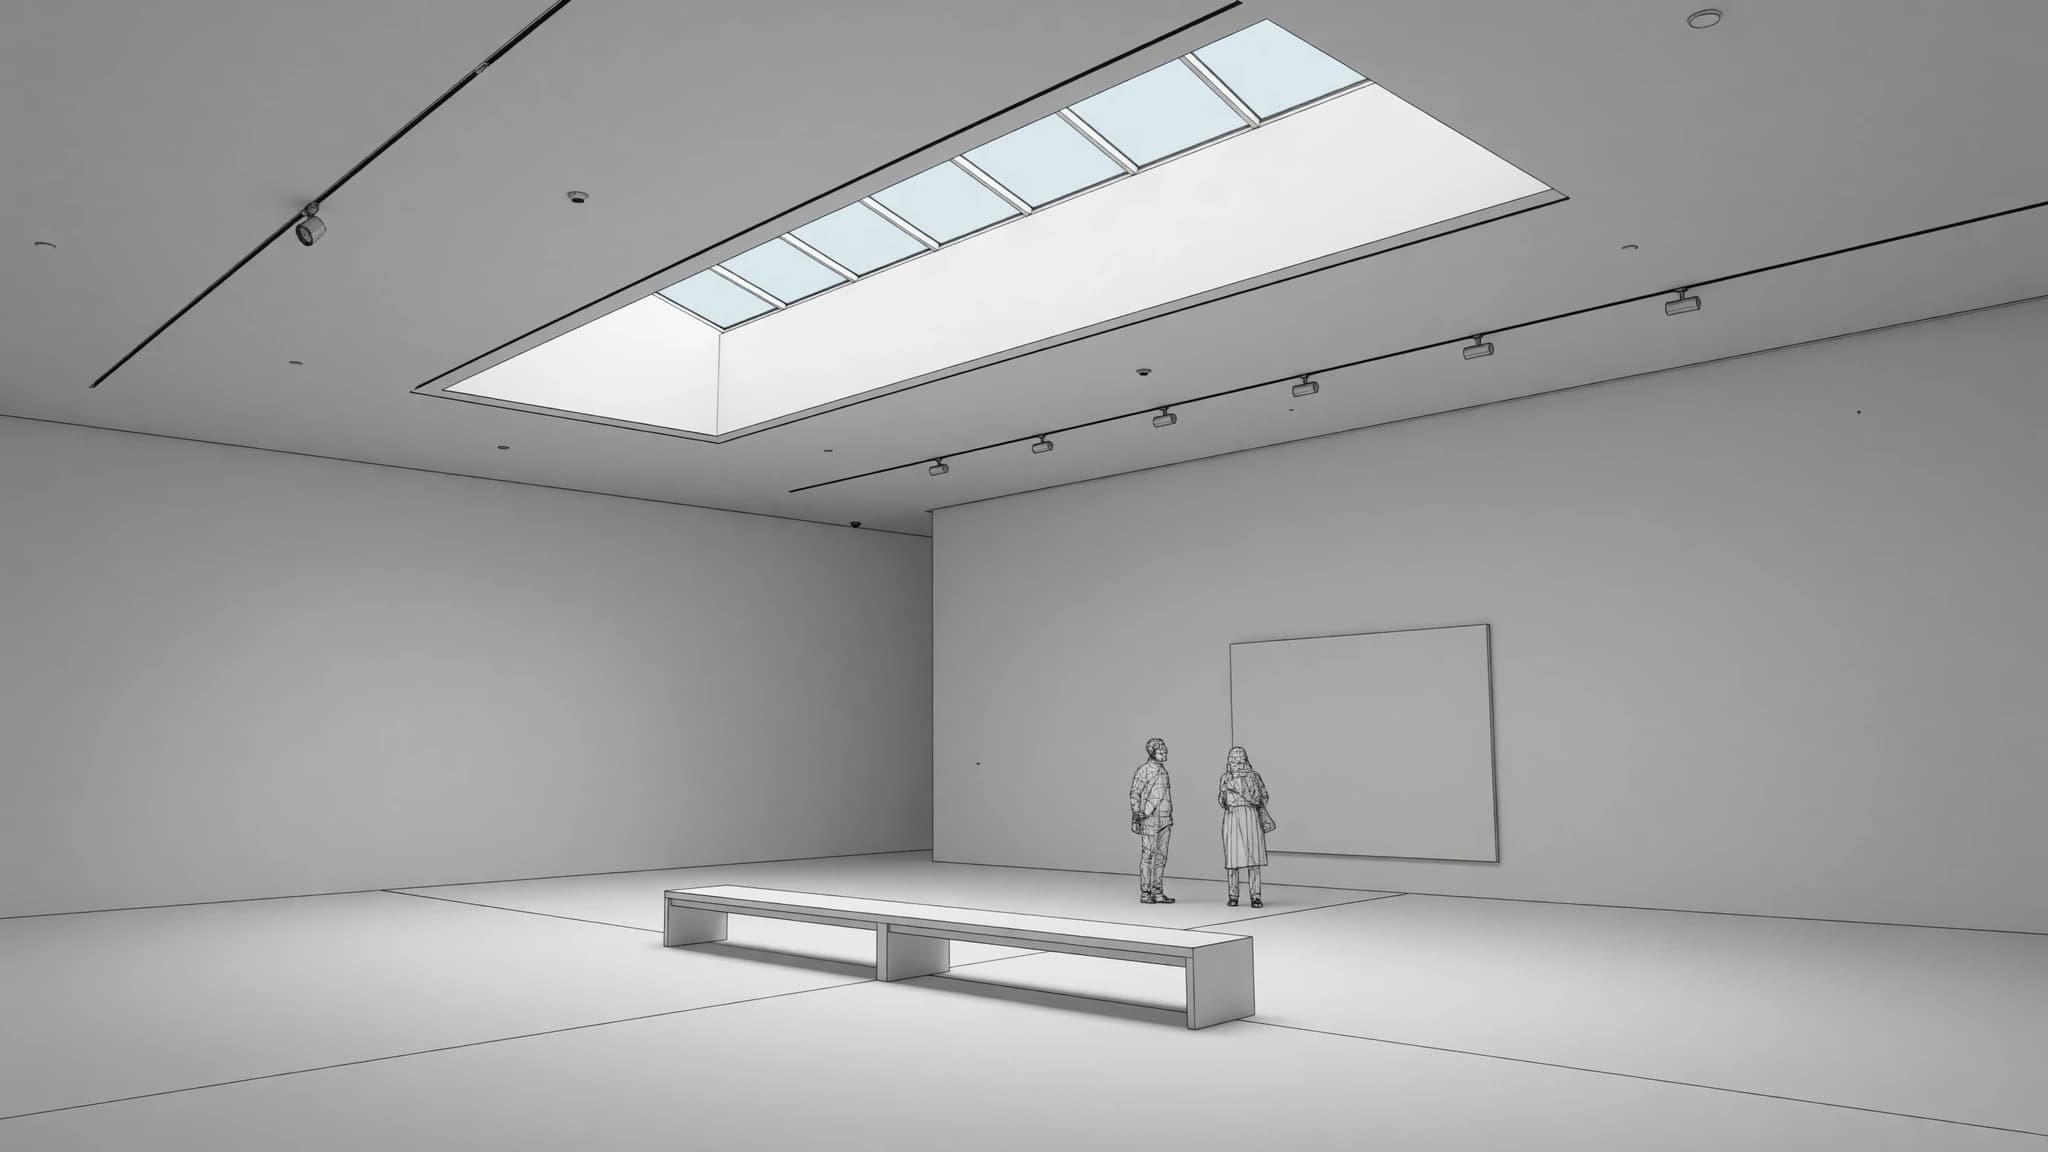
How do you render in Blender?
Rendering in Blender means turning a prepared scene, camera, lights, materials, and render settings into an image or animation. For an architectural still, do not start by maximizing quality controls. Approve the deliverable and camera first, solve the scene at test quality, and increase cost only after the image works.
| Step | Action | Completion check |
|---|---|---|
| 1. Define the deliverable | Choose the final view, aspect ratio, image use, and engine target before adding detail. | The output is defined. |
| 2. Import and audit the model | Bring in the architectural geometry, then check scale, axes, hierarchy, normals, missing faces, and material assignments. | Scale and imported data are verified. |
| 3. Clean and organize the scene | Remove duplicate or hidden geometry, name important objects, group logical systems, and preserve editability. | The scene is organized for revision. |
| 4. Choose Eevee or Cycles | Use Eevee when interactive speed is the priority and Cycles when path-traced light transport is required. | The engine matches the deliverable. |
| 5. Establish the lighting | Solve the environment and primary light direction before adding practical fixtures and accents. | Primary illumination reads clearly. |
| 6. Build the materials | Set physically coherent surface response, correct texture scale, and only the detail visible from the approved camera. | Visible surfaces behave coherently. |
| 7. Lock the camera | Compose the view, correct distracting vertical convergence, and approve framing before final-quality work. | The framing is approved. |
| 8. Test, render, and save | Run a small test, inspect noise and artifacts, set the final output format, render the image, and save the result deliberately. | The final file is saved and reviewed. |
Blender's render-engine guide describes the underlying choice: EEVEE prioritizes real-time performance, Cycles prioritizes physically accurate rendering, and Workbench prioritizes modeling and technical previews. Choose that route early because engine-specific behavior can change materials, effects, and settings.
How do you import an architectural model?
The best import is not necessarily the file with the most data. It is the file that carries the geometry, organization, materials, and camera information needed for the approved view without importing an unmanageable project. Export only the relevant model or a visualization copy when the source application allows it.
| Format | Useful when | Audit after import |
|---|---|---|
| GLB or glTF | Useful when the source application can package mesh data, materials, and textures into a transmission-oriented format | Check embedded or linked textures, material interpretation, axes, and object hierarchy. |
| OBJ | A broad geometry handoff for static architectural meshes | Keep the matching MTL and texture files together; Blender describes OBJ material support as basic. |
| FBX | A common exchange route from DCC, BIM, and modeling tools | Inspect units, axes, hierarchy, smoothing, instances, cameras, and material conversion after import. |
| USD | A scene exchange route when the upstream application and pipeline support it | Validate the exact features preserved by both exporter and importer instead of assuming complete parity. |
Blender's import and export index lists the current interchange routes. For format-specific behavior, use the official glTF, OBJ, and FBX documentation rather than assuming that materials or hierarchy will transfer unchanged.
- Save the original source model before making an export copy.
- Export a known reference object or dimension with the model.
- Import into a new Blender file before merging into a developed render scene.
- Compare orientation, extents, object count, material regions, and missing geometry with the source application.
- Reopen the Blender file after saving to confirm that texture paths and linked resources remain available.
How do you prepare an architectural scene?
Set the scene's unit system and scale deliberately, then verify it against a known architectural dimension. The official scene-units documentation explains how the unit system and scale factor affect displayed values. Do not judge imported scale by the grid alone.
Clean the geometry before building final materials. Look for reversed normals, missing faces, duplicate surfaces, coplanar elements, microscopic details, excessive subdivisions, isolated objects, and hidden geometry that still renders. Apply or preserve transforms according to the needs of modifiers, instancing, linked data, and downstream revision.
Organize the Outliner around work that will change together: building shell, glazing, interior, landscape, furniture, practical lights, context, and camera systems. Meaningful object and collection names matter when a material must change late or a heavy system must be hidden for a test render.
Keep small geometry only when it affects the approved view. Far facade details may be cheaper as textures or normal detail, while a close interior view may need modeled profiles, reveals, hardware, and edge treatment. The camera determines the useful level of detail.
Should you use Eevee or Cycles?
| Engine | Rendering approach | Best fit | Main caution |
|---|---|---|---|
| EEVEE | Real-time rasterization | Fast interactive previews, design iteration, animation, and stylized output | Indirect light, reflections, transparency, and other effects may need engine-specific setup and do not match a path tracer exactly. |
| Cycles | Physically based path tracing | Final images where realistic light transport, materials, and shadows matter | More render time, noise management, and hardware sensitivity than a real-time engine |
| Workbench | Basic rasterization | Modeling, layout, object checks, and technical previews | Not intended as the photorealistic final-render route |
EEVEE uses rasterization and is designed for speed and interactivity while supporting PBR materials. It is effective for rapid composition, lighting, and material iteration, but Blender documents that it has limitations and is not a path tracer.
Cyclesis Blender's physically based path tracer for production rendering. It is the safer reference when the image depends on complex indirect light, realistic reflection, glass, or subtle shadow behavior. Compatible GPU acceleration must be enabled through Blender's Cycles device settings when that hardware route is available.
A practical hybrid is to keep the scene responsive while modeling and composing, use low-cost previews for lighting and materials, and move to Cycles test renders before final approval. Do not wait until the last render to discover an engine-specific material or lighting difference.
How do you light an architectural render?
Light architecture from large relationships to small accents. Start with the environment and the main daylight direction. Then add practical fixtures, interior fill, signage, or landscape accents only when they support the design and remain plausible.
- Choose whether the image is driven by an exterior sky, an HDRI environment, an artificial interior, or a mixed condition.
- Establish the dominant direction and contrast before tuning materials.
- Check openings, overhangs, glazing, and wall thickness when light appears blocked or leaks through the model.
- Add visible fixtures and local sources with a consistent purpose, color, size, and falloff.
- Review highlights, shadows, dark corners, reflections, and the exterior seen through glazing from the final camera.
Blender's world-environment guide documents background color, sky, and environment-texture lighting. Its light-object guide covers point, spot, area, and sun lights. Large area sources create broad illumination and softer shadows, while sun lights are useful for consistent directional daylight.
Avoid solving a dark scene by multiplying unrelated lights. Test the world, primary light, practical fixtures, exposure, and materials separately. A temporary neutral material can reveal whether the problem is lighting or surface response.
How do you build architectural materials?
Architectural materials need believable scale and light response more than visual complexity. Start with base color, roughness, and the surface's reflective character. Add normal, bump, displacement, transmission, opacity, or subsurface behavior only when the real material and final camera require it.
Blender materials are built from shader nodes and assigned to objects or faces. The official materials introduction explains the material system shared by the supported render engines. A node network can be technically valid and still look wrong if texture scale, mapping, color space, roughness, or geometry is wrong.
- Compare brick, tile, timber, boards, panels, and joints with a known building dimension.
- Keep albedo values plausible so exposure and lighting do not have to compensate for unnaturally dark or bright surfaces.
- Use roughness variation to describe wear and manufacturing, not as noise added equally to every surface.
- Give glazing an appropriate model, thickness, normals, and environment to reflect; glass cannot look convincing in an empty scene.
- Fix UVs and seams before increasing texture resolution or adding more maps.
Preview hero materials under simple lighting before judging them in the complete scene. Then inspect them again from the locked camera, because detail that works in a close material preview may alias, disappear, or become distracting in the final image.
How do you set an architectural camera?
The camera is a design decision, not a last-minute crop. Decide which spatial relationship the image must explain, then choose the viewpoint, lens, height, orientation, and aspect ratio together. Blender supports perspective, orthographic, and panoramic camera types in its camera system.
For a conventional architectural perspective, keep verticals controlled by leveling the camera and using camera shift where appropriate. A wider field of view can reveal more space but may stretch foreground objects and exaggerate depth. Move the camera before reaching for an extreme lens.
Compose with the final output ratio visible. Check foreground obstructions, tangencies, cropped openings, reflected camera clutter, empty ceiling or paving, and whether people or furniture overpower the architecture. Save approved cameras instead of repeatedly overwriting one view.
Lock the camera before final lighting and high-resolution work. A camera change alters visible texture scale, reflections, sun balance, interior exposure, depth of field, and the value of every detail added for the earlier view.
How do you set render quality and output?
Set resolution and aspect ratio from the actual deliverable. A screen review, presentation board, print crop, and animation frame do not need the same output. Test at a smaller size, but keep the same aspect ratio so composition decisions remain valid.
In Cycles, raise quality after checking whether noise is caused by difficult lighting, tiny bright emitters, glossy paths, transmission, or unnecessary geometry. Denoising can clean residual noise, but it cannot restore detail that was never sampled clearly. In EEVEE, inspect shadows, reflections, transparency, light probes, volumetrics, and engine-specific limitations from the final camera.
Blender's display and view settings control how scene-linear values are transformed for viewing. Make exposure and view-transform choices deliberately and judge them on a calibrated target when color approval matters.
The Output Properties define render size, file location, and format. Blender's standard behavior saves animation frames to the configured path, while a still render must be saved from the Image Editor or written through a File Output node. Use the image-format guide to choose channels, bit depth, compression, and whether the file is a display-ready image or an intermediate for compositing.
Save a test and reopen it outside Blender before committing to a long render. This catches wrong paths, missing alpha, unexpected color transforms, compression choices, and dimensions while they are still cheap to correct.
Can you render a Blender project in a browser?
Render a House offers a browser-based alternative when the goal is to explore or produce an architectural image without maintaining a full local Blender render scene. It does not replace Blender's geometry editing, shader nodes, Eevee or Cycles settings, compositing, animation, or render-pass workflow.
The published supported-file-format guide lists PNG, JPEG, and WebP for image inputs, plus GLB, glTF, and OBJ for model inputs. It does not list native BLEND files. Do not upload a BLEND file and assume the browser will reproduce the Blender scene.
Image handoff
- Approve the Blender camera and visible geometry.
- Save a clean PNG, JPEG, or WebP reference.
- Upload the image and describe the intended materials, lighting, weather, landscape, and presentation direction.
- Compare generated details with the Blender model before presenting the result as a design view.
Model handoff
- Export GLB, glTF, or OBJ from Blender.
- Reopen the export and check scale, orientation, geometry, materials, and texture paths.
- Upload the supported model and establish the presentation view in the browser.
- Review the result against the Blender source before approval.
Use the image route when the Blender camera and composition are already correct. Use a supported model when the browser workflow needs a different view or model-aware placement. GLB is often the cleaner handoff because it can package the asset into one binary file, but the exported asset still needs inspection.
Read the local supported-format reference before export, or start from the architectural rendering tool. If Blender itself is slow or unstable, compare the workstation with the Blender system requirements.
What can these workflows not do?
A renderer produces a visual result from the information and assumptions in its scene. It cannot certify that the underlying design, imported data, physical specification, or generated detail is correct.
| Workflow | What it cannot replace | When to change course |
|---|---|---|
| EEVEE | A path-traced reference for every reflection, transmission, indirect-light, or shadow condition | Switch or validate in Cycles when the final decision depends on physically accurate light transport. |
| Cycles | A substitute for clean geometry, correct scale, coherent materials, or deliberate lighting | Return to scene preparation when higher samples only reveal the same modeling or shading problem more clearly. |
| Imported model | A guaranteed visual match to the authoring application | Rebuild materials, lights, modifiers, or hierarchy when the interchange format cannot carry the original system. |
| Rendered image | A coordinated BIM model, construction document, simulation, or proof that the design is buildable | Verify dimensions, assemblies, codes, and documentation in the appropriate source tools. |
| Render a House | A native BLEND editor, Cycles replacement, animation renderer, or node-based material tool | Stay in Blender when the deliverable depends on editable geometry, exact shader logic, animation, render passes, or repeatable engine settings. |
Preserve the source model, an approved camera, and a clean reference export. When a render drifts from the design, return to those references instead of trying to correct every geometry or material discrepancy in post-production.
What should you check before the final render?
Use this checklist after the route is chosen and before the final Blender render or browser handoff:
- The approved camera shows the intended design decision.
- Scene units and imported scale agree with a known dimension.
- Visible normals, missing faces, duplicate surfaces, and coplanar geometry have been checked.
- Objects are organized well enough to revise materials, visibility, and lighting without guesswork.
- The chosen engine matches the final quality and turnaround requirement.
- The environment and primary light direction are solved before decorative lights.
- Texture scale, roughness, transmission, and normal detail make sense at the final camera distance.
- The test render has been checked for noise, fireflies, light leaks, clipping, and unwanted reflections.
- Resolution, aspect ratio, transparency, color management, output path, and file format are deliberate.
- The saved image is compared with the source model before it is issued.
If the final review fails, identify whether the problem belongs to geometry, materials, lighting, camera, engine behavior, output, or the downstream handoff. Correct that system first instead of increasing every quality setting.
Which first-party sources support this guide?
Version-sensitive and workflow claims in this guide were checked against Blender and Render a House first-party documentation.
| First-party source | What it substantiates |
|---|---|
| Blender LTS releases | The Blender 5.2 long-term-support line used by this guide. |
| Blender render engines | The EEVEE, Cycles, and Workbench comparison and engine-selection guidance. |
| Blender import and export index | The current Blender import and export routes, with format-specific manuals linked separately. |
| Blender scene units | Scene unit-system and scale-factor behavior. |
| Blender light objects | Light types, intensity controls, source size, direction, and shadow behavior. |
| Blender world environment | World color, sky, and environment-texture lighting. |
| Blender materials | Blender's material and shader-node workflow. |
| Blender cameras | Perspective, orthographic, and panoramic camera systems. |
| Blender output properties | Resolution, output path, file format, and the still-image saving behavior. |
| Render a House supported file formats | The image and model formats accepted by the browser-based alternative. |
Blender rendering FAQ
Is Eevee or Cycles better for architecture?
Neither engine is universally better. Eevee is the stronger default when interactive speed and rapid iteration matter. Cycles is the stronger default when the final image depends on path-traced indirect light, reflections, transmission, and realistic shadows. Many architectural workflows build and test in Eevee or a low-cost Cycles preview, then validate the final scene in Cycles.
How do I render a still image in Blender?
Choose the active camera, render engine, resolution, color management, and output settings, then run Render Image. A still render is not automatically written to the configured animation output path in Blender's standard behavior, so save it from the Image Editor or use a File Output node when that is part of the pipeline.
What file format should I import into Blender?
Use the format that preserves the parts of the source scene you actually need. GLB or glTF can be convenient for packaged meshes, materials, and textures; OBJ is a simple static geometry route; FBX is common in DCC and design handoffs; USD can suit a broader scene pipeline. Always validate scale, axes, hierarchy, materials, and geometry after import.
Can Render a House open a BLEND file?
The published Render a House supported-format page does not list BLEND as a direct upload format. Use a supported image such as PNG or JPEG, or export a supported 3D format such as GLB, glTF, or OBJ. Check the exported result before upload because the handoff may change materials, texture links, scale, or hierarchy.
Why is my Blender architectural render dark?
Check the world strength or environment texture, light exposure and placement, camera exposure, material values, blocked openings, and color-management view. Diagnose one system at a time with a simple override material or isolated light rather than raising every light together.
Why is my Cycles render grainy?
Noise usually means the path tracer does not yet have enough useful samples for the scene's lighting conditions. Before only increasing samples, check tiny bright emitters, difficult indirect paths, glossy or transmissive materials, light placement, resolution, denoising, and whether hidden geometry is complicating the scene.
How do I keep walls vertical in a Blender render?
Keep the camera level when the composition allows it and use camera shift to move the frame without tilting the camera. This controls converging verticals while preserving the view. Use perspective convergence deliberately when it supports the image rather than correcting every view automatically.
Why do imported materials look different in Blender?
Interchange formats do not preserve every proprietary shader, texture convention, projection, or renderer feature. Confirm texture paths and color spaces, then rebuild the surface response with Blender shader nodes where needed. Treat imported materials as a starting point, not a guaranteed match.
Keep reading
Related guides and comparisons
20 Best AI Interior Design Tools in 2026 (Free & Paid)
Compare 20 AI interior design tools for room redesign, architecture, floor plans, virtual staging, and client renders, with vendor-sourced prices and tradeoffs.
How to Render in SketchUp: A Practical Workflow Guide
Learn how to render in SketchUp with native viewport tools, in-app plugins, external renderers, Photoshop, Mac workflows, and free options for architects.
How to Render in Revit 2027: Native, Twinmotion, and Export Workflows
Learn how to render in Revit 2027, export a finished raster image, open a view in Twinmotion, or use FBX plus conversion when you need GLB, glTF, or OBJ.
