
Upload the design source
Add a clean image, drawing export, screenshot, photo, or 3D model. The upload screen accepts common image formats and GLB, GLTF, or OBJ model files.
Start from a sketch, floor plan, elevation, screenshot, photo, or 3D model. Render a House helps you create visual render concepts quickly while keeping technical decisions in your source design software.
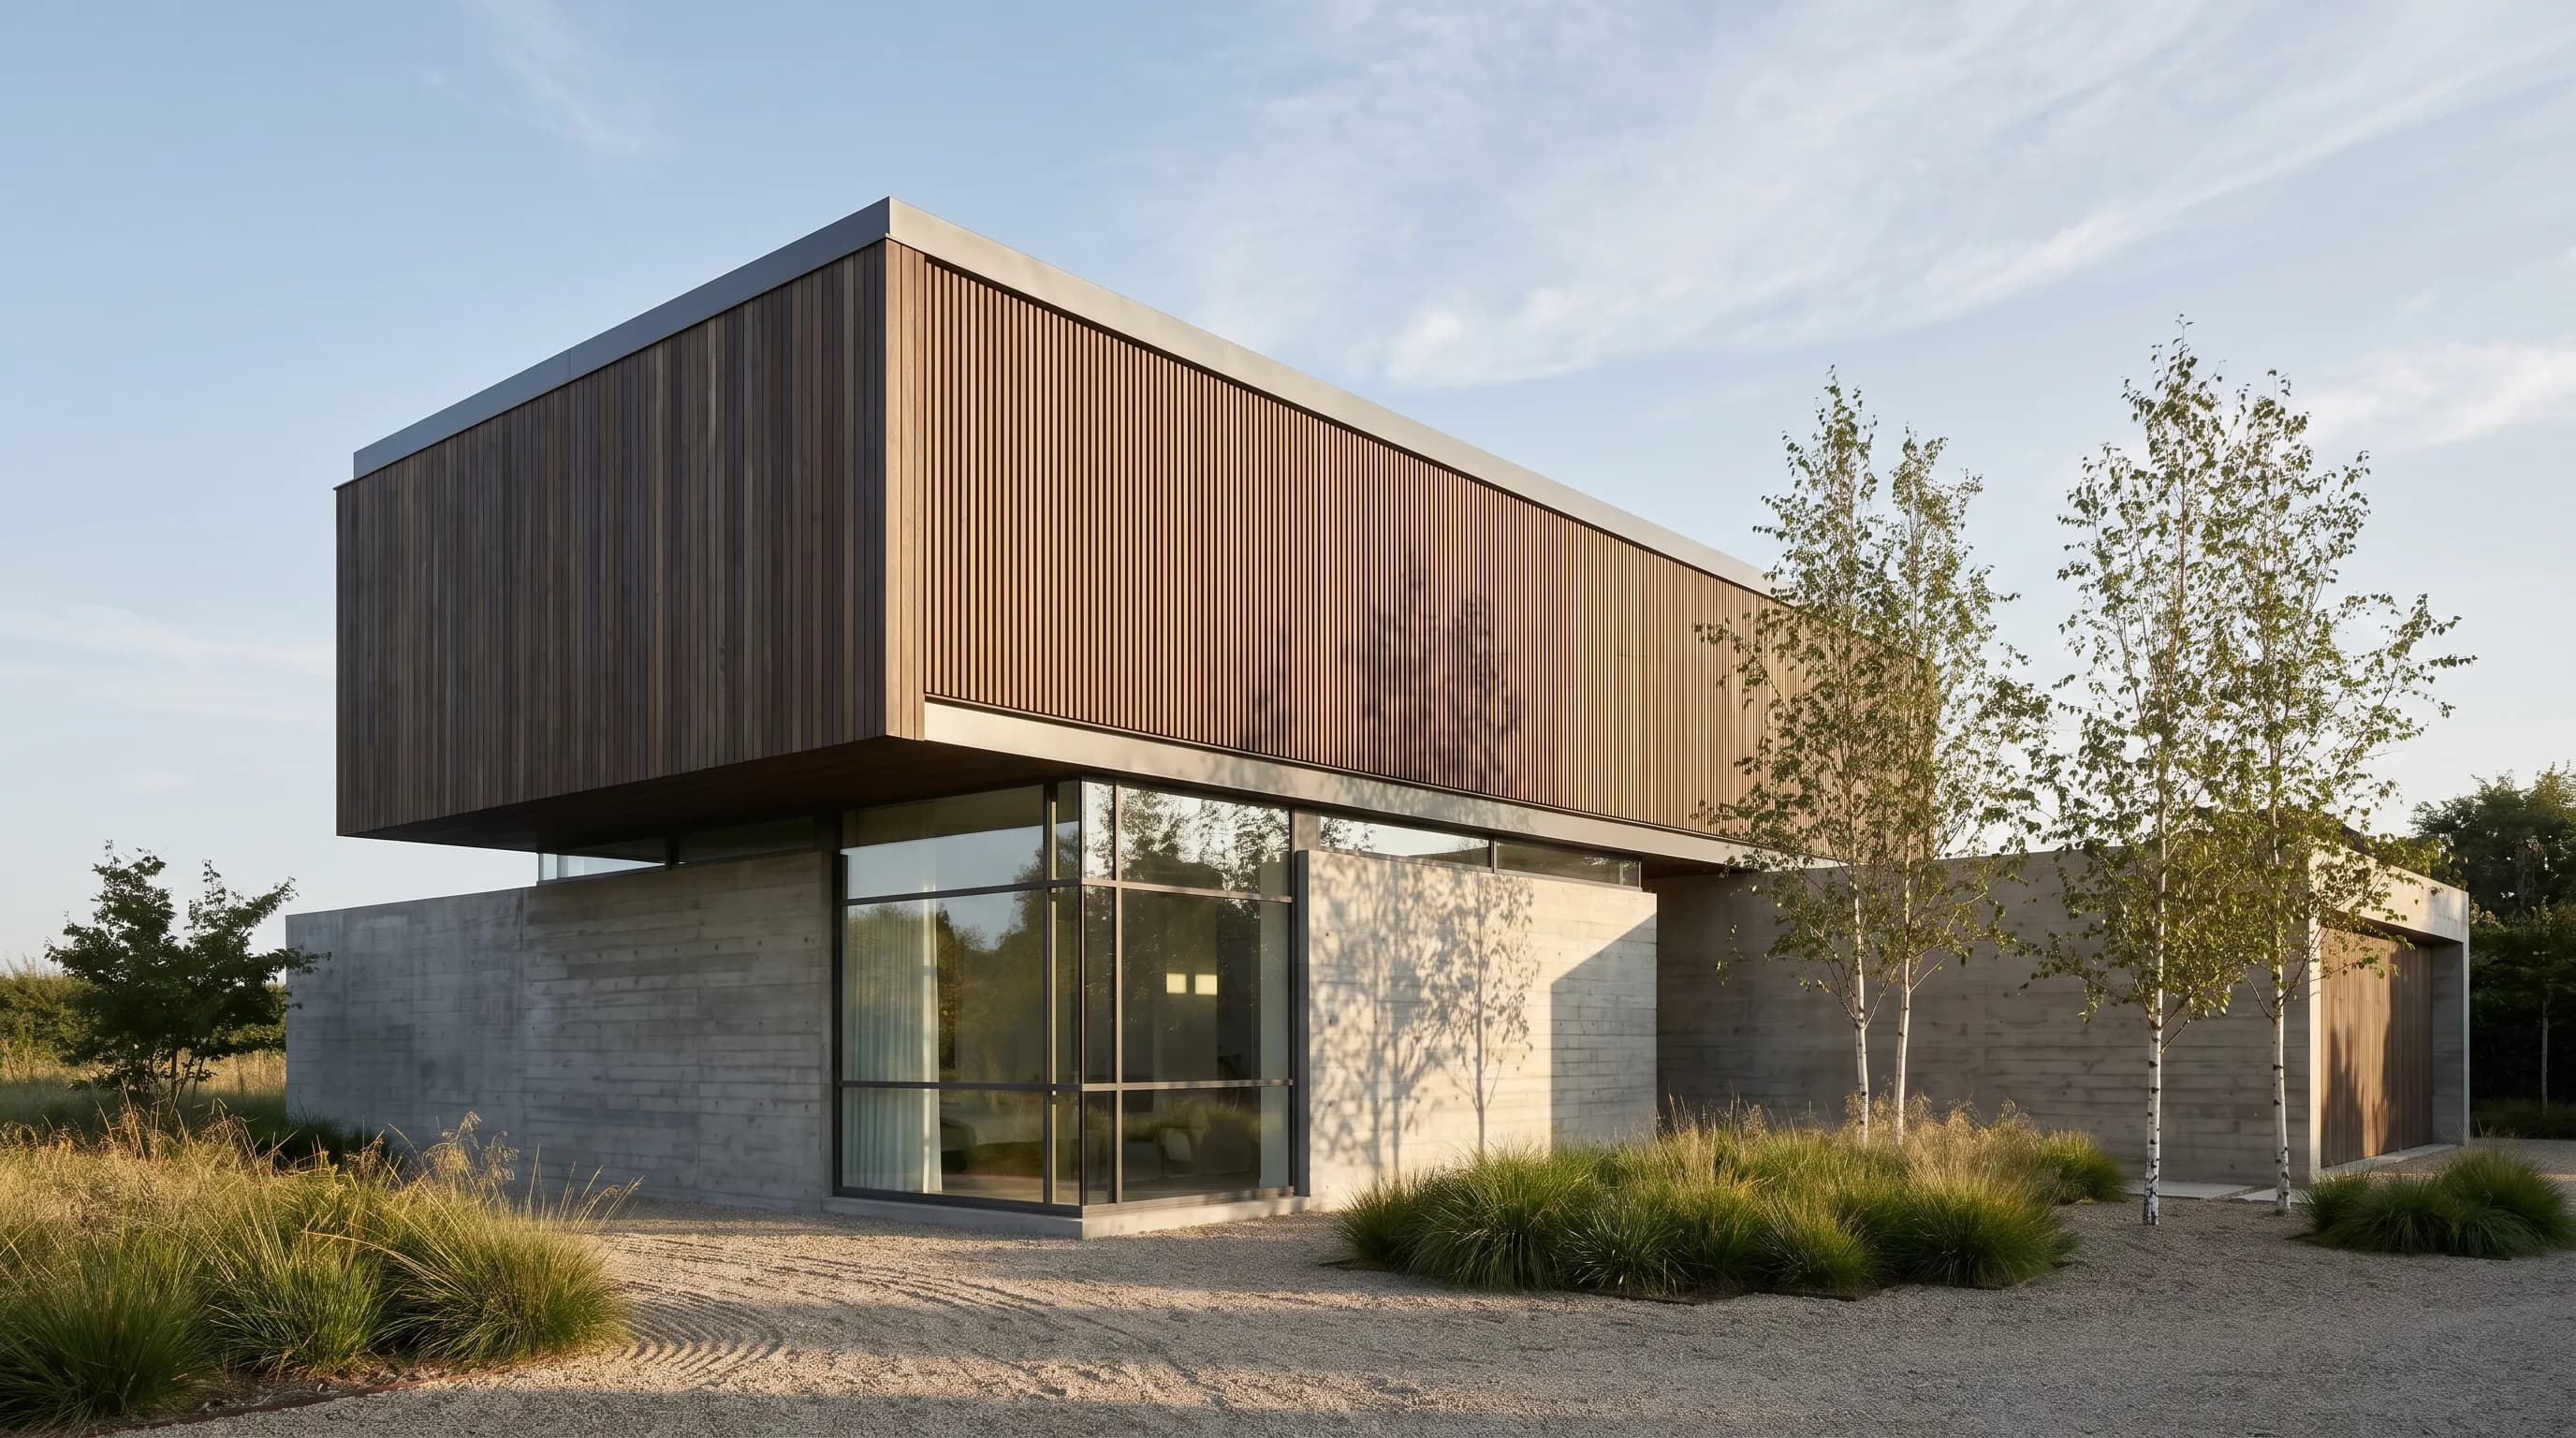
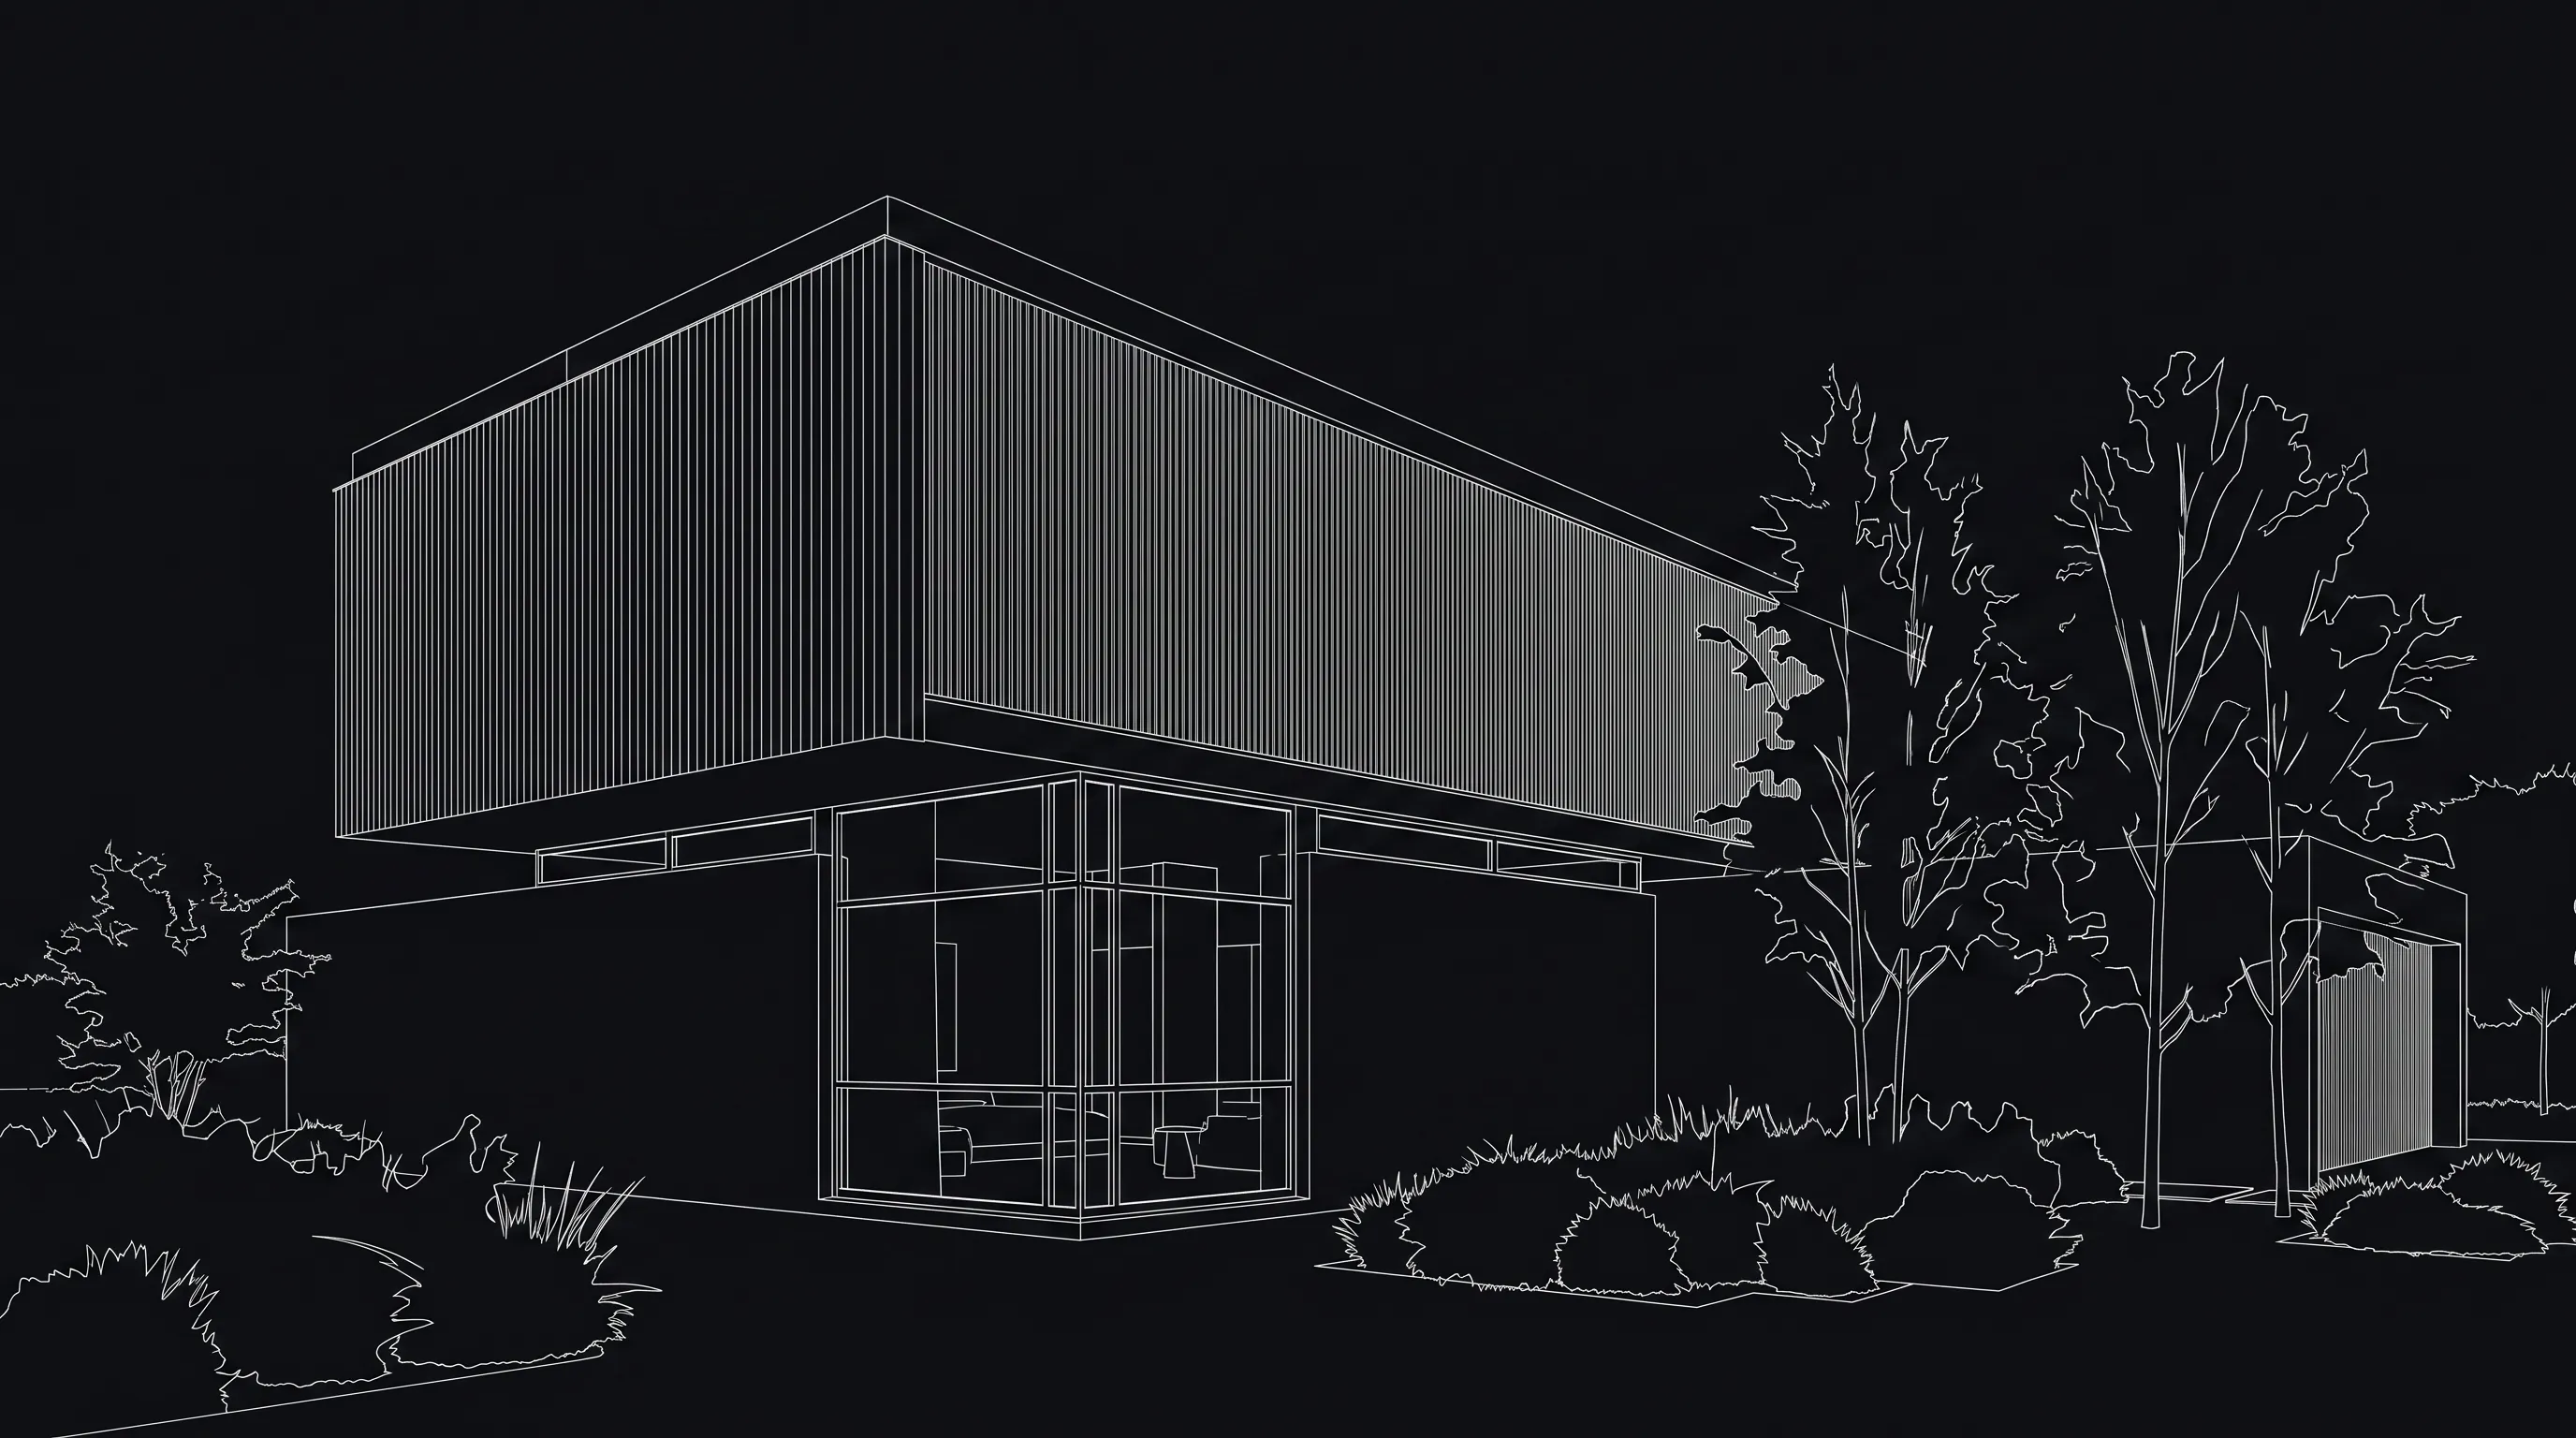
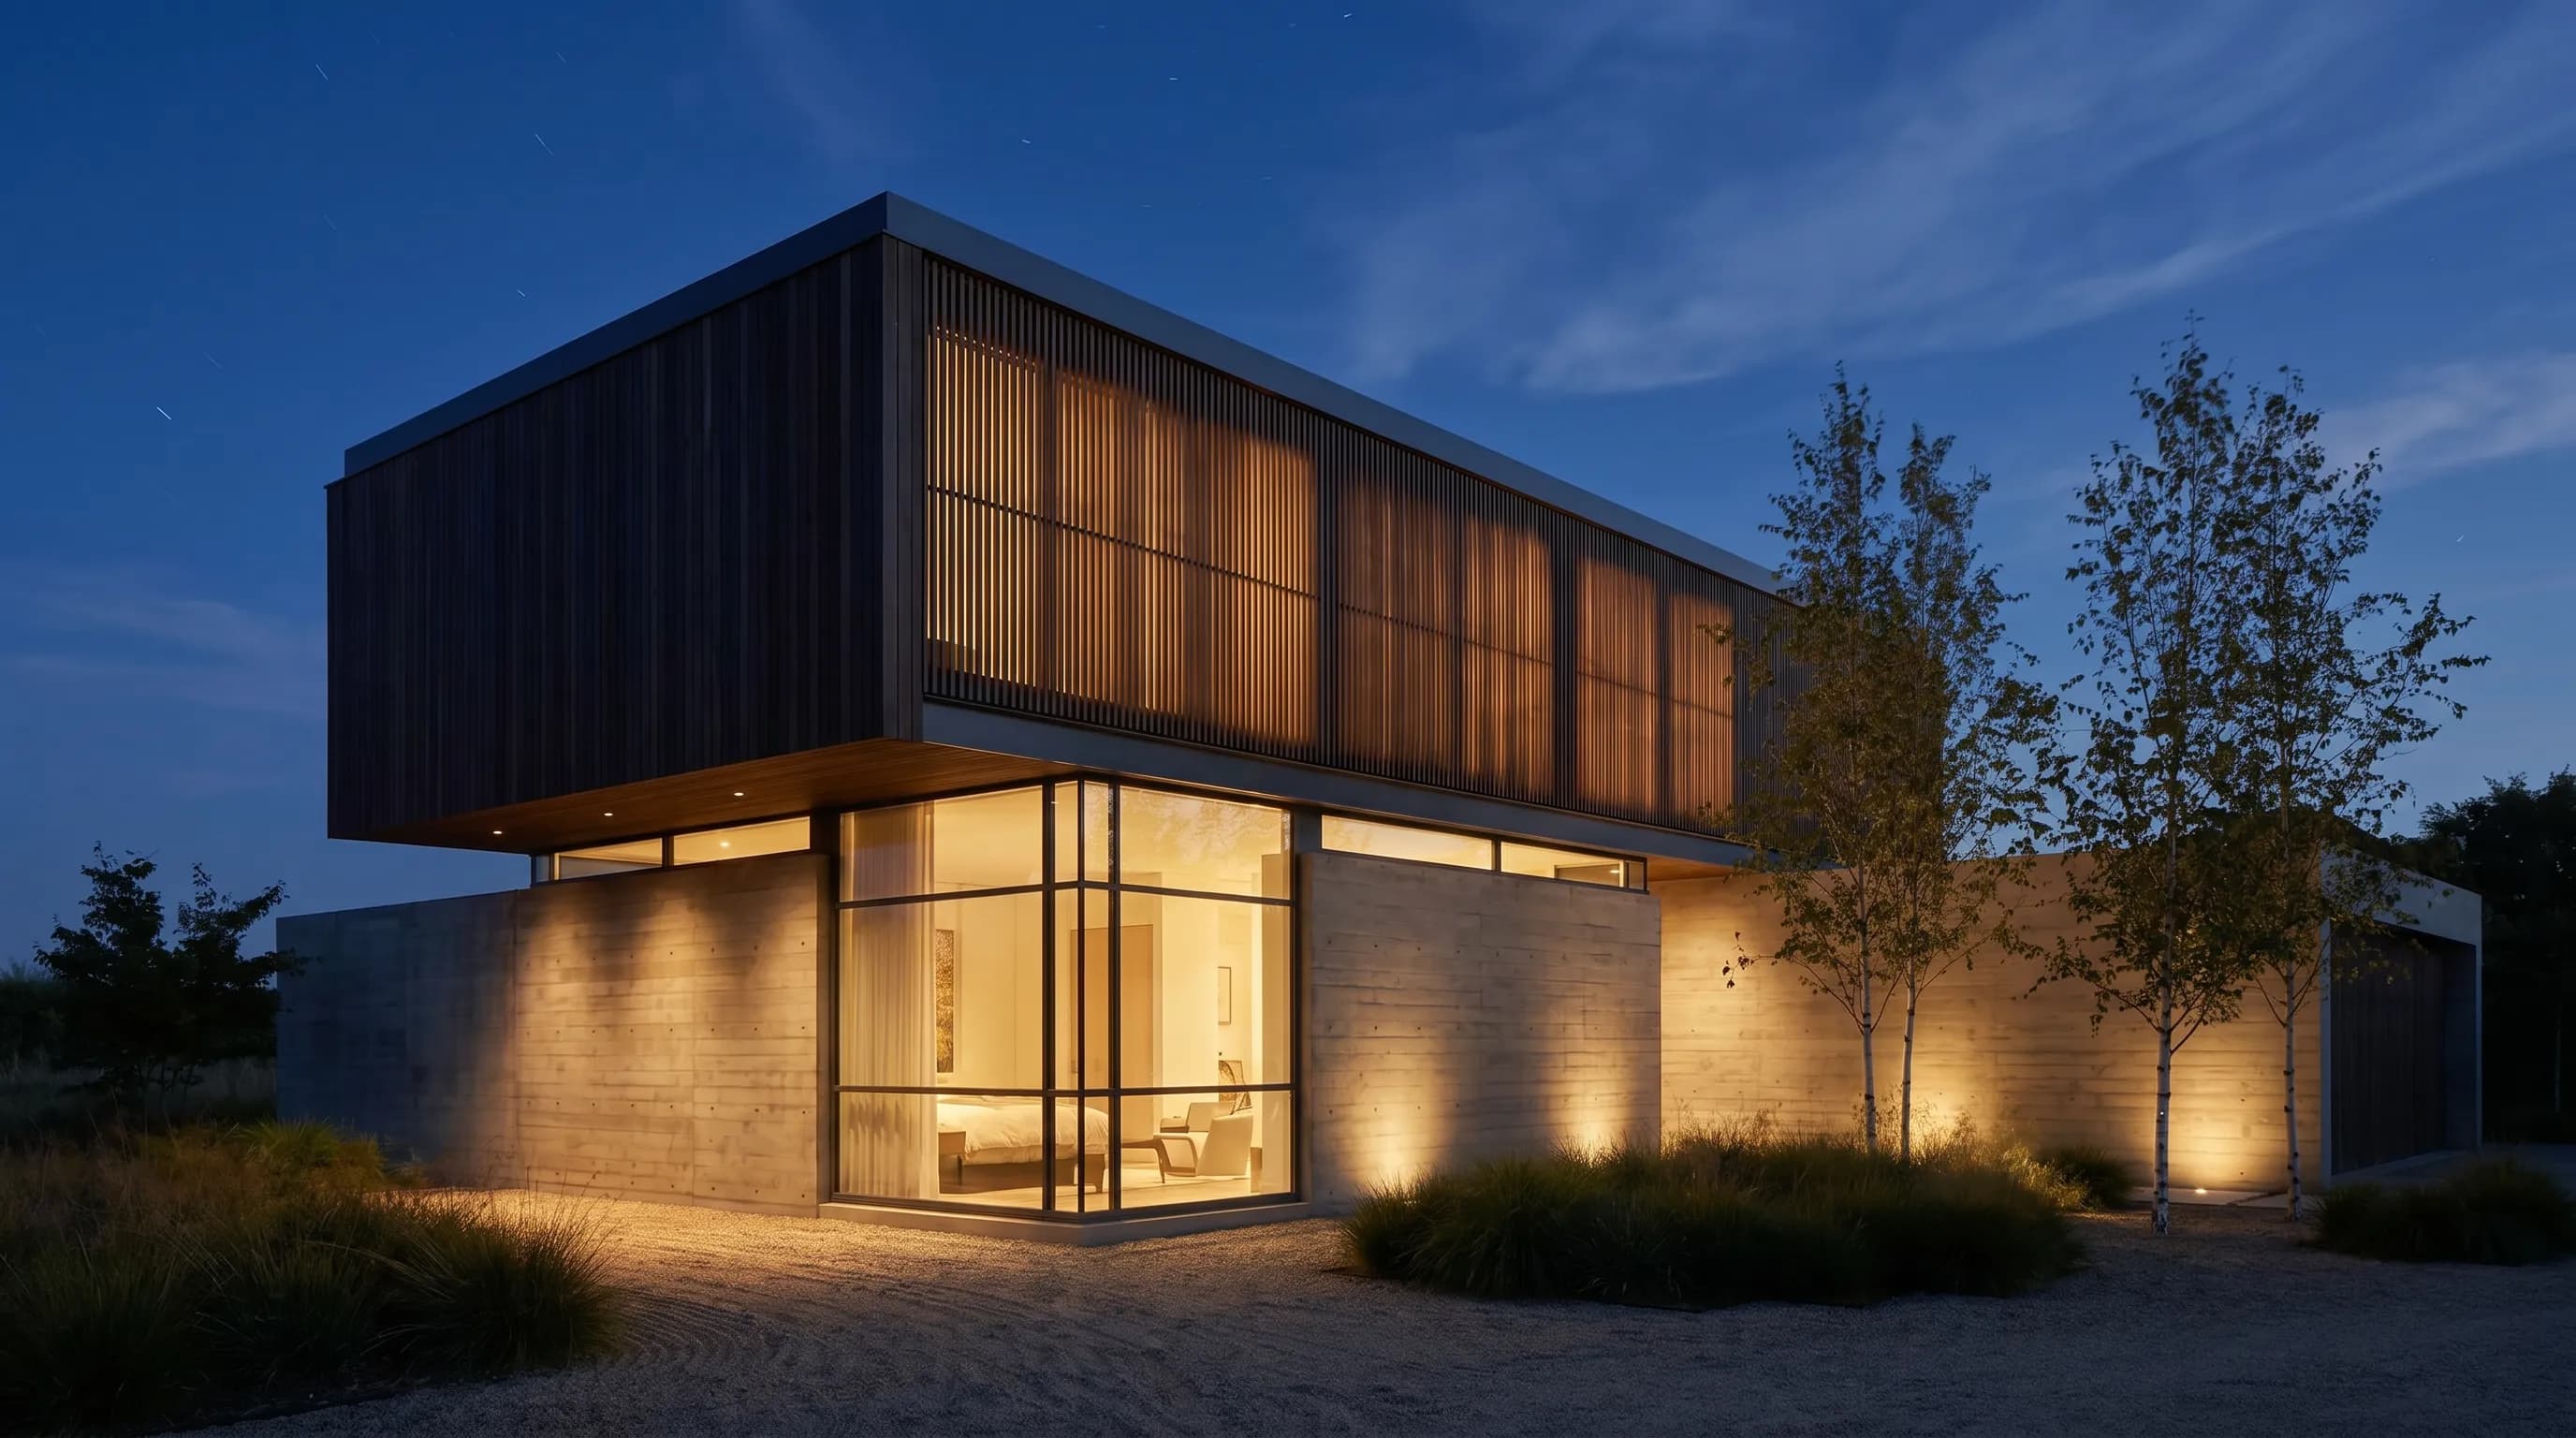
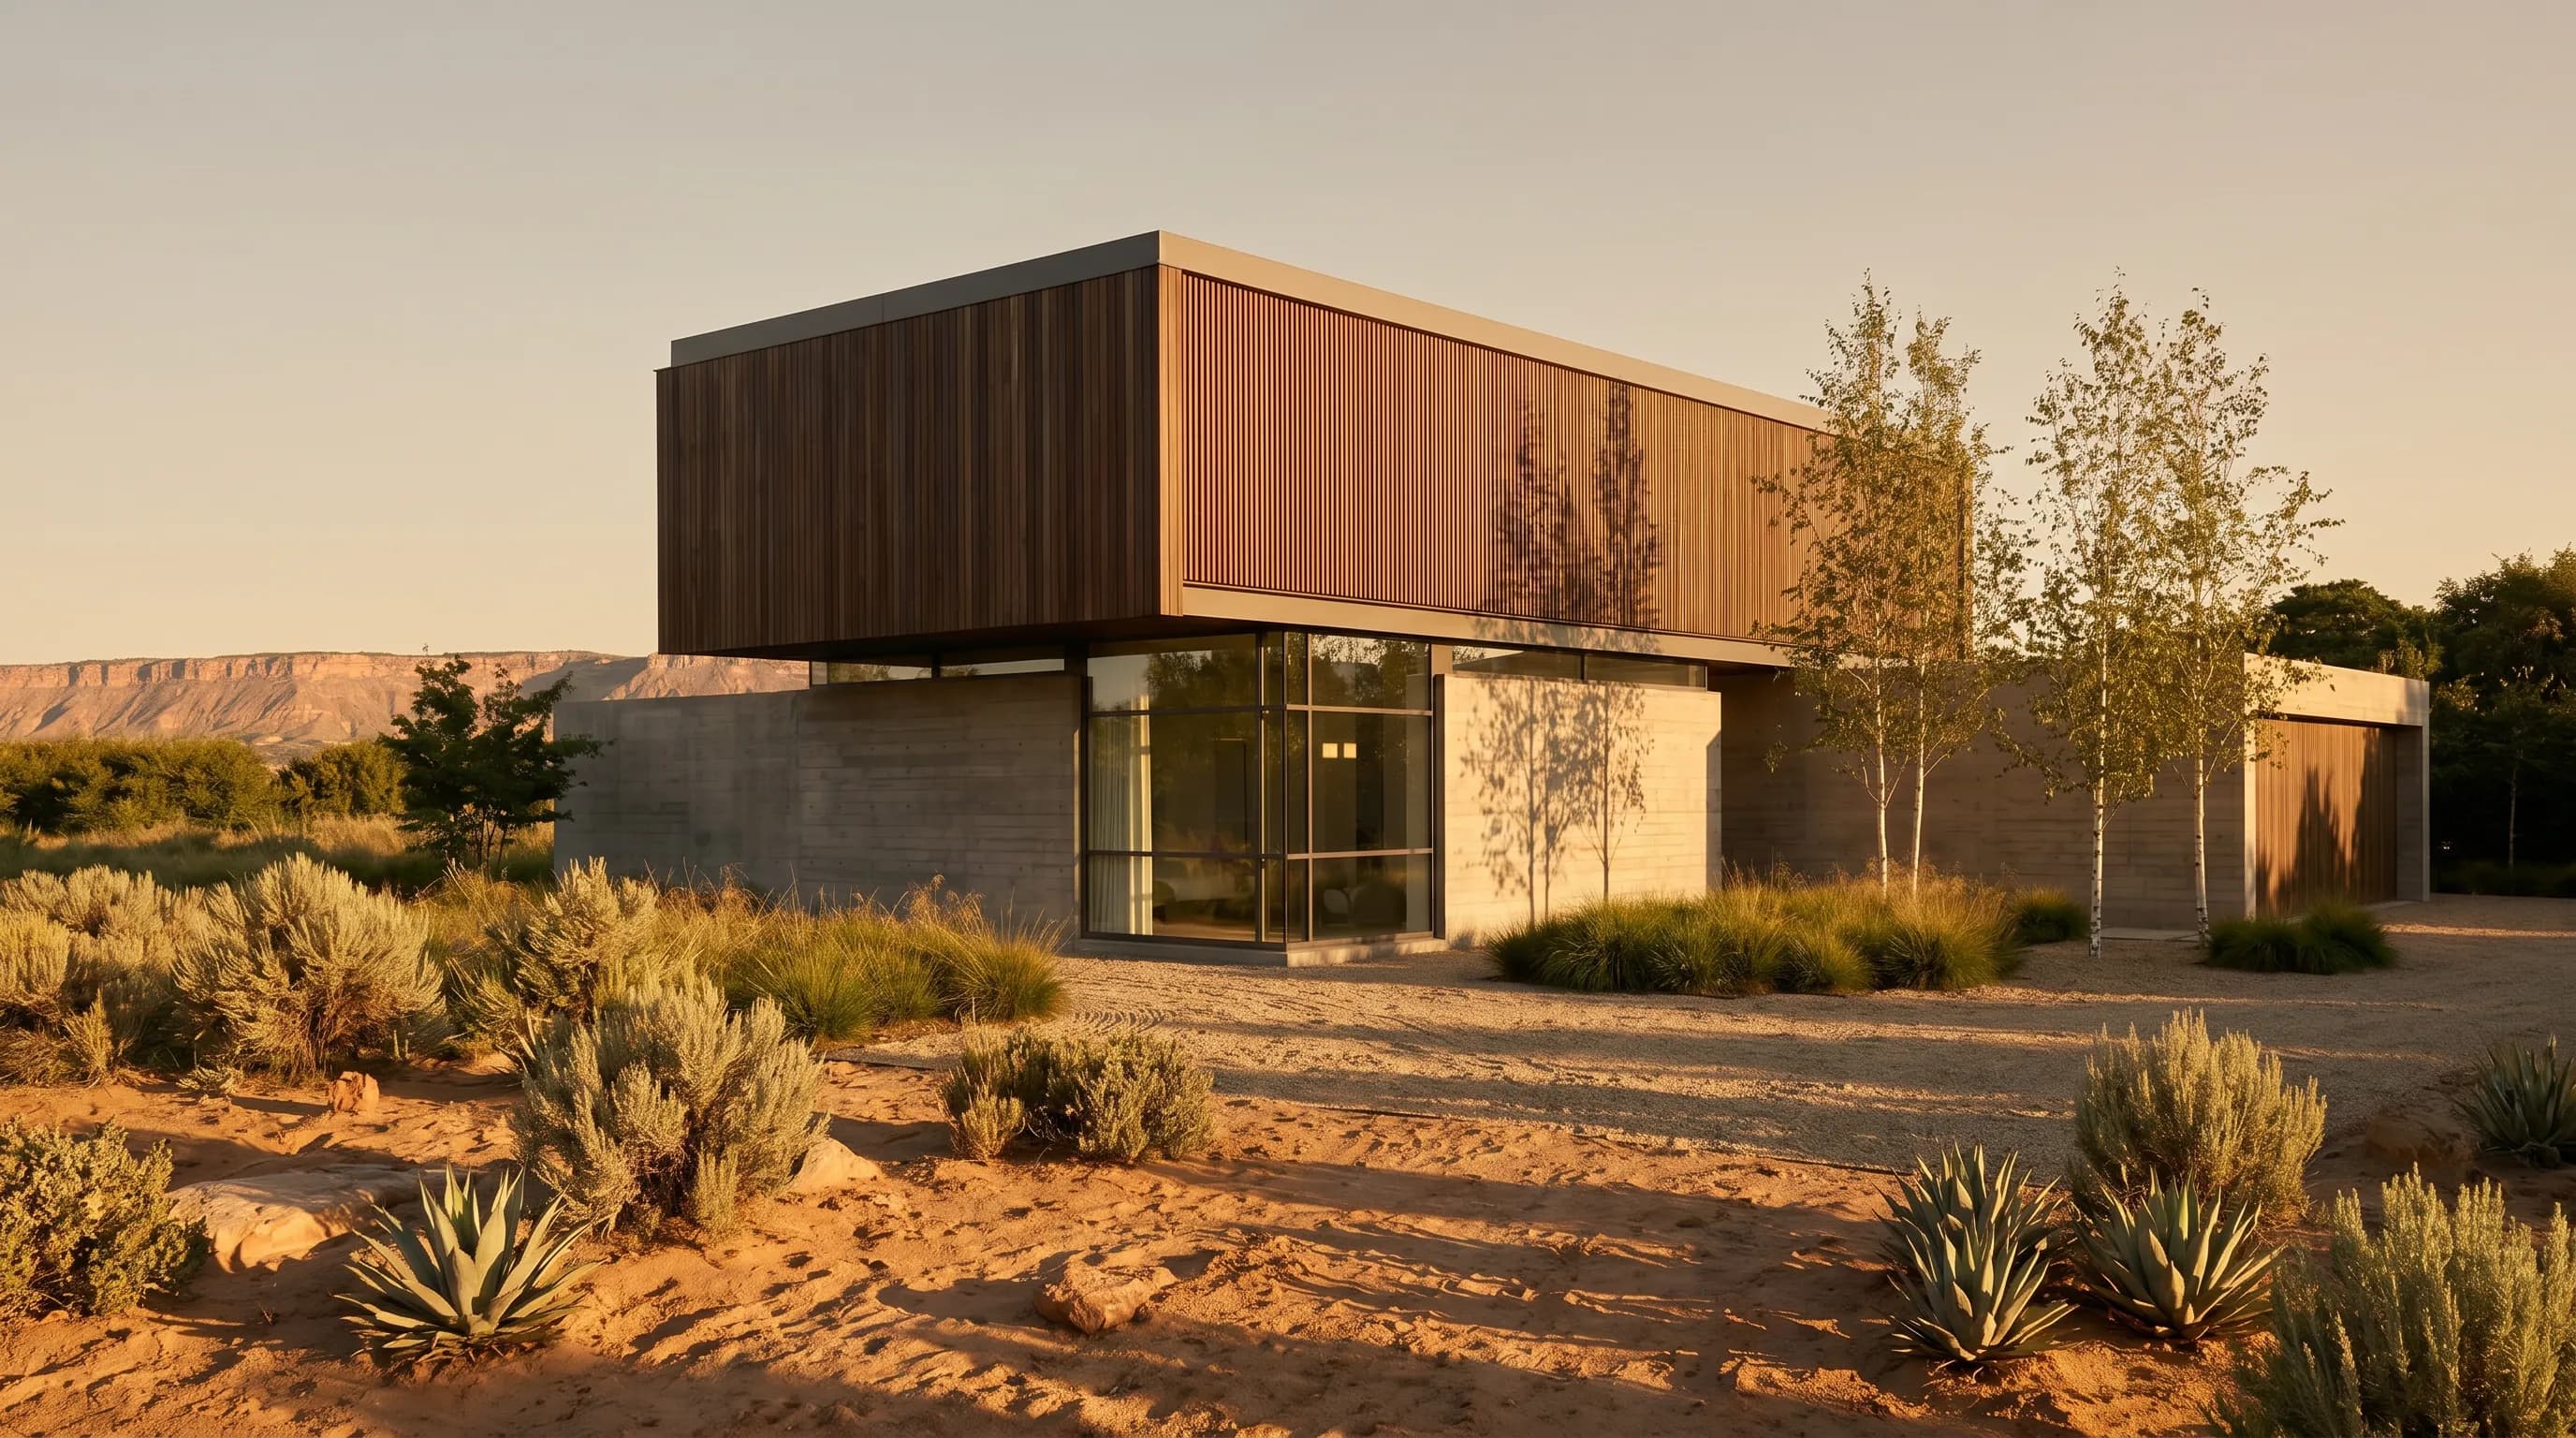
Use AI rendering for fast design communication: show massing, mood, material direction, landscape context, and client-ready visual options before you commit to a full manual rendering pass.
Add a clean image, drawing export, screenshot, photo, or 3D model. The upload screen accepts common image formats and GLB, GLTF, or OBJ model files.
Choose the view, style, lighting, materials, and prompt details in the editor so the output matches the design story you want to test.
Create the render concept, inspect the result, then iterate with references or a revised prompt before you download the final image.
An architectural rendering tool turns design information into a visual image. Traditional rendering can involve modeling, material setup, lighting, camera work, and post-production. AI architectural rendering software speeds up the concept stage by reading an input image or model view and creating a plausible visual direction from it.
The key is to use the output for the right job. Render a House is useful when you need fast concept renders, presentation options, and visual iteration. Your CAD, BIM, or modeling file remains the source of truth for exact dimensions and technical decisions.
Start with images, drawings, screenshots, photos, or supported 3D model files.
Guide materials, mood, setting, lighting, and presentation style from the editor.
Use clean source views or a 3D workflow when camera consistency matters.
Treat each render as a visual concept and check the important design details before sharing.
Architectural rendering is the process of turning a design idea, drawing, model, or view into a visual image that shows how a space could look. Render a House focuses on concept and presentation renders, not construction documentation.
Yes. You can start with a clean PNG, JPG, or WebP image such as a floor plan, elevation, sketch, screenshot, or reference view. Clear, high-contrast inputs with the building cropped tightly usually produce more useful results.
Yes. Render a House supports GLB, GLTF, and OBJ model uploads for the signed-in project workflow. A model can help preserve massing and viewpoints better than a loose sketch, but the generated image still needs review.
No. The workflow creates visual render concepts from your input. It does not produce BIM output, structural review, permit drawings, exact dimensions, or construction-ready technical documentation.
No AI rendering workflow can guarantee a perfect photorealistic result from every input. Source quality, geometry clarity, camera angle, prompt detail, and iteration all affect the result. Review important edges, openings, materials, and proportions before using a render in client work.
Use it early for fast visual options, mood exploration, exterior concepts, material direction, and presentation drafts. Keep your CAD, BIM, or modeling software as the source of truth for dimensions and technical decisions.
Start free, then choose the monthly credit allowance that fits your rendering, image enhancement, and visualization work. Annual billing is also available.
$0forever
Try the rendering workflow before choosing a paid plan.
$39per month
For designers who render, refine, and present more often.
$99per month
For studios with higher-volume visualization workloads.
Prices are shown in USD. The signed-in pricing page shows the current checkout terms before purchase.
Render a House reads exported images and 3D models rather than native CAD files, and every application exports something different. Each page below covers the export path for one of them.
Render a SketchUp model in the browser. Export GLB or OBJ from File > Export > 3D Model, or a PNG, and get a photorealistic image in seconds. No plugin.
Render a Revit view in the browser. Export a raster image or an FBX converted to GLB, and get a photorealistic image back in seconds. No render node.
Render an Archicad model in the browser. Save an OBJ or PNG from the 3D window and get a photorealistic image back in seconds. No ray-tracing card.
Render a Rhino model in the browser. Rhino 8 exports glTF Binary and OBJ natively, and ViewCaptureToFile writes a PNG. Photorealistic in seconds.
Render an AutoCAD drawing in the browser. PNGOUT or JPGOUT writes the current plan or elevation, and a photorealistic image comes back in seconds.
Render a Vectorworks model in the browser. Export OBJ, or a PNG from Export Image File, and get a photorealistic image back in seconds. No graphics card.
Render a Chief Architect design in the browser. Export Picture saves any view as a PNG, and a photorealistic image comes back in seconds. No RTX card.
Weighing this against hiring a studio? Architectural rendering services collects the rates studios publish, and 3D rendering studios in Madrid does the same for one city.
Enlarge a finished render or detail crop at 2x or 4x after you create the concept.
Turn a clear image into a 3D model you can use in a broader visualization workflow.
Learn when to use GLB, GLTF, or OBJ models for saved views and more consistent render angles.
Use the exported-model path when a Revit or AutoCAD source should become saved render views.
Ready when your drawing is