 Render a House/Updated Sep 16, 2026
How to Render in SketchUp: A Practical Workflow Guide
The right route depends on whether you need a polished viewport, live design feedback, detailed final-image control, or a fast external handoff. The comparison below covers ten practical paths and the tradeoff behind each one.
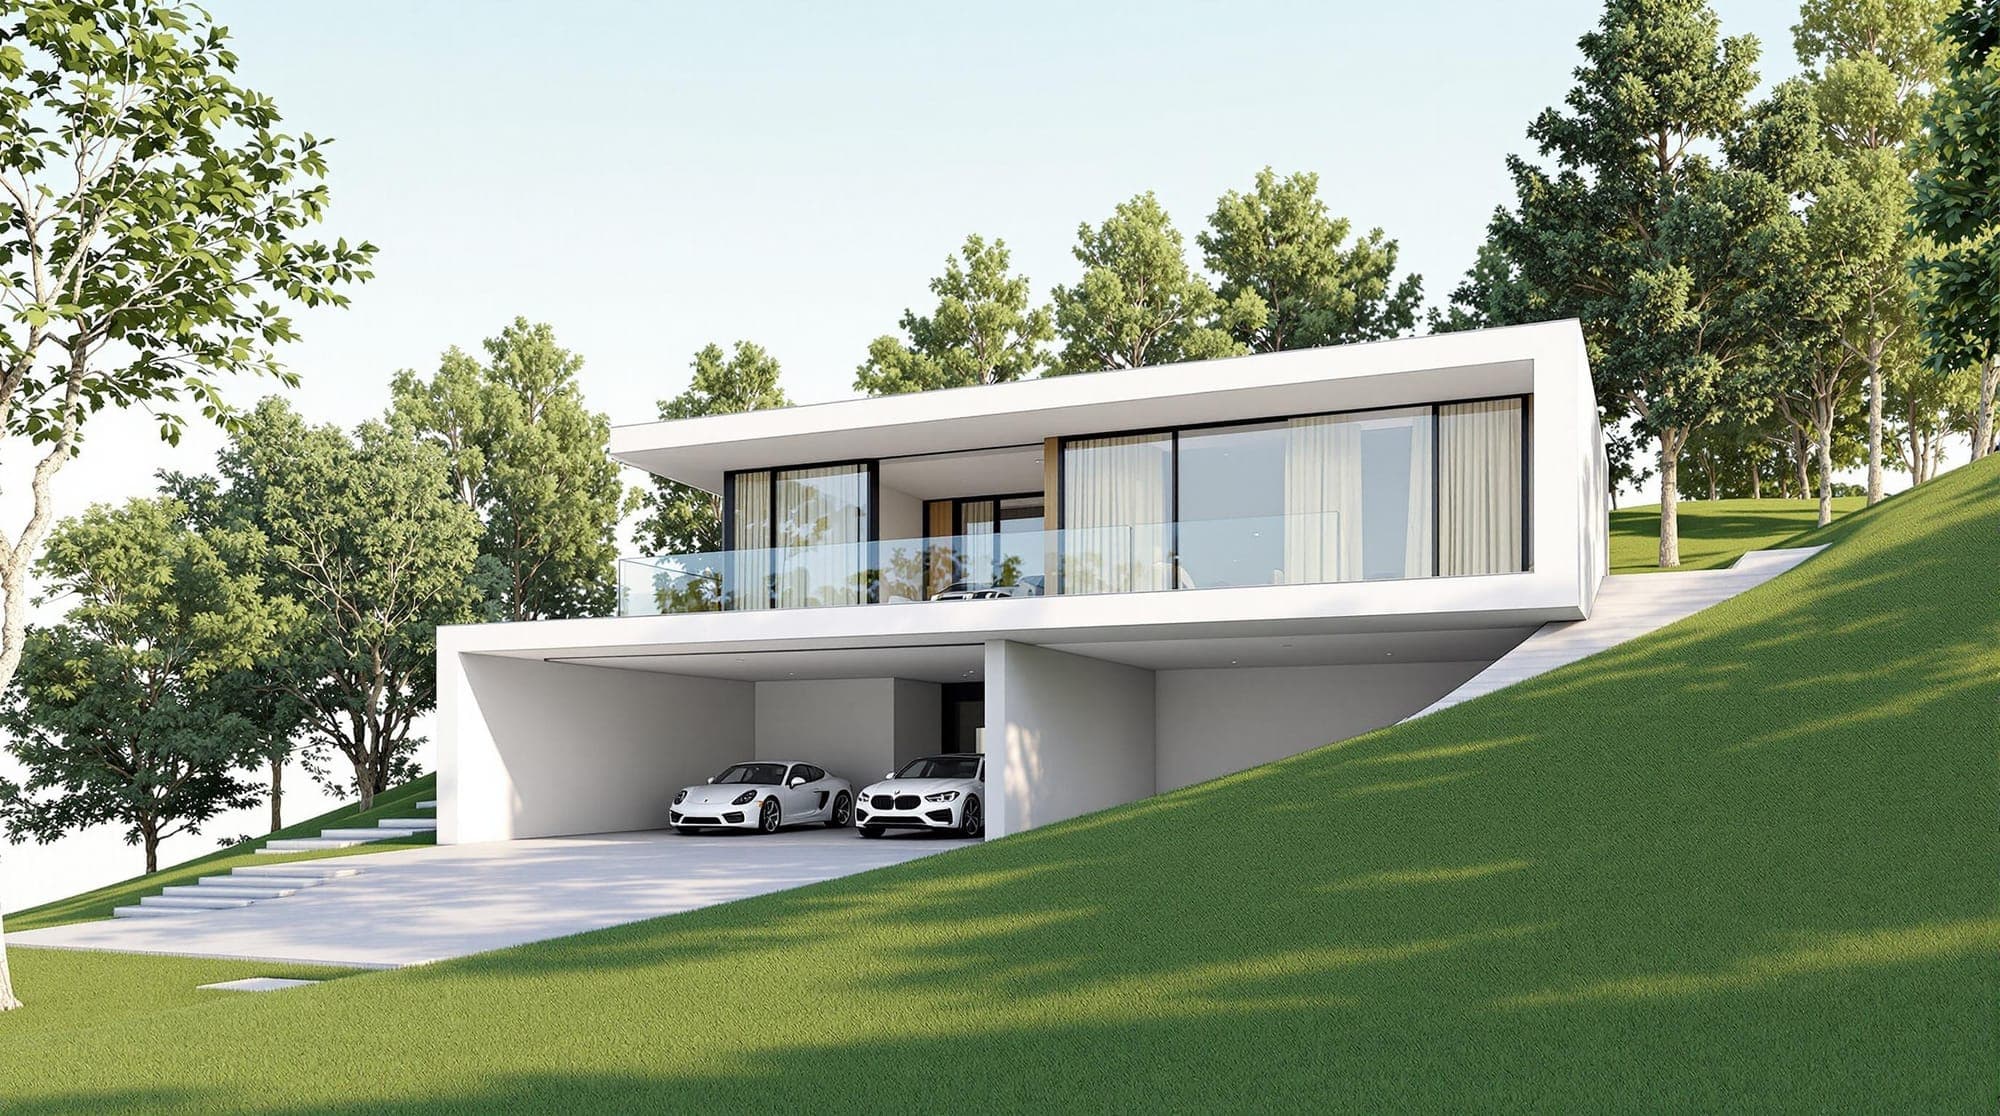
Start with the deliverable, not the renderer. A native SketchUp image can be enough for an internal review. Enscape, V-Ray, Thea, and Twilight keep rendering close to the model. Lumion, Blender, and 3ds Max move the scene into a broader visualization environment. Photoshop polishes a finished view. Render a House adds a browser-based route after export.
SketchUp changed the baseline in its 2025 desktop release. Trimble added Environments for image-based lighting and reflections, plus a Photoreal Materials face style for physically based material maps. Those tools make a stronger no-plugin viewport possible, but they do not erase the differences between live review, production rendering, external scene building, and 2D post-production.
Which SketchUp rendering path fits the job?
Read across the table by handoff and tradeoff. The ten rows are the routes summarized in the introduction; they are not a quality ranking. Each one is useful when its workflow matches the job.
| Rendering path | Connection to SketchUp | Best fit | Main tradeoff | First-party reference |
|---|---|---|---|---|
| SketchUp 2025 native viewport | No transfer | Fast design reviews and polished viewport stills | Uses Photoreal Materials and Environments rather than a separate production render engine | Verify workflow |
| Enscape | Live plugin inside SketchUp | Continuous real-time feedback while the model changes | The result depends on supported host, hardware, material, and visual-setting choices | Verify workflow |
| V-Ray | Plugin and asset editor inside SketchUp | Detailed materials, lighting, and final-image control | More setup and rendering knowledge than a native viewport or quick real-time preview | Verify workflow |
| Thea for SketchUp | Integrated SketchUp plugin | Interactive ray-traced work without leaving SketchUp | Requires a separate renderer installation and a deliberate material-and-lighting setup | Verify workflow |
| Twilight Render | Integrated SketchUp plugin | Maintaining an older supported SketchUp rendering workflow | Legacy plugin; its official FAQ says updates ended and support stops at SketchUp 2023 | Verify workflow |
| Lumion | LiveSync plugin or model import | Building scenes with landscape, entourage, and atmosphere | Compatibility depends on the SketchUp, Lumion, and plugin versions used together | Verify workflow |
| Blender | OBJ plus MTL from supported SketchUp editions | A free, complete external modeling and rendering pipeline | OBJ carries basic geometry and material data, so expect cleanup and material rebuilding | Verify workflow |
| 3ds Max | Direct SKP import through Autodesk's importer | A broader DCC pipeline with downstream renderer choice | The imported scene still needs inspection for hierarchy, faces, textures, cameras, and scale | Verify workflow |
| Photoshop | PNG, JPEG, or TIFF export | Post-production, entourage, sky replacement, and presentation polish | Works on pixels, not the live SketchUp model, so geometry and lighting revisions return to 3D | Verify workflow |
| Render a House | Exported image or supported 3D handoff | Browser-based visual iterations from an existing design | Native SKP is not the handoff; export a clean view or a supported 3D format first | Verify workflow |
If you only need one persuasive still, favor the shortest reliable path. If you need repeated views, animation, live walkthroughs, or a reusable material pipeline, choose the route that preserves those capabilities instead of optimizing only for the first image.
What does rendering in SketchUp mean now?
"Render in SketchUp" is used for several different jobs. Separating them prevents an expensive tool from being judged against the wrong requirement.
- Polished viewport:improve the model's own display with materials, an environment, shadows, and a deliberate camera, then export the view.
- Live plugin rendering: keep SketchUp as the authoring model while another engine updates the visualization.
- Production plugin rendering: stay inside the SketchUp workflow but build a more controlled material, light, camera, and output setup.
- External rendering: transfer the model or a view to another application for scene building, rendering, or post-production.
The choice is also a budget and hardware decision. The SketchUp pricing guide explains which plans expose professional desktop and export workflows, while the SketchUp system requirements cover the machine running the model before a renderer adds its own demands.
How should you prepare a SketchUp model for rendering?
A renderer can improve light, material response, atmosphere, and presentation. It cannot reliably rescue an unclear camera, broken faces, wrong scale, or a model full of irrelevant geometry. Use this six-step preparation pass before testing any route.
- Lock the camera in a scene. Save the view before material or lighting work. A stable camera makes test renders comparable and prevents accidental composition drift.
- Remove geometry the camera cannot see. Hide construction guides, unused entourage, distant interiors, duplicate vegetation, and detail that will never affect the selected view.
- Fix reversed faces and open geometry. Renderers interpret front and back faces differently. Correct face orientation and close visible gaps before blaming a material or light.
- Keep groups, components, and tags legible. Clear organization makes it easier to isolate materials, replace assets, update one building element, and repeat the workflow on another view.
- Check scale and texture scale. Confirm the model is built at real size, then inspect brick, timber, tile, and paving against known dimensions. A sharp texture at the wrong scale still looks false.
- Create a low-cost test before final output. Render a smaller image first. Judge camera, exposure, material response, and shadow direction before increasing quality or resolution.
Keep the first test controlled: same camera, same aspect ratio, same broad material intent. Change one variable at a time so the next render tells you whether the material, light, environment, or renderer setting actually helped.
How do you render in SketchUp without a plugin?
SketchUp 2025 is the important dividing line for a no-plugin workflow. Trimble's 2025.0 release notes document two connected additions:
- Environments can use default choices or imported HDRI and OpenEXR files to provide a 360-degree backdrop, lighting, and reflections.
- Photoreal Materials use physically based texture maps and react to the selected environment.
A practical native workflow is: choose a saved camera, open the Environments panel, add an environment, decide whether it acts as a sky dome and reflection source, switch to the Photoreal Materials face style, check shadows and material scale, then export the current view. Trimble's environment documentation explains how the lighting and reflection controls interact.
Use this route for fast reviews, elevations with material intent, massing presentations, and stills where the viewport communicates enough. Move to a plugin or external renderer when the brief depends on specialist lighting, deeper output controls, animation, large asset libraries, or a repeatable production scene.
How do you render inside SketchUp with a plugin?
A SketchUp plugin reduces transfer friction because the model stays central. The engines still solve different jobs: Enscape emphasizes live feedback, V-Ray emphasizes detailed production control, and Thea and Twilight offer their own integrated render workflows.
How do you render SketchUp with Enscape?
Chaos describes Enscape as a SketchUp rendering plugin that starts from the Extensions menu or toolbar. With the Enscape window open, model changes can appear in the rendered view. That makes it a strong fit for design reviews where the team is still moving walls, openings, materials, and furniture.
- Install the supported Enscape version for the host.
- Open the model and start Enscape from SketchUp.
- Match the Enscape view to the saved SketchUp scene and turn on live updates when continuous synchronization is useful.
- Adjust materials, light sources, assets, and visual settings, then capture the view or batch-render saved views.
The advantage is fast feedback without an export/import loop. The tradeoff is that real-time speed still depends on the supported host, graphics hardware, model weight, and the settings used. Chaos documents the workflow.
How do you render SketchUp with V-Ray?
V-Ray also installs as a SketchUp extension, but the practical center of gravity is the render scene: camera, lights, V-Ray materials, asset choices, exposure, and output settings. Treat it as a production workflow rather than a final button pressed after modeling.
- Organize the SketchUp model and save the final camera.
- Open the V-Ray tools and verify render output and aspect ratio.
- Replace placeholder surfaces with controlled render materials.
- Establish daylight or artificial lighting before adding secondary effects.
- Use test renders to solve the scene, then increase output quality.
Chaos's V-Ray for SketchUp getting-started page collects the official installation, tutorial, scene, and documentation paths. The SketchUp pricing guide also explains the relationship between SketchUp Studio and its bundled V-Ray workflow.
How do you render SketchUp with Thea?
Thea keeps an interactive ray-traced workflow inside SketchUp and adds its own materials, lights, content, and render controls. The sequence is familiar: install the integration, prepare the model, start an interactive preview, fix material and lighting problems in context, then choose the final output mode after the preview is stable.
Thea publishes both Windows and macOS installation paths. Confirm the current host-version matrix before rollout, especially in a studio where SketchUp updates automatically. Thea's official installation guide is the reference for the current platform setup.
How do you render SketchUp with Twilight Render?
Twilight Render is a legacy plugin-led route. Its official FAQ says updates ended on December 31, 2023 and support stops at SketchUp 2023. On an older supported installation, prepare materials and lights in the SketchUp context, choose a render preset, test at a small output, and only then increase the final settings.
Do not standardize Twilight for a current SketchUp release without proving compatibility on the actual workstation. The official legacy video guide remains useful for the supported interface, but it is not evidence of current-version support.
How do you move SketchUp into an external renderer?
An external renderer gives the visualization scene more independence from SketchUp. That can unlock richer environment building, different render engines, animation, or a broader DCC pipeline. It also creates a handoff that must be checked for geometry, hierarchy, scale, textures, materials, and camera data.
How do you render SketchUp with Lumion?
Lumion supports a connected path through its SketchUp plugin and a file-import path for documented version combinations. LiveSync is useful while the model is changing because geometry and point of view can update between SketchUp and Lumion. A file import is useful when the visualization scene needs to become more independent.
- Check the current SketchUp, Lumion, and plugin compatibility matrix.
- Install the documented plugin for that combination.
- Start LiveSync or import the model, then validate scale, orientation, materials, and the synchronized camera.
- Build landscape, entourage, atmosphere, and lighting in Lumion.
- Recheck synchronization after every material or geometry update.
Lumion's official plugin download index is the starting point for current compatibility guidance.
How do you render SketchUp in Blender?
Blender is the clearest free full-pipeline option in this guide. SketchUp Pro can export OBJ with an accompanying MTL file and texture maps. Blender imports OBJ and reads a matching MTL, but its manual describes OBJ material support as basic. Plan to inspect and rebuild materials rather than expecting the SketchUp viewport to arrive unchanged.
- In SketchUp, select only the geometry needed for the scene when that makes the transfer cleaner.
- Export OBJ with texture maps and appropriate model units, keeping the OBJ, MTL, and texture files together.
- Import the OBJ in Blender and validate units, axes, face orientation, object splits, and materials.
- Rebuild the render materials, add the camera and lights, then run a low-sample test before final output.
Verify the handoff against the SketchUp OBJ export guide and the Blender OBJ manual.
How do you render SketchUp in 3ds Max?
Autodesk documents a direct SketchUp importer in 3ds Max. Its options cover hierarchy, textures, cameras, hidden objects, and double-sided materials. That can make SKP a shorter handoff than an interchange format, but direct import is still the beginning of the visualization scene, not proof that the scene is production-ready.
- Import the SKP with deliberate hierarchy and texture options.
- Compare imported scale, camera, face orientation, groups, and components against the SketchUp source.
- Consolidate geometry only after you know which objects must remain editable.
- Assign renderer-specific materials and lights, then validate the scene with a test image.
Autodesk's geometry file format documentation confirms the SketchUp import path in the current 3ds Max help.
Where does Photoshop fit in a SketchUp rendering workflow?
Photoshop belongs after a 3D view or render, not in place of the model. SketchUp can export the current view as JPEG, PNG, TIFF, or BMP. For presentation work, PNG is useful when transparency or crisp edges matter, JPEG is compact for photographic views, and TIFF can suit a heavier editing handoff.
Export the largest clean image the presentation needs, preserve an untouched base layer, and separate sky, people, vegetation, atmosphere, color, and annotations onto their own layers. Use masks rather than erasing pixels. Match perspective, shadow direction, grain, contrast, and color temperature so added content belongs to the same image.
The limitation is structural: Photoshop edits pixels. It does not know that a wall moved, a camera changed, or a sun angle became impossible. When the requested revision changes geometry or lighting logic, return to SketchUp or the renderer and export a new base. Trimble documents the available formats in its image import and export guide.
How does Render a House fit beside SketchUp?
Render a House adds a browser-based route after the SketchUp handoff. It does not open the native SKP file directly. Export a clean image for fast visual exploration, or export a supported 3D format when the workflow depends on reusable camera control, model-based placement, or several perspectives.
The dedicated SketchUp-to-render workflow explains when to use a screenshot and when to use a 3D export. Keep the same preparation rules from this guide: a deliberate scene, clean geometry, real scale, clear material regions, and a test view before investing in several outputs.
This route is useful when the bottleneck is getting from an existing design to visual options without building another local render scene. It is not a substitute for editing the SKP model itself. For the surrounding decisions, use the local SketchUp pricing reference and SketchUp hardware reference.
If you want to try the handoff rather than compare render-engine controls, open the architectural rendering tool with a view you are comfortable evaluating outside SketchUp.
What can each SketchUp rendering path not do?
Every route trades one kind of control for another. The wrong move is not choosing a modest workflow; it is asking that workflow to solve a problem it cannot represent.
| Path family | What it cannot replace | When to switch |
|---|---|---|
| Native SketchUp viewport | A dedicated external render engine's deeper sampling, effects, and output controls | Move when the final deliverable depends on physically simulated lighting or specialist production settings. |
| In-app real-time plugin | A hardware-free workflow or a renderer-independent model | Move when local graphics performance or plugin compatibility becomes the bottleneck. |
| In-app production plugin | Instant results without learning materials, lights, exposure, and render settings | Move when speed matters more than detailed scene control. |
| External DCC or real-time application | A zero-handoff workflow that updates every SketchUp change automatically | Move when transfer cleanup costs more than the external tool adds. |
| Photoshop post-production | Reliable geometry, camera, or physically consistent lighting changes | Return to SketchUp or the renderer when the requested edit changes the building rather than the presentation. |
| Browser-based image workflow | Direct editing of the native SKP file | Export from SketchUp first, and use a model-based path when exact geometry or camera control must remain reusable. |
Preserve the source model, the saved camera, and at least one clean export before moving downstream. That gives the team a stable point to return to when a plugin update, import, post-production pass, or visual experiment drifts away from the design.
How were the workflow claims verified?
Product workflows and version-sensitive statements were checked against first-party documentation. The page avoids vendor pricing because plan names and prices change independently of the rendering process; use the linked local pricing references for that decision.
| First-party source | What it substantiates |
|---|---|
| SketchUp Desktop 2025.0 release notes | SketchUp 2025 Environments, Photoreal Materials, PBR maps, HDRI and OpenEXR support, lighting, and reflections. |
| SketchUp Environments documentation | Environment selection, custom imports, sky-dome behavior, image-based lighting, and reflection controls. |
| SketchUp image export documentation | The 2D image export route and its raster formats. |
| SketchUp OBJ export documentation | OBJ export from SketchUp Pro, MTL files, texture maps, and unit options. |
| Chaos Enscape for SketchUp | Enscape's SketchUp plugin, live updates, screenshots, and batch rendering. |
| Enscape for SketchUp Mac requirements | The current Enscape for SketchUp Mac host and hardware requirements. |
| Chaos V-Ray for SketchUp getting started | The V-Ray extension and official SketchUp learning workflow. |
| Lumion SketchUp plugin downloads | Current Lumion plugin downloads and version-specific SketchUp integration guidance. |
| Blender OBJ import manual | OBJ and MTL import behavior in Blender and the format's basic material support. |
| Autodesk 3ds Max geometry import documentation | The direct SKP importer available in 3ds Max. |
| Thea for SketchUp documentation | The integrated Thea for SketchUp rendering workflow. |
| Thea for SketchUp installation guide | The Windows and macOS installation paths for Thea for SketchUp. |
| Twilight Render official video guide | Twilight Render's first-party legacy tutorials; its official FAQ says development ended and support stops at SketchUp 2023. |
| Render a House supported file formats | The accepted image and 3D handoff formats for Render a House. |
What do people ask about rendering in SketchUp?
These eleven long-tail questions cover the named plugin, external, post-production, no-plugin, Mac, and free routes. Each answer points back to the first-party documentation used for its factual claims.
How do I render in SketchUp with Enscape?
Install the Enscape extension, open the SketchUp model, start Enscape from the Extensions menu or toolbar, and keep live updates on while you adjust the model. Set the view, materials, lighting, and visual settings before capturing a single image or a batch of saved views.
Sources: Chaos Enscape for SketchUp
How do I render in SketchUp with Lumion?
Match the plugin to the SketchUp and Lumion versions first. Then connect the model with LiveSync for a live workflow, or import the SKP file when the documented version matrix supports it. Build the environment and materials in Lumion, verify the synchronized camera, and render from Lumion.
Sources: Lumion SketchUp plugin downloads
How do I render in SketchUp with V-Ray?
Install the V-Ray extension, organize the SketchUp scene, set a saved camera, then work through V-Ray materials, lights, exposure, and render output. Use a low-resolution interactive or test render to solve the scene before committing to the final production image.
How do I render a SketchUp model in Blender?
From a SketchUp edition that supports OBJ export, export the model with texture maps and keep the OBJ and MTL files together. Import the OBJ in Blender, validate scale and face orientation, reconnect or rebuild materials where needed, add lights and a camera, then render with the Blender engine that fits the job.
Sources: SketchUp OBJ export documentation · Blender OBJ import manual
How do I render a SketchUp model in 3ds Max?
Use 3ds Max's SketchUp importer to bring in the SKP file, choosing the hierarchy, texture, camera, hidden-object, and double-sided-material options appropriate to the scene. Inspect the imported geometry and scale before assigning production materials, lights, and the renderer used by your 3ds Max pipeline.
How do I render a SketchUp model in Photoshop?
Photoshop is best treated as post-production rather than a model renderer. Export a clean PNG, JPEG, or TIFF view from SketchUp, then composite sky, people, planting, atmosphere, color, and presentation graphics. If the request changes geometry, camera, or light direction, revise the 3D scene and export again.
Sources: SketchUp image export documentation
How do I render in SketchUp with Thea Render?
Install Thea for SketchUp, open its integrated tools, and prepare Thea materials, lights, camera, and render settings in the SketchUp workflow. Start with an interactive preview, correct the scene there, and switch to the output mode that suits the final image after the preview is stable.
Sources: Thea for SketchUp documentation
How do I render in SketchUp with Twilight Render?
Treat Twilight Render as a legacy route. Its official FAQ says updates ended on December 31, 2023 and support stops at SketchUp 2023. On an older supported setup, prepare the model's materials and lights, choose a render preset, and run a small test image before increasing the output settings. Do not assume it works with a current SketchUp release.
Sources: Twilight Render official video guide
Can I render in SketchUp without a plugin?
Yes. SketchUp 2025 added Environments and a Photoreal Materials face style. Add a default or custom HDRI or OpenEXR environment, enable it as a sky dome or reflection source, use PBR materials, set shadows and the camera, then export the current view as an image. Use a separate engine when the deliverable needs controls beyond that viewport workflow.
Sources: SketchUp Desktop 2025.0 release notes · SketchUp Environments documentation · SketchUp image export documentation
How do I render a SketchUp model on a Mac?
Start with the native SketchUp 2025 viewport workflow if it meets the deliverable. Enscape documents SketchUp as a supported Mac host, and Thea publishes a macOS installation path. For every plugin, confirm the exact SketchUp version, Mac hardware, renderer version, and feature set before buying or standardizing it.
Sources: SketchUp Desktop 2025.0 release notes · Enscape for SketchUp Mac requirements · Thea for SketchUp installation guide
How can I render a SketchUp model for free?
The clearest full renderer with no license fee is Blender, using an OBJ handoff when your SketchUp edition supports that export. If you already have access to SketchUp 2025, its Photoreal Materials and Environments add a no-extra-renderer viewport path. A 2D image export also lets you use any image editor you already have, but that remains post-production rather than model-aware rendering.
Sources: Blender OBJ import manual · SketchUp OBJ export documentation · SketchUp Desktop 2025.0 release notes · SketchUp image export documentation
Keep reading
Related guides and comparisons

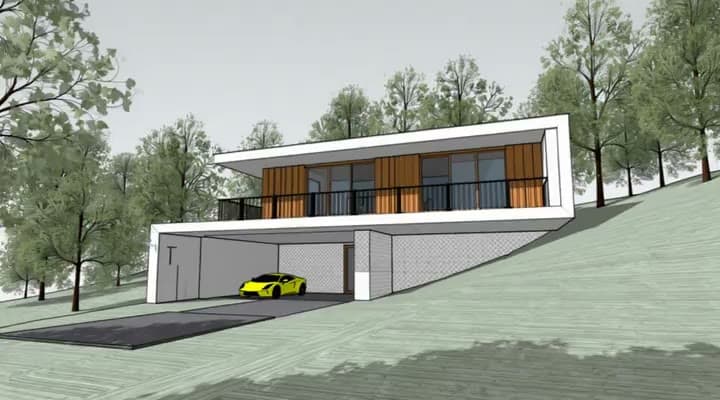
SketchUp to Render: How to Turn a 3D Model Into a Photorealistic AI Render
A practical SketchUp-to-render workflow for architects: when to upload a screenshot, when to export .glb for 3D Preview, plus clean-export, styling, and refinement tips.
SketchUp Pricing 2026: Go, Pro, Studio, and What It Actually Costs
Current SketchUp prices for Go ($129/yr), Pro ($399/yr), and Studio ($859/yr), plus specialty plans, student pricing, and the rendering cost the price page leaves out.
SketchUp System Requirements 2026: CPU, GPU, RAM, and the 32 GB VRAM Catch
Official SketchUp 2026 system requirements: 8 GB RAM on both platforms, but a discrete 8 GB VRAM card on Windows against a 1 GB Metal 2 GPU on Mac — and 32 GB of VRAM for PBR materials on Windows, a figure Trimble never states for the Mac. Plus the version table back to SketchUp 2023.
