 Render a House/Updated Oct 11, 2026
Marker Rendering: How to Do It by Hand and With AI
Updated Oct 2026. What marker rendering is, the kit and the light-to-dark technique for doing it by hand, and how to turn the same hand sketch into a marker-style or photoreal render in the browser.
Quick answer
Marker rendering is colouring an ink line drawing with translucent markers, building tone from light to dark and leaving the white paper as highlights. Do it by hand with a fine-liner, a few greys and bleedproof paper, or photograph the sketch and render it with AI, prompting for a marker look or a photoreal finish.
Render a House is an AI rendering tool for architects and real estate. It is the no-GPU, browser-based route for the second half of that answer: upload a photo of a hand sketch, a 3D model or a site photo, and it returns a render you can keep sketchy or push to photoreal. The hand sketch to render tool is the shortest way in.
What is marker rendering?
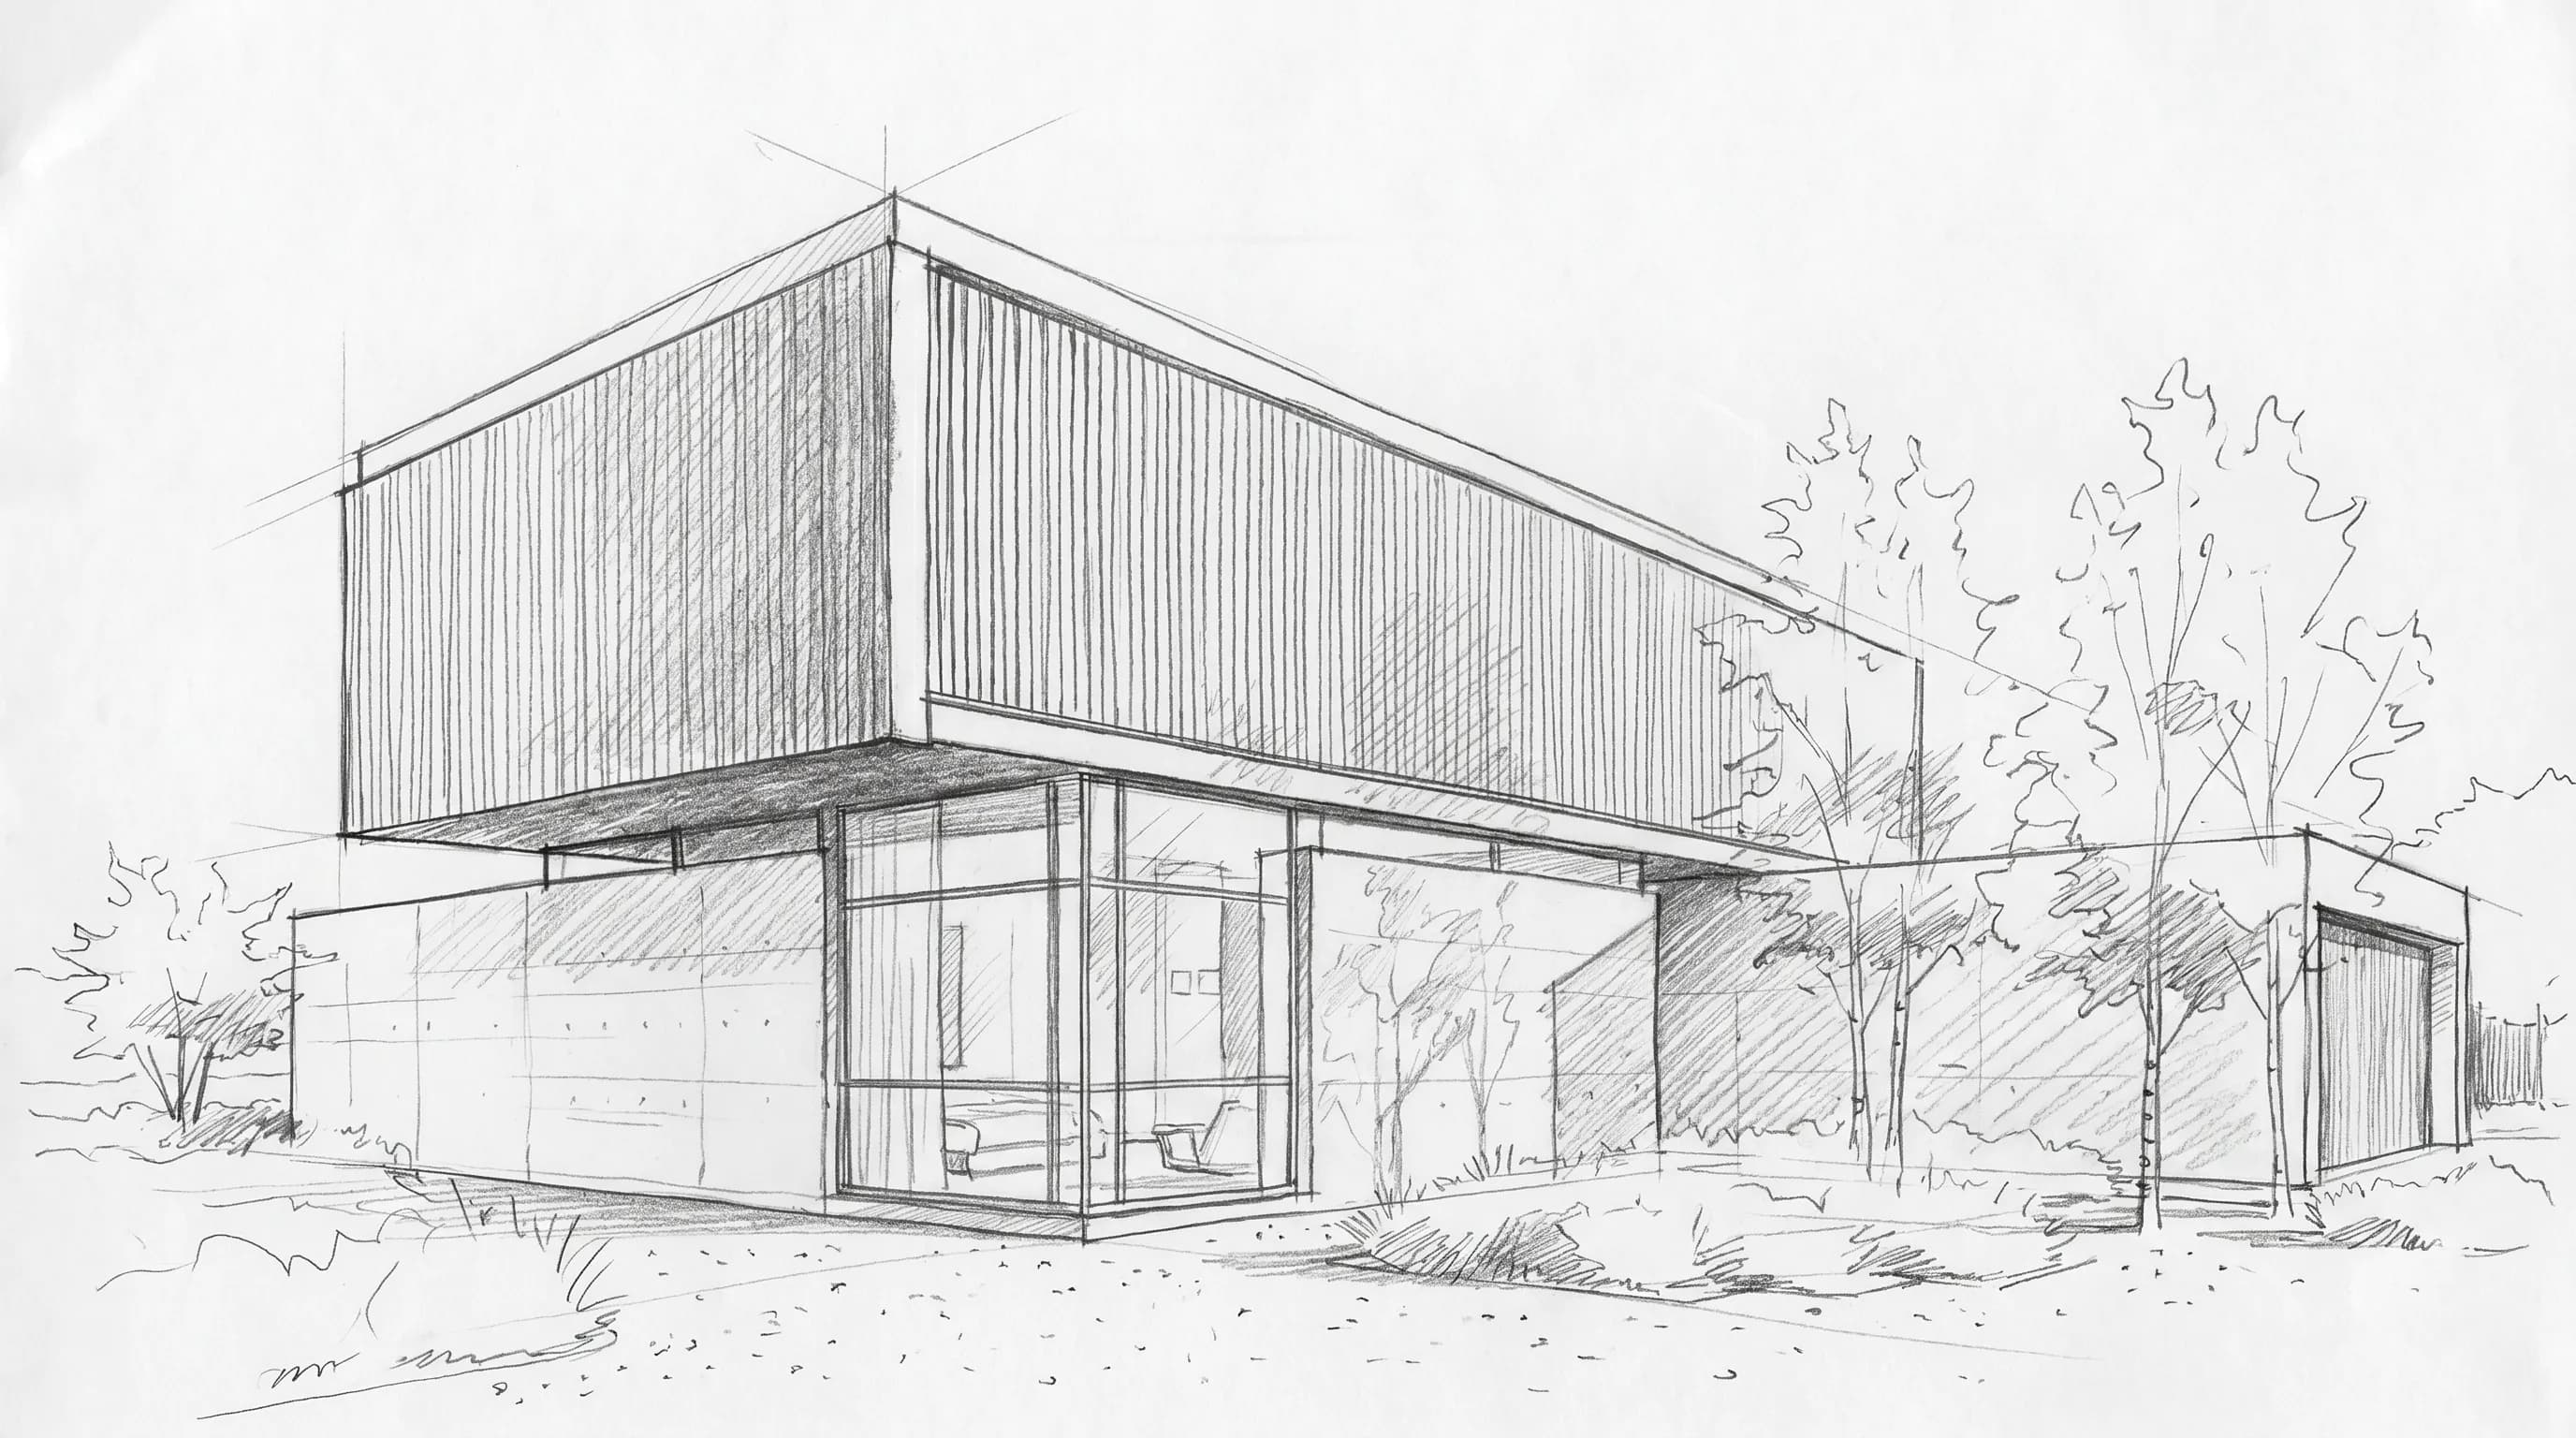
A marker rendering is a drawing first and a rendering second. The line drawing fixes the geometry, the perspective and the composition; the markers add tone, material and light on top. It sits between a bare sketch and a finished visualisation, which is why architecture and interior design studios use it for charrettes, early client meetings, competition concept sheets and teaching.
Three things make a marker drawing read as a marker drawing. Visible strokes, because the ink is translucent and every pass shows. Selective colour, because the white of the paper is the brightest value on the sheet and you cannot add it back once it is covered. And active linework, because the ink lines stay on top of the colour and keep the edges crisp. The guide to architectural rendering styles places marker next to sketch, clay and watercolour as one of the styles that tells a reviewer the design is still open.
Marker rendering by hand vs with AI
There are two ways to get a marker rendering: make one, or render your sketch with an image model. This table compares the hand route with two browser tools that accept hand sketches.
| Route | Input | Marker look | Price | What you need |
|---|---|---|---|---|
| Render a House | Photo or scan of the sketch (PNG, JPG, WebP), or a 3D model (SKP, GLB, GLTF, OBJ, STL) | Marker look via prompt or an uploaded marker drawing as a custom style; photoreal via prompt or the Real photo style | Free: 3 credits/day at 1K with a watermark. Pro $39/mo, Studio $99/mo | Browser, no GPU |
| By hand (e.g. Copic Sketch markers) | Your ink line drawing on marker-friendly paper | Real marker strokes, your hand | Marker prices: not published by Copic (sold through retailers, checked Oct 2026). Range: 358 colours, per Copic | Markers, liners, paper |
| MyArchitectAI sketch to render | "Pencil, marker, tablet, CAD linework", per MyArchitectAI | Reference-image style transfer and conceptual presets; a marker preset is not published (checked Oct 2026) | Starter $29/mo, Studio $49/mo, Team $99/mo, per MyArchitectAI pricing | Browser |
The hand route is the only one that produces actual marker strokes, and it is the one to learn if you present at a table with a pen in hand. The AI routes are for speed and for options: the same drawing in a marker look, a photoreal look and a dusk version in the time a single hand rendering takes to dry.
What you need to start
You do not need a large set. Most architectural marker work runs on greys, a handful of colours, a few liners and the right paper.
| Item | What to buy | What it does |
|---|---|---|
| Fine-liners | 0.1, 0.3 and 0.5 mm, plus one thicker pen for silhouettes | Line weight carries depth: heavy for the outline, light for joints and texture |
| Cool greys | Three or four steps, light to dark | Shadows on concrete, render, glass and anything in shade |
| Warm greys | Two or three steps | Timber, stone, earth and warm interiors |
| Colour | A sky blue, two greens, one timber tone, one brick or terracotta | Enough for most exteriors; add colours only when a project needs them |
| White | A white gel pen or opaque white | Highlights on glazing edges, railings and window frames |
| Paper | Marker or bleedproof paper, with scrap underneath | Stops bleed into the next sheet and keeps edges crisp |
Markers: alcohol or water-based
Alcohol-based markers are the standard for rendering because they blend while wet and dry fast enough to layer. Copic Sketch, as one example, uses alcohol-based dye ink, has a Super Brush and a Medium Broad nib on each marker, and comes in 358 colours, per Copic. The same page lists Copic Ciao at 180 colours with the same nibs and less ink, and Copic Classic at 214 colours with a broad and a fine nib, and notes that all three refill from the same Copic Ink. Copic also sells a colourless blender and an opaque white, per its product range.
Water-based markers are cheaper and easier to find, but they streak more when you go back over an area and can pill thin paper. They are fine for practice; if you render often, the greys are the markers worth buying in alcohol first.
Fine-liners and the line drawing
Draw the line work before any colour. Use a pigment fine-liner and test it on a scrap: draw a line, let it dry, then pass an alcohol marker over it. Some inks smear or lift, and you want to find out on the scrap, not across a façade. Keep three weights: a heavy line for silhouettes and the ground line, a medium line for openings and edges, and a fine line for joints, mullions and texture.
Paper
Marker paper and bleedproof pads hold alcohol ink near the surface, which keeps strokes even and edges sharp. Ordinary copy paper lets the ink spread, feather past the line and bleed through to the next sheet. Whatever you use, put a scrap sheet underneath. A useful habit: draw the line work once and photocopy or print it, so you can try two colour schemes on identical drawings.
How to do marker rendering by hand, step by step
- Finish the line drawing. Ink it, let it dry fully, and erase the pencil construction lines.
- Pick one light direction. Mark it in the corner of the sheet. Every shadow on the page follows it.
- Lay the lightest tones first. Sky, the lit faces of the building and the ground, in the lightest marker of each colour.
- Add the shade faces. Go over the faces turned away from the light with a light grey, then a second layer for depth.
- Cast the shadows. The darkest greys, under eaves, behind columns, below balconies and on the ground.
- Add material colour. Timber, brick, planting, in short strokes that follow the material, on top of the grey.
- Finish with highlights and accents. White on glazing edges and frames, and a few strong darks for contrast.
Layering: light to dark
Markers only get darker, so plan from light to dark and stop early. A second pass of the same marker over a dry first pass gives a darker step of the same colour; working into a wet area blends the two passes smoothly. Use parallel strokes in one direction per surface (vertical for walls, horizontal for the ground, following the slope for roofs) and keep each stroke moving so it does not pool at the end.
Flick strokes, where you lift the marker as it moves, give a graded edge that fades into white paper. They are the quickest way to suggest light falling across a wall or a reflection in glass.
Shadows and light direction
Shadows are what make a marker rendering read as three-dimensional, and they are mostly greys. Use cool greys for shadows on cool materials (concrete, render, glass) and warm greys for shadows on timber, stone and earth. Shadows have hard edges where they start and soften with distance. Keep cast shadows consistent with the light direction you marked: an eave shadow on one façade that falls the opposite way to a balcony shadow on another is the error people notice first.
Rendering glass, concrete, timber and planting
- Glass. A light blue or grey in diagonal strokes, with white paper left in a stripe for the reflection. Darken the top of each pane, where it reflects the eave.
- Concrete and render. A light cool grey, laid flat, with a second layer only in shade. Let a few strokes show.
- Timber. A warm base tone, then a darker warm grey in fine strokes along the grain.
- Brick. A terracotta base, then a fine-liner for a few courses rather than every joint.
- Planting. Two greens, light first, with darker dabs on the shaded side of each tree. Keep foreground planting loose so it does not hide the building.
- Sky. A light blue in fast horizontal strokes, darker at the top, fading out before it reaches the roofline.
Common marker mistakes
- Filling every surface. The white paper is the light. Cover it all and the drawing goes flat.
- Starting dark. You cannot lighten marker.
- Too many colours. A limited palette reads as intentional; a large one reads as noise.
- Scrubbing. Going back over a wet area repeatedly lifts the paper and leaves blotches.
- Losing the line. If the colour covers the ink lines, redraw the key edges with a fine-liner at the end.
Turn a hand sketch into a marker-style or photoreal render
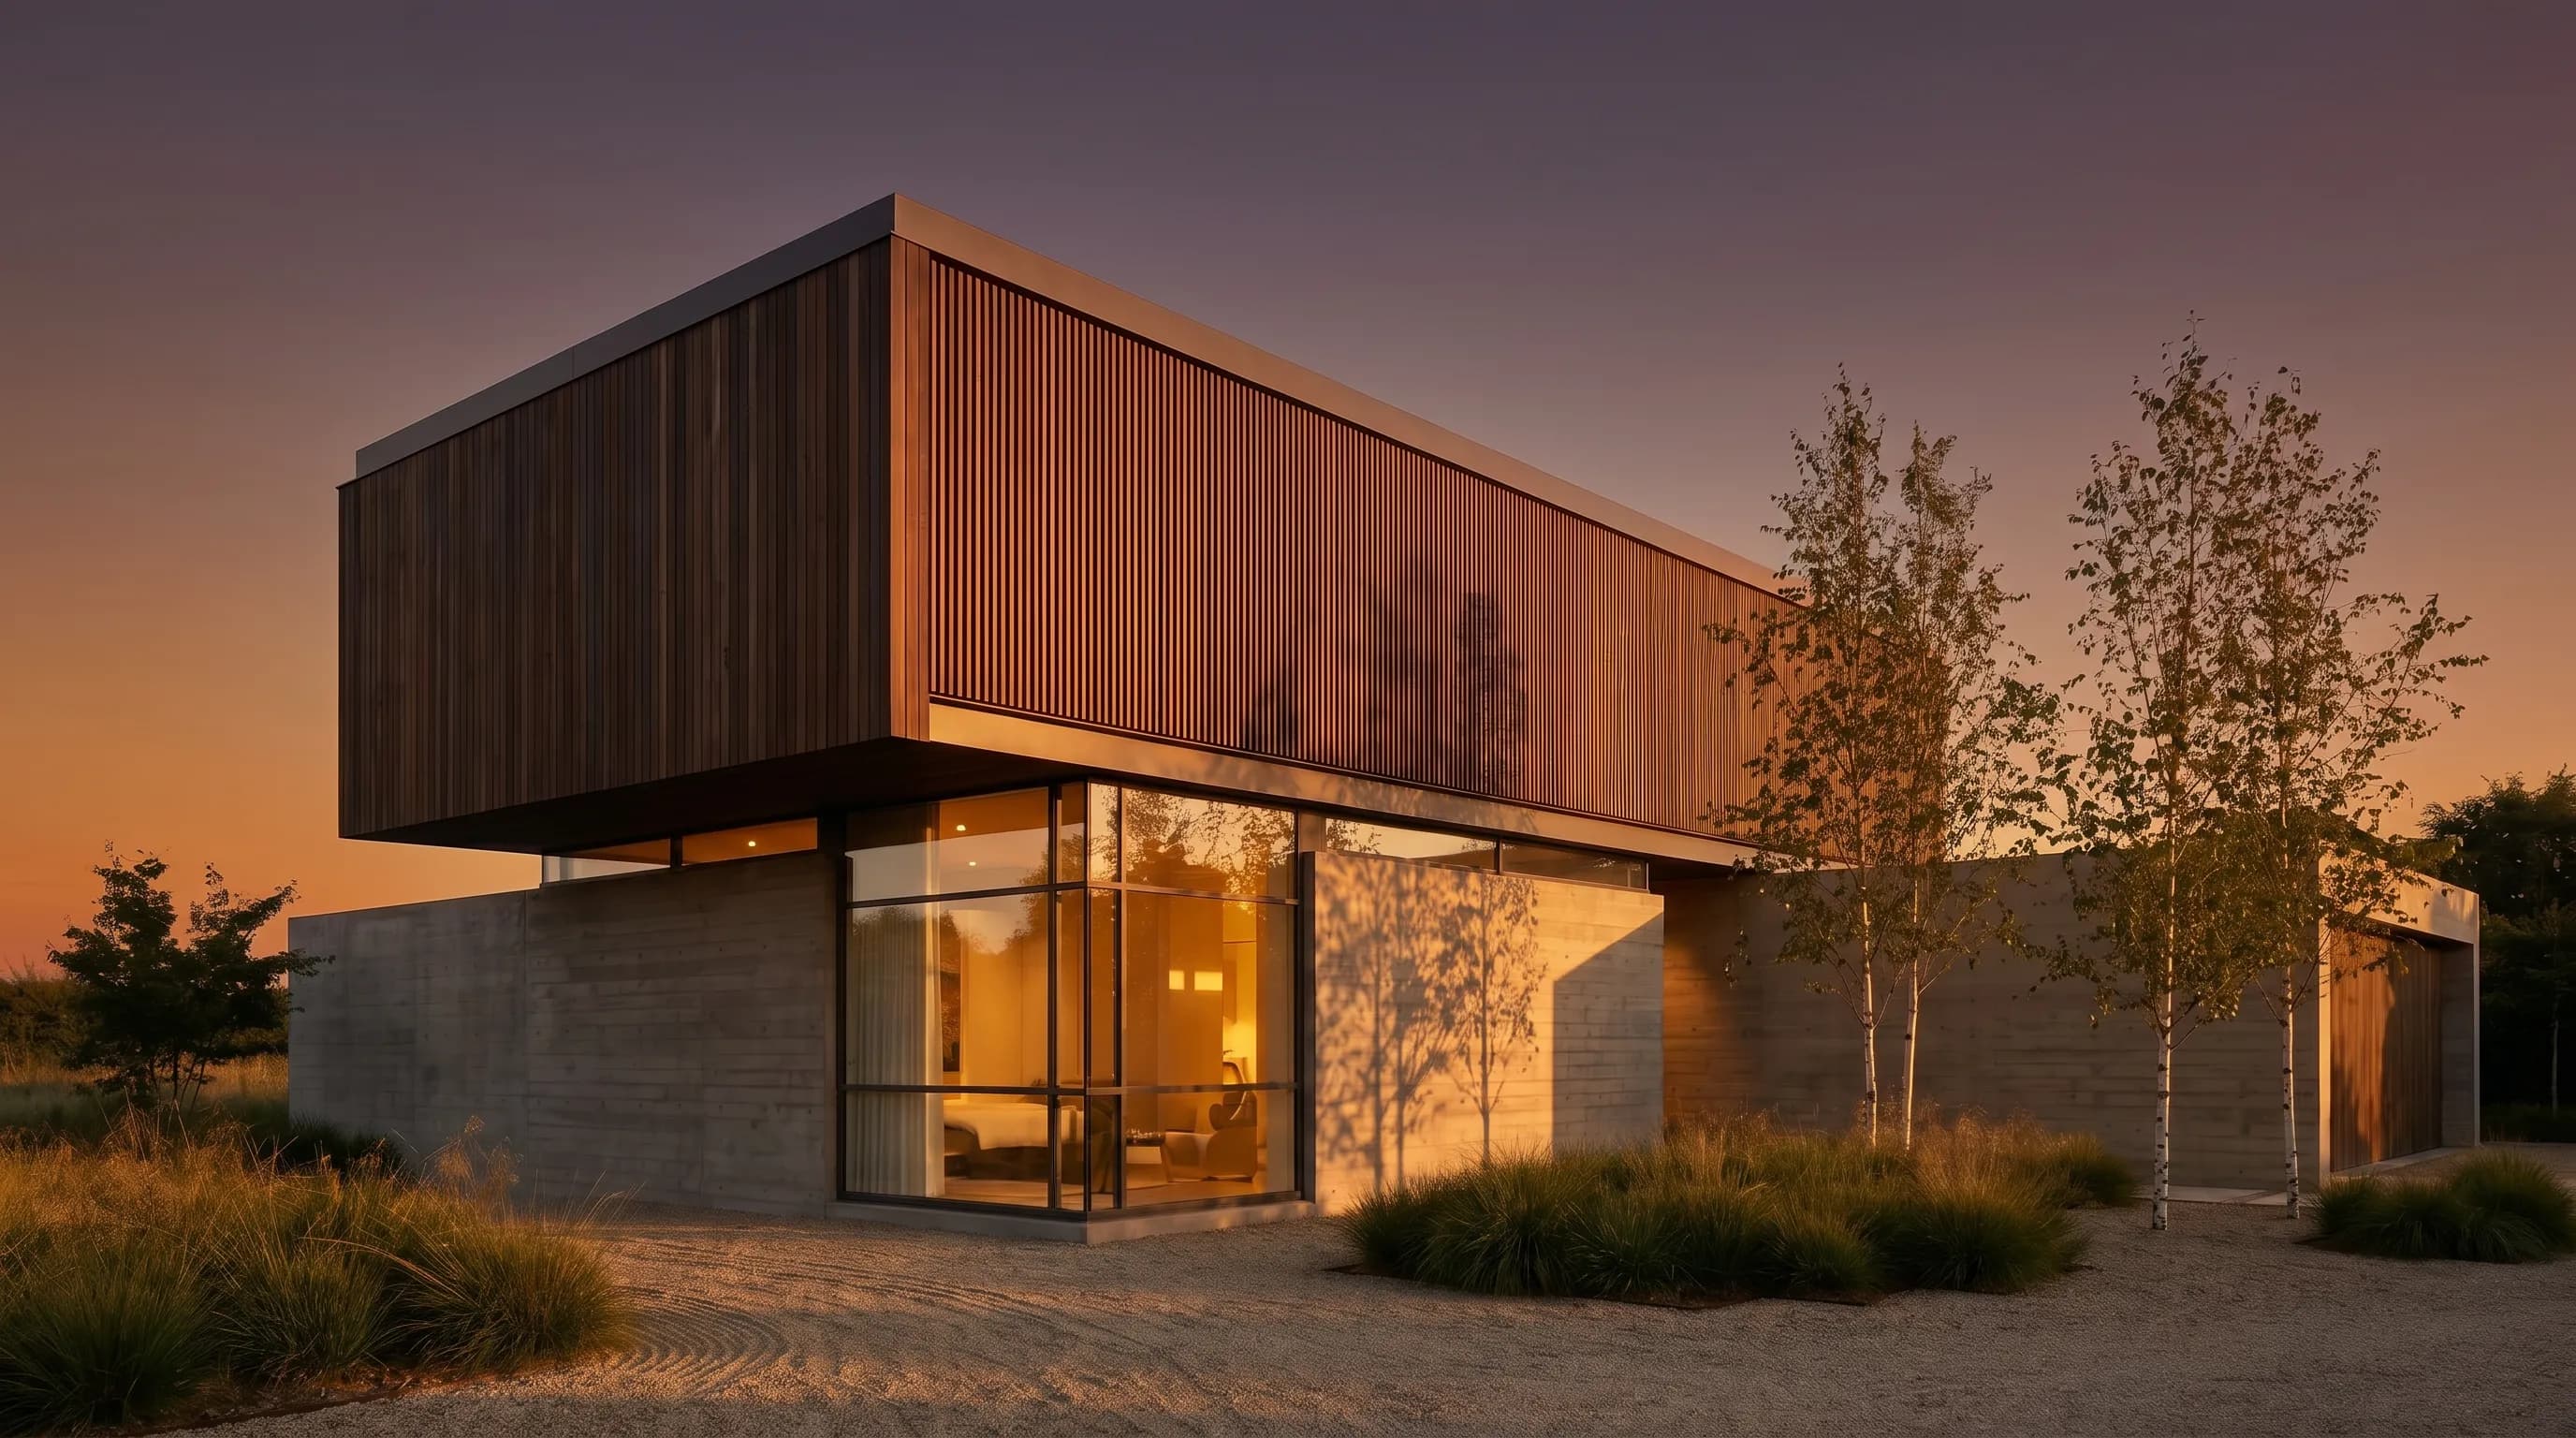
The AI route starts from the same line drawing and skips the colouring. You photograph or scan the sketch, upload it, and an image model renders it in the look you describe. It is useful when you need several options from one drawing, when the deadline is today, or when you want a photoreal view of a design that only exists on paper. The hand sketch to render tutorial covers scan settings and drift fixes in depth.
Is there a marker preset in Render a House?
No. The built-in style library in Render a House (checked Oct 2026) contains Real photo, Iso line drawing, Blueprint sketch, Watercolor, Warm Afternoon, Epic Dusk, Kodachrome Zen Modernism, Autumn Forest and 1970s analog, as described in the style guide. There is no marker preset, so there are two ways to get a marker look:
- Prompt it. Describe the medium in the prompt and leave the style unset (see the prompts below).
- Upload your own marker drawing as a style. In the style picker, use Upload Style with a scan of a marker rendering you made. The model uses it as a reference for palette, stroke and mood; it is a reference, not a trained model.
For a photoreal result, describe the realism in the prompt. The style guide warns that the Real photo style can change the drawing more than a prompt does, so avoid it when the geometry has to stay put.
Five steps from sketch to render
- Capture the sketch. Photograph it flat, in even light, or scan it. Crop to the drawing and remove notes and title blocks. The uploader accepts PNG, JPG and WebP; a PDF sheet has to be exported to PNG or JPG first.
- Upload it. Open hand sketch to render and drop the image in. If the design already exists as a model, upload the SKP, GLB, GLTF, OBJ or STL instead; SketchUp files go in directly, without an export.
- Write the prompt. Say whether you want a marker drawing or a photo, then the materials, the time of day and the setting.
- Refine. Re-render with a changed prompt, or use Select Area to change one part of the image (a façade material, the sky) without touching the rest.
- Export. Download the image. Paid plans also turn a render into video.
Prompts that produce a marker look
Three prompts to start from, for the same sketch:
- Marker drawing:"Architectural marker rendering on white paper. Keep the black ink lines visible. Translucent alcohol-marker strokes, cool grey shadows, light blue glass with white reflections, two greens for planting, white paper left showing on lit surfaces. Do not change the geometry."
- Loose concept:"Quick marker sketch, limited palette of warm grey, timber and green, loose strokes, sky left mostly white, hand-drawn feel."
- Photoreal:"Photorealistic exterior, keep the original geometry and camera, white render and timber cladding, late-afternoon sun, soft shadows, mature planting."
Rendering the same view in all three is the fastest way to decide how finished an image should look before a meeting. For more on moving from sketch to photo, read how to convert sketches to photorealistic renders.
What the AI route costs
Render a House runs on credits. A standard 1K render uses 1 credit, 2K uses 1.5 and 4K uses 2.
| Plan | Price | Credits | Notes |
|---|---|---|---|
| Free | $0 | 3 credits/day | 1K output with a watermark |
| Pro | $39/mo | 240 credits/month | Video included |
| Studio | $99/mo | 1000 credits/month | Video included |
Credit top-ups have a $5 minimum, and checkout is by card. See pricing for the current plan list.
When to use markers, and when to use AI
Use markers when the drawing is the deliverable: a sheet at a design review, a sketchbook, a portfolio, or teaching, where the hand is the point. The skill also makes you better at the AI route, because you learn what a good sketch needs before it is coloured.
Use AI when you need options or realism from a sketch you already have: three looks for one client meeting, a photoreal image of a paper-only design, or a quick colour study you would otherwise skip.
What the AI route cannot do: it is not your hand, so a render that imitates marker is not a substitute where hand drawing is required. An image model can also reinterpret proportions, openings and planting, so check the geometry against your drawing before you present it, and use a measured model and drawings for anything dimensional.
Marker rendering FAQ
What is marker rendering in architecture?
- Marker rendering is a hand technique for colouring an architectural line drawing with translucent markers. Tone is built in light-to-dark layers, shadows are laid in greys, and untouched paper is left as the highlights. It is used for charrettes, concept sheets and quick client options.
Which markers are best for architectural marker rendering?
- Alcohol-based markers are the usual choice because they blend while wet and dry quickly. Copic Sketch, for example, uses alcohol-based dye ink, comes in 358 colours and has a Super Brush and a Medium Broad nib, per Copic. Start with greys and a few colours rather than a large set.
What paper should I use for marker rendering?
- Use marker or bleedproof paper, which keeps alcohol ink on the surface and edges crisp, and put a scrap sheet underneath because alcohol markers bleed through ordinary paper. Test your fine-liner first: some inks smear when an alcohol marker passes over them.
Can AI make a render look like a marker drawing?
- Yes. In Render a House there is no marker preset, so you describe the look in the prompt (visible ink lines, translucent marker strokes, white paper showing) or upload one of your own marker drawings as a custom style. The same sketch can also be rendered photoreal.
Can I upload a PDF sketch to Render a House?
- No. The uploader accepts PNG, JPG and WebP images plus SKP, GLB, GLTF, OBJ and STL models. Export the plan or scanned sheet to PNG or JPG first, or photograph the sketch with your phone.
Is there a free way to try AI marker rendering?
- Render a House Free gives 3 credits a day for 1K renders with a watermark. A standard 1K render uses 1 credit, so you can test a marker prompt and a photoreal prompt on the same sketch on the free plan.
Have a sketch on your desk? Render it in marker or photoreal on the free plan.
Related guides:
Keep reading
Related guides and comparisons
Architectural Visualization: The Complete Guide (2026)
Architectural visualization turns drawings and 3D models into images or video of a design before it is built. Compare render engines, studios, and AI.
Architecture Portfolio: Examples, Free Template, and How to Make the Renders
A strong architecture portfolio shows four to six curated projects, each told through one lead image, the key drawings, and a short process story. Copy our free page-by-page template, study real examples, and make consistent renders from your studio models.
Home Builder Marketing: Renderings That Sell Homes Before They're Built
Home builder marketing works best when every listing leads with a photoreal image of the finished home. A playbook for AI renders, option variations and video.
