
Prepare the source
Export a clean plan view, crop extra whitespace, and keep doors, windows, walls, and room boundaries readable.
Start with a clean 2D PNG or JPEG floor plan, add the design intent the drawing cannot show, and create a first visual for mood, materials, and client conversation.
Drop in a PNG, JPEG, or WebP floor plan up to 5 MB.
Preview the input here, then start a project to render it.
This page does not create editable CAD, BIM data, or construction-ready drawings. Use it to start a visual rendering project from a 2D image.
This one-bedroom example keeps the kitchen, living room, bedroom, two bathrooms, closet, hall, and main openings in the same positions. Your prompt adds the material palette, lighting, furniture density, and how closely the result should stay tied to the original layout.
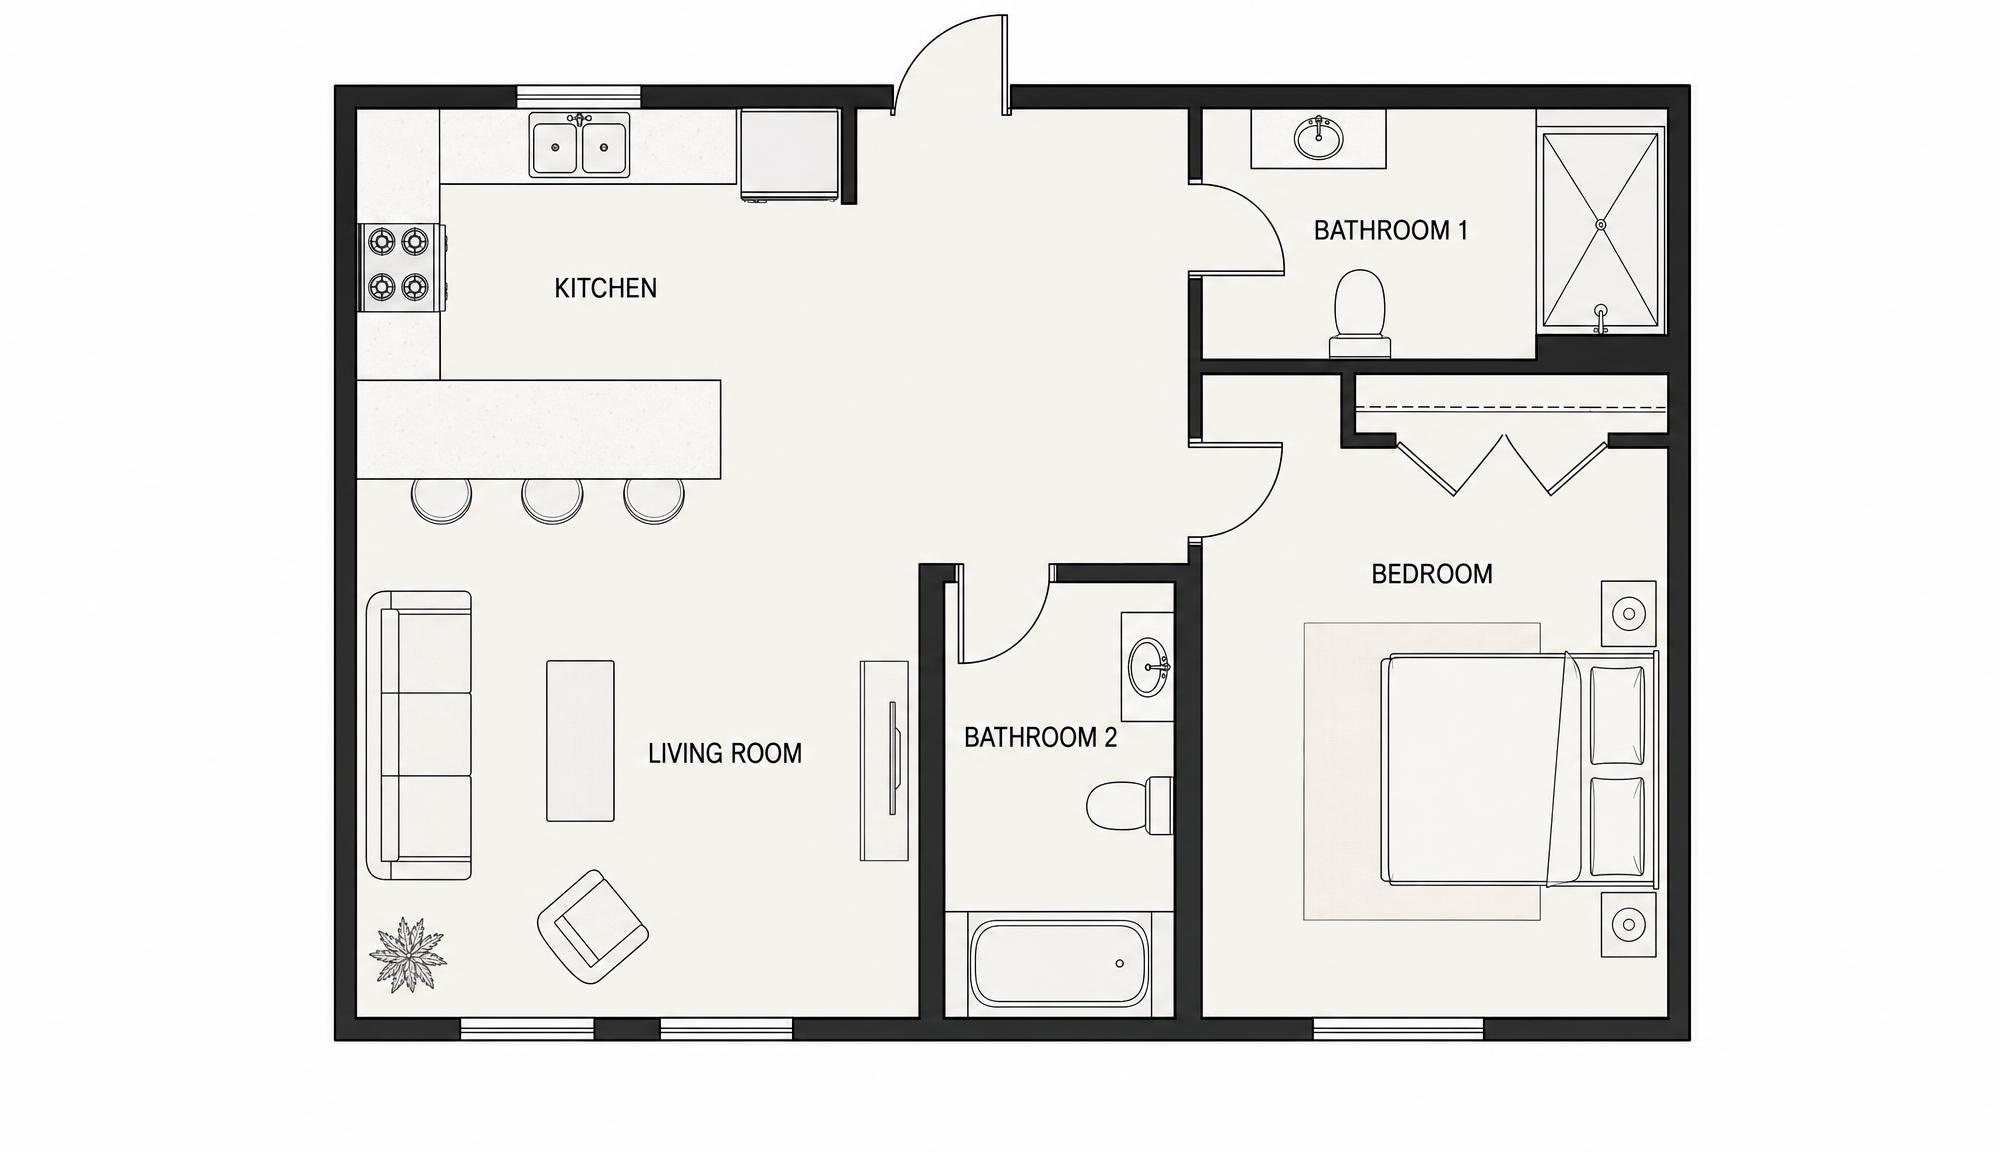
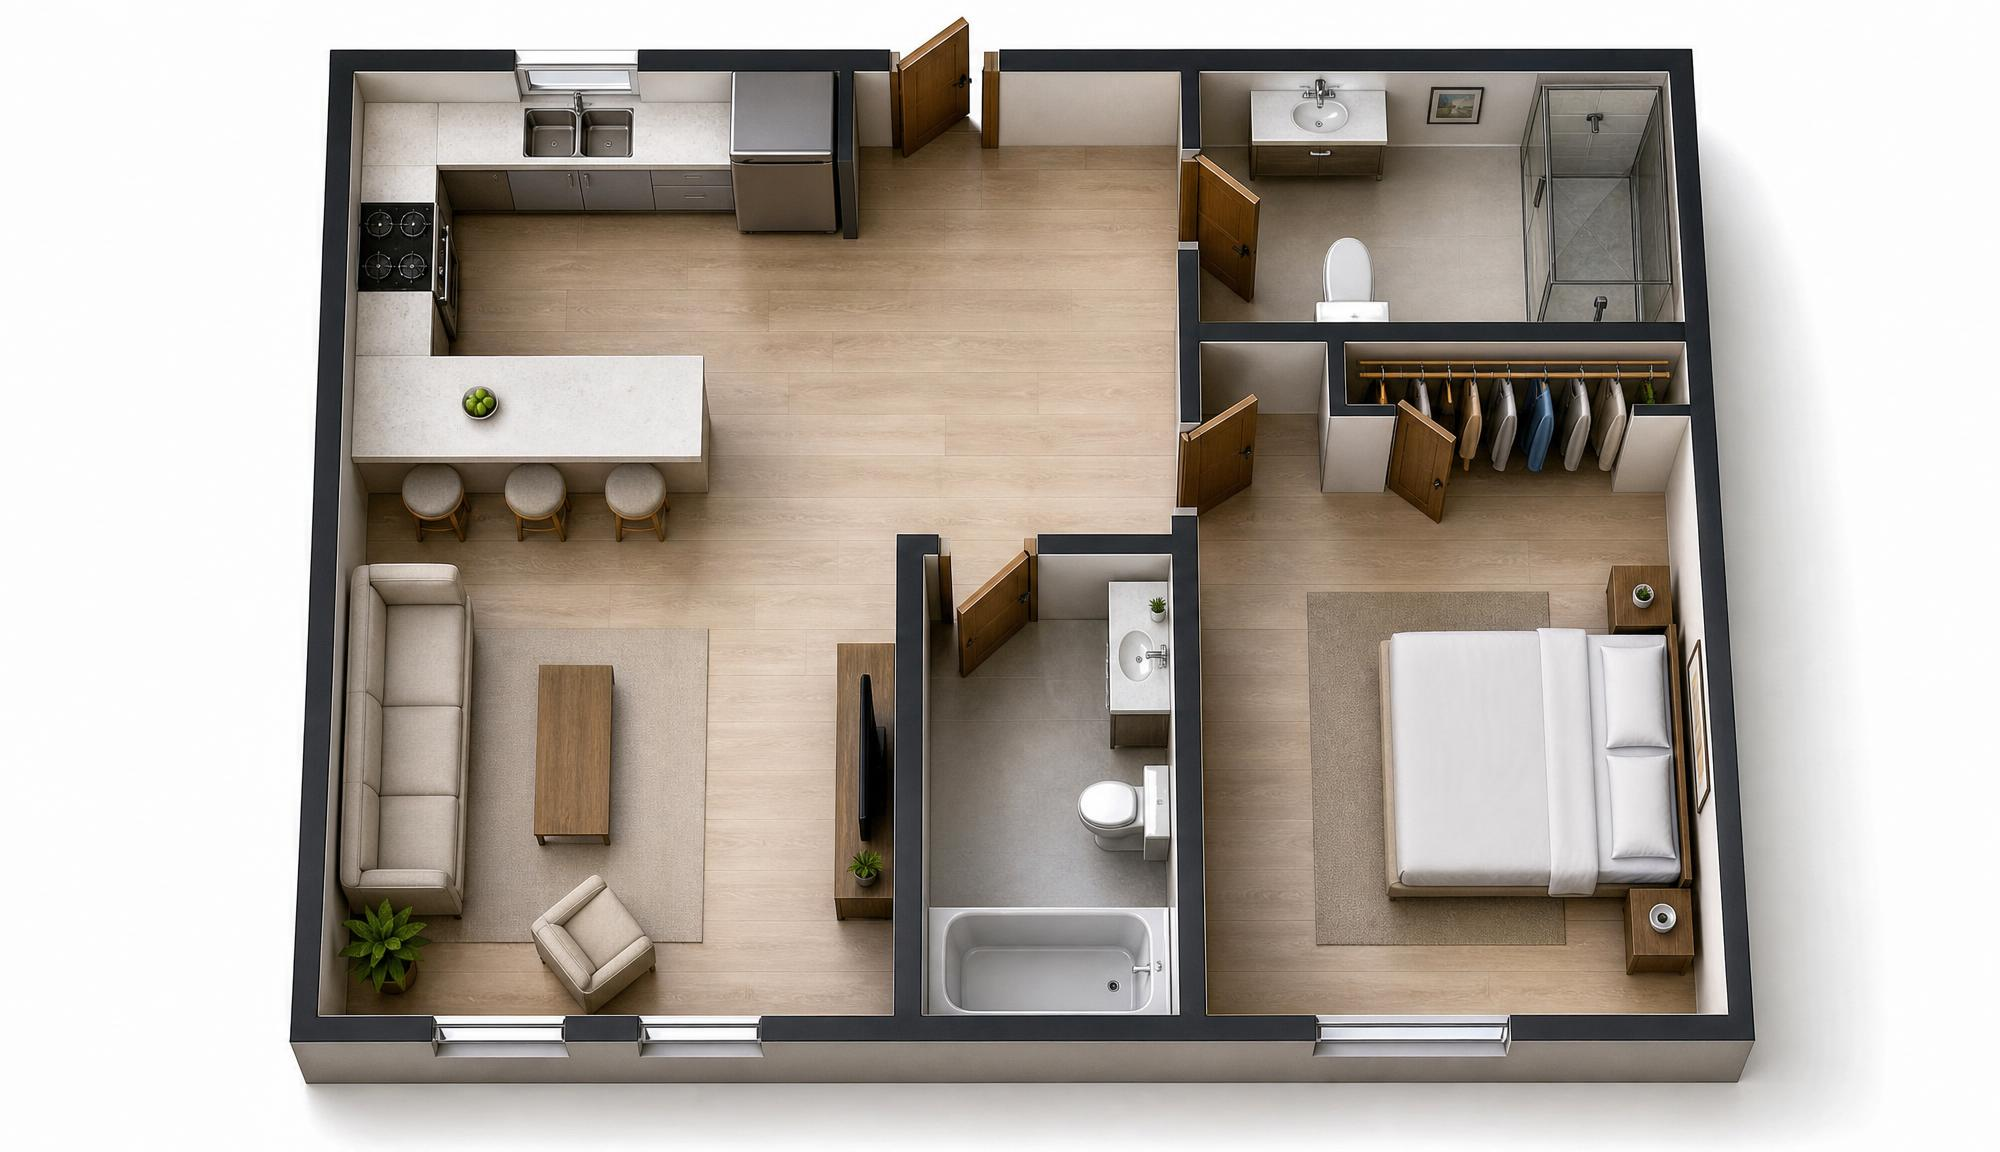
Export a clean plan view, crop extra whitespace, and keep doors, windows, walls, and room boundaries readable.
Name the room type, style, materials, lighting, viewpoint, and which parts of the plan should stay recognizable.
Use the first render as a direction check. Regenerate when the whole image is off; edit when only one local area needs work.
Use PNG for crisp line work or JPEG for screenshots and image exports. DWG, DXF, and BIM files should be exported to an image before this 2D workflow.
Upload the plan in Render a House and choose a first visual direction. The plan handles layout; your settings and prompt handle mood, finishes, and light.
Create a first concept, compare it with the plan, then regenerate or edit based on what changed too much. Use 3D Preview only when you already have a model and need precise camera control.
A floor plan is excellent at structure: room adjacency, circulation, walls, doors, windows, and the main footprint. It is weak at atmosphere. It does not know the ceiling height, view angle, sunlight, material palette, furnishing level, or the kind of presentation image you want.
Treat the upload as a source drawing and the prompt as a short design brief. Ask for a bird's-eye floor plan render, an interior-feeling concept, or an exterior presentation direction, then say what should stay close to the drawing.
Explore a first client-facing visual from a plan when the design is not ready for a full model-based presentation.
Test finishes, furniture density, lighting mood, and material language without redrawing the plan.
Decide whether the project needs a full 3D Preview path for repeatable camera control and exact context.
A floor plan render is a visual interpretation of a two-dimensional plan. The plan supplies room relationships, openings, and the general layout; your prompt supplies the materials, lighting, furniture density, and view direction the drawing does not contain.
Start with a clean PNG or JPEG floor plan image. If the plan is in AutoCAD, Revit, Archicad, Rhino, or another CAD or BIM app, export the view as PNG or JPEG before uploading it to Render a House.
No. This workflow creates concept render images from a 2D plan. It does not create editable CAD files, BIM elements, construction drawings, or dimensionally accurate reconstruction.
A clean plan and a direct prompt can keep the main layout recognizable, but a 2D image still leaves room for interpretation. Use it for fast design direction, mood, and client communication. Use 3D Preview when exact model context, saved cameras, or repeatable viewpoints matter.
This landing page lets you preview whether your plan is the right file type. The actual render runs inside a signed-in Render a House project, where you upload the plan, choose settings, and create or refine the output.
The signed-in project workspace shows the current model options, credit cost, and available balance before you run a render. Start free, then use the plan that matches your rendering workload.
Start free, then choose the monthly credit allowance that fits your rendering, refinement, and presentation workload. Annual billing is also available.
$0forever
Try Render a House before choosing a paid plan.
$39per month
For professionals and small teams.
$99per month
For studios with a higher-volume workflow.
Prices are shown in USD. The signed-in pricing page shows the current checkout terms before purchase.
Enlarge a finished render or presentation image when the concept is ready to share.
Turn a clear image into a downloadable 3D model when you need a separate model asset.
Use the model-based path when exact location, camera, and repeatable viewpoints matter.
Read the detailed preparation, prompting, and refinement guide before a bigger floor-plan project.
Use exported GLB, GLTF, or OBJ models when a model-based 3D Preview path fits the project better than a flat plan.
Ready when your plan is