 Render a House/Updated Sep 16, 2026
How to Render in Revit 2027: Native, Twinmotion, and Export Workflows
Revit 2027 gives you three practical routes: render the active 3D view inside Revit, open it in Twinmotion, or export a raster image or FBX for another workflow. Revit does not write GLB, glTF, or OBJ itself.
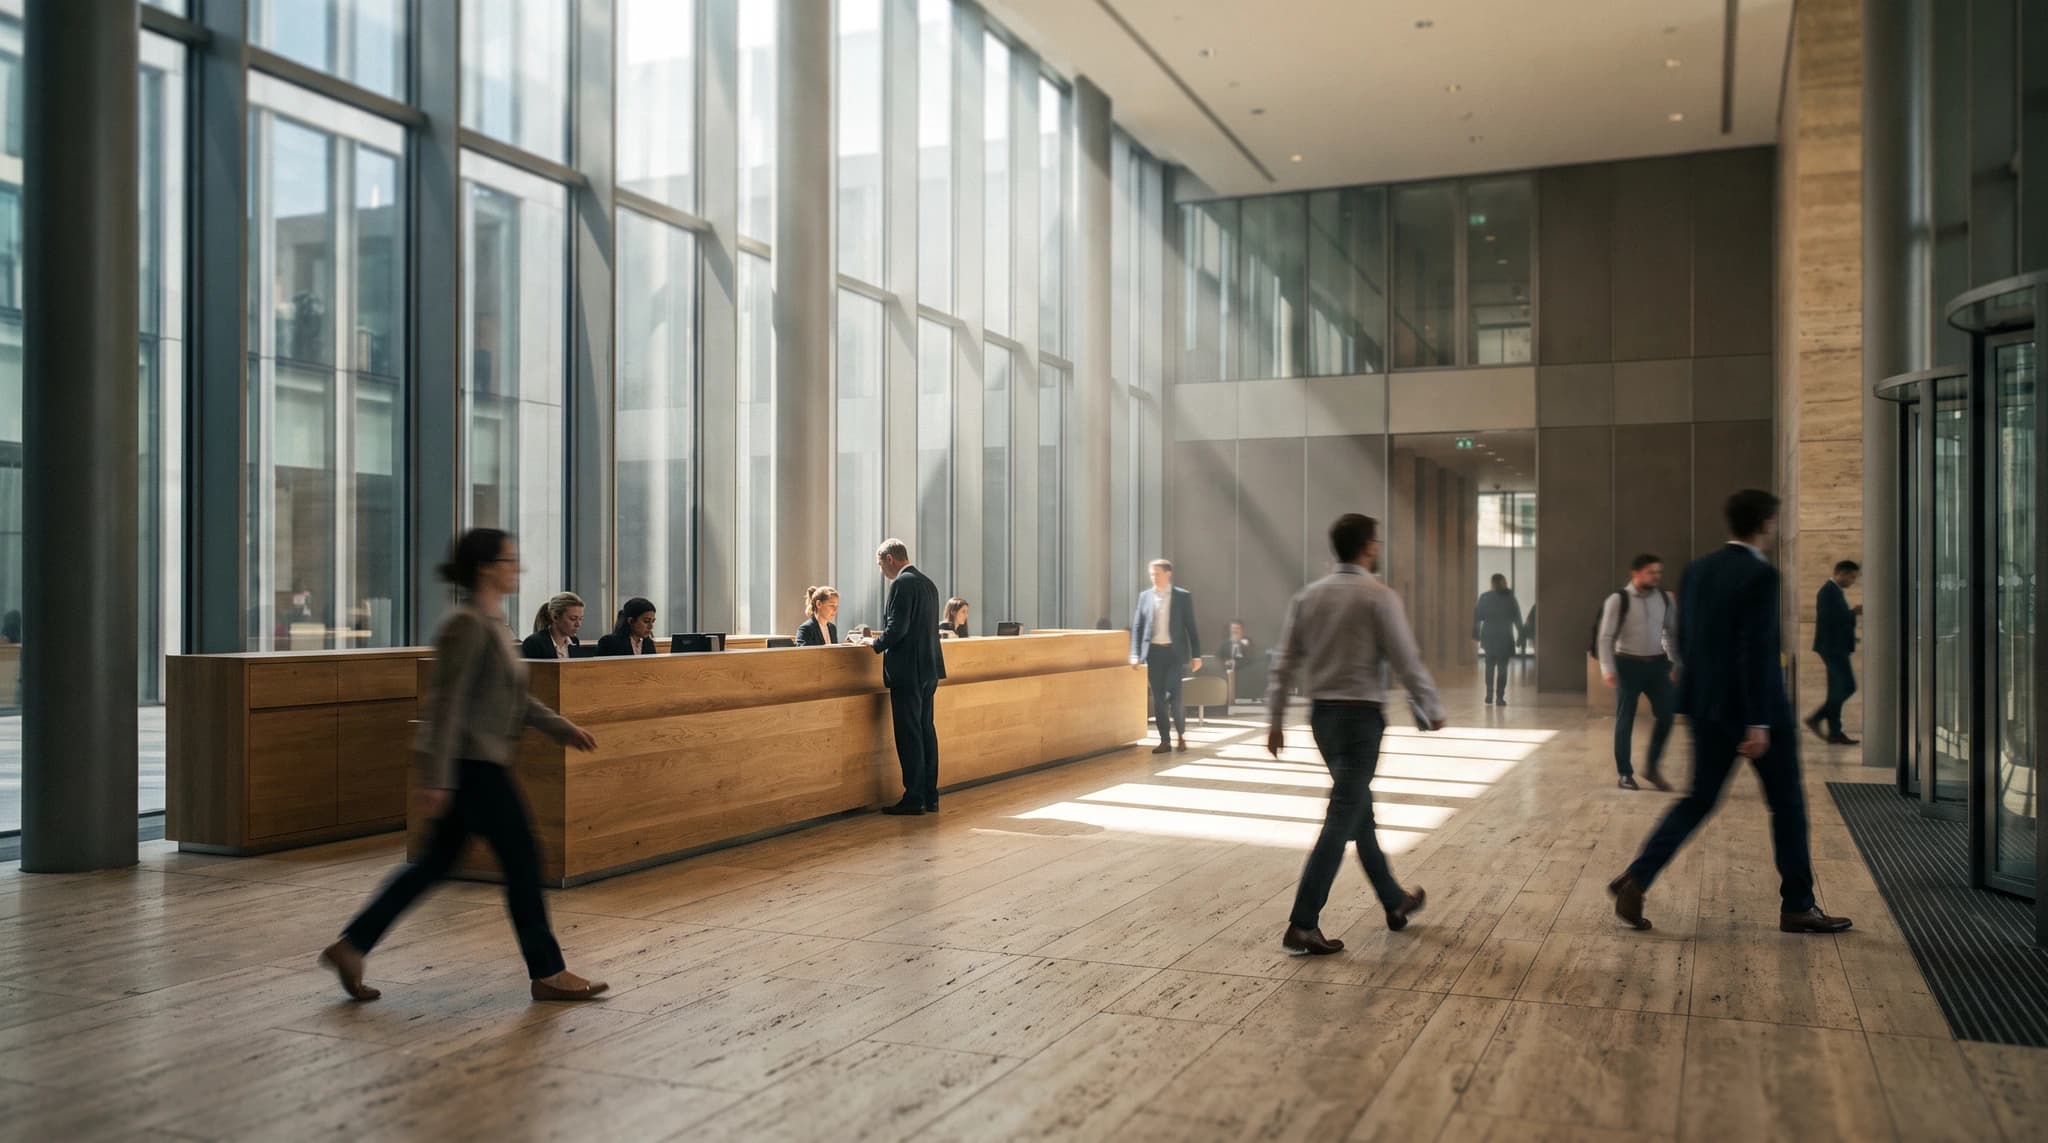
The shortest answer to how to render in Revitis: prepare a 3D view, check its visible geometry and material appearances, open the Rendering dialog, choose the quality, resolution, lighting, and background, then click Render. Autodesk's Revit 2027 rendering overview confirms that a rendered 3D view can be placed on a sheet or exported for use elsewhere.
That native route is not always the right route. Twinmotion provides a synchronized real-time visualization workflow, while a raster export is useful when you only need the approved Revit camera as an image. If another tool needs a web-ready 3D model, export FBX and convert it. Do not plan around a native Revit GLB, glTF, or OBJ button: Revit 2027 has none.
How can you render a Revit model?
Choose the destination before changing render settings. These are the three routes summarized in the introduction:
| Route | What it produces | Core workflow | Important constraint |
|---|---|---|---|
| Native Revit 2027 render | A finished still image from the active 3D view | Prepare the view, open the Rendering dialog, choose quality and output settings, then render | No file conversion before rendering |
| Twinmotion for Revit | Real-time scenes, stills, animations, panoramas, and presentations | Open a Revit 3D view in Twinmotion and synchronize model changes | Twinmotion must be installed and compatible |
| External image or 3D workflow | A raster input or a converted model for another renderer | Export PNG or JPEG directly, or export FBX and convert it to the required 3D format | Revit does not write GLB, glTF, or OBJ |
Native rendering is best when the Revit view, materials, and lighting already describe the intended final still. Twinmotion is better when real-time scene building or animation matters. Export is the flexible route, but its exact shape depends on whether the next tool needs pixels or an editable model.
How do you render inside Revit?
The reliable native workflow is a preview loop, not a single highest-quality click. Prepare the view, test it cheaply, correct obvious problems, and only then spend time on the final image. Autodesk's Rendering dialog workflow follows the same order: area, quality, output, lighting, background, exposure, and render.
- Open or create the 3D view. Choose the perspective or orthographic 3D view that contains the camera, crop, section box, visibility settings, and geometry you want in the image.
- Clean what the view can see. Hide temporary objects, unnecessary categories, guides, and distant geometry that do not contribute to the composition.
- Check materials. Review the render appearance assigned to visible materials rather than judging them only by a shaded-view color.
- Choose the lighting scheme. Decide whether the image uses sun, artificial lights, or both, and confirm the background and shadows support the intended time of day.
- Open the Rendering dialog. Set the region, quality, output resolution, lighting, background, and exposure controls for the active view.
- Run a lower-cost preview. Use Draft or Medium first to catch framing, material, light, and background problems before a slower final pass.
- Render, review, and export. Render the full image, adjust exposure if needed, save the result as a project view or export it to a raster file.
Prepare the Revit view before rendering
Revit renders what the active 3D view exposes. Camera, visibility, material appearance, lighting, crop, and model cleanliness therefore matter before the renderer starts. A technically higher quality setting cannot repair an accidental composition or a material with the wrong appearance asset.
Frame a deliberate 3D view
Use a perspective view when the image should read as a human viewpoint and an orthographic 3D view when parallel geometry or a diagrammatic composition matters more. Position the camera at a believable height, keep verticals and focal point under control, and leave room for the destination's crop or typography.
Treat the crop as part of the output rather than an editor convenience. A wide screen image, a portrait social image, and a sheet viewport need different framing. Confirm the intended aspect ratio before tuning materials or lighting around objects that may later fall outside the crop.
Clean the visible model
Hide geometry that cannot contribute to the image. Temporary options, imported references, distant site objects, dense families, and interior objects behind opaque walls can add complexity without improving the result. Use the active view's visibility and section controls rather than deleting coordinated BIM information from the project.
Check the silhouette and the openings first. Missing mullions, duplicated railings, exposed room edges, floating furniture, and an unfinished ground plane remain visible no matter how carefully the final exposure is adjusted.
Check material appearances
A Revit material can look acceptable in a shaded view and still render incorrectly because rendering uses the material's appearance definition. Preview the visible materials, confirm texture scale and orientation, and pay special attention to glass, metal, polished stone, emissive surfaces, and repeated patterns.
Start with the materials that occupy the most pixels. The facade, roof, floor, walls, glazing, and major timber or stone surfaces usually affect the image more than small fittings. A short Draft render is more useful than trying to infer every final reflection from the viewport alone.
Set lighting and background
In the Rendering dialog, choose a lighting scheme that matches the view. An exterior typically begins with sun and sky; an interior may need daylight through openings, artificial lights, or both. Too many active lights can lengthen the render, while lights outside the visible composition may add calculation without adding a useful highlight.
Set the background deliberately. A transparent background can support compositing, while sky or a color can help judge the building in context. For daylight, confirm the sun position creates useful form and does not leave the main subject flat or unreadable.
Which Revit render settings should you choose?
Revit's Rendering dialog separates visual quality from output size. Quality changes how the scene is calculated; output settings change the dimensions or print resolution of the image. Raising both at once makes diagnosis harder because you no longer know whether time is being spent on shading accuracy or simply on more pixels.
What do Revit’s render quality levels mean?
Autodesk documents five quality choices. Their roles and relative speeds are listed here so the summary can be checked against visible rows:
| Quality | Relative speed | Autodesk-described result | Practical use |
|---|---|---|---|
| Draft | Fastest | Approximate lighting and materials, with less detailed shadows | Framing, daylight direction, and very early checks |
| Medium | Medium | A broader impression of the lighting, materials, and scene | Design reviews before investing in a slower render |
| High | Slower | More accurate materials, specular response, soft shadows, and reflections | Reviewing material and lighting decisions |
| Best | Slowest | Revit’s highest native lighting and material accuracy | Final output when complex lighting or materials justify the time |
| Custom | Varies | Manually configured rendering settings | Teams that understand the controls they need to override |
The sensible sequence is Draft, then Medium, then High or Best only if the previous image proves the camera, materials, and lights are ready. Read Autodesk's Revit 2027 render quality reference before using Custom settings, because manual overrides remove the predictability of the named presets.
Screen or printer resolution?
Use Screen output when the image is destined for a presentation, website, or another pixel-based workflow. Use Printer output when the physical size and DPI of a printed result matter. Do not increase resolution as a substitute for better framing, materials, or lighting: it only produces more pixels of the same scene decision.
For a final still, set the target dimensions before the last render and verify that small facade details remain legible at the actual delivery size. For a test, reduce output dimensions as well as quality so each diagnostic pass returns quickly.
Render the image and adjust exposure
Click Render after the preview settings are ready. Autodesk says Revit renders the image progressively and then lets you change settings, adjust exposure, save the rendered image as a project view, export it, or return to the model. Those actions are described in the Revit 2027 rendered-image workflow.
Use exposure after the renderer has enough information to show the actual lighting balance. Exposure can recover presentation range, but it cannot make a missing light appear, correct a texture's scale, or replace geometry that was hidden from the view. If a surface is fundamentally wrong, return to the model or render settings instead of forcing the image through exposure alone.
How do you export a Revit render as an image?
After a native render completes, choose Export in the Rendering dialog and save the result outside the RVT project. Autodesk lists BMP, JPEG, JPG, PNG, and TIFF as the supported rendered-image file labels. PNG and TIFF preserve an alpha channel for transparency, and Autodesk recommends TIFF when the image will be opened in Photoshop.
| Format | Kind | Best use | Constraint or next step |
|---|---|---|---|
| BMP | Rendered image | A basic uncompressed raster output | Usually larger than a comparable JPEG or PNG |
| JPEG or JPG | Rendered image | Compact presentation images and direct image uploads | Lossy compression; no alpha transparency |
| PNG | Rendered image | Sharp image output and alpha transparency | A practical direct input for Render a House |
| TIFF | Rendered image | Post-production and alpha transparency | Autodesk recommends TIFF when the image will be opened in Photoshop |
| FBX | 3D scene exchange | Moving a prepared 3D view into a compatible conversion or rendering tool | Not accepted directly by Render a House; convert it first |
| GLB, glTF, or OBJ | Converted 3D model | A web-ready model after an external conversion step | Not native Revit exports |
The exact export sequence is documented in Autodesk's Export the Rendered Image to a File help page. Use PNG or JPEG/JPG when the next step is a direct image upload to Render a House. TIFF remains useful for post-production, but it is not one of the image upload formats listed in Render a House's supported-format guide.
You can also export the current Revit view directly through File, Export, Images and Animations, Image. Autodesk's view-to-image instructions let you export the current window, its visible portion, or selected views and sheets, then choose pixel fit or zoom settings. That route captures the view as displayed; it is different from exporting the result of Revit's photoreal rendering process.
How do you export Revit to FBX?
FBX is Revit's documented built-in 3D exchange route for this workflow. Open the project's intended 3D view, then choose File, Export, and FBX. If the FBX command is disabled, Autodesk says to open a project 3D view first.
- Duplicate or prepare a 3D view specifically for exchange so its visibility choices do not disrupt documentation views.
- Use section boxes and category visibility to limit the export to the geometry the downstream scene needs.
- Open that 3D view and choose File, Export, FBX.
- Name the FBX clearly and keep any project-specific texture or material references available for the next application.
- Open the FBX in the conversion or rendering application and inspect units, orientation, object grouping, material assignments, and texture paths.
See Autodesk's Revit 2027 FBX export instructions for the current command path and available FBX file-type choices. FBX is an intermediate file here, not the file you upload directly to Render a House.
Convert FBX to GLB, glTF, or OBJ
Revit 2027 does not natively export GLB, glTF, or OBJ. To create one of those files, import the FBX into a compatible converter or digital-content-creation application, then export the required format. GLB is generally the simplest target for a web workflow because it can bundle geometry and textures into one binary file.
- Import the FBX without changing its intended units.
- Check that the building is upright, correctly scaled, and near a usable origin.
- Repair missing texture paths and confirm that opaque, transparent, metallic, and rough materials still read correctly.
- Remove geometry the Revit export carried across but the render does not need.
- Export GLB, glTF, or OBJ and reopen that final file before upload.
How do you render a Revit model in Twinmotion?
Twinmotion is the direct real-time visualization route. Autodesk states that Twinmotion for Revit is available with Revit subscriptions and can be launched from the Revit ribbon. Its Direct Link workflow sends the active 3D view into Twinmotion and can synchronize later changes.
- Install a Twinmotion version that is compatible with the Revit environment you are using.
- Open and clean the Revit 3D view whose geometry should be sent.
- Use the Twinmotion command in Revit to open a new or existing Twinmotion project and establish the connection.
- Build the visualization in Twinmotion with its own materials, lights, context, weather, entourage, media, and output controls.
- Synchronize from Revit when the BIM model changes, then check whether any Twinmotion overrides need attention.
Twinmotion is not the same as Revit's native Rendering dialog. It is a separate installed application with a linked model workflow. Autodesk's Twinmotion for Revit page describes the available still, animation, panorama, presentation, and synchronization capabilities.
How do you use a Revit design with Render a House?
Render a House does not open a native RVT file, and it does not accept FBX as a direct 3D upload. Use one of two handoff paths:
Image path
- Approve the camera and visible model in Revit.
- Export the rendered result or displayed view as PNG or JPEG.
- Upload the image and describe the materials, lighting, site, weather, and presentation direction you want.
- Compare the output with the source view before using it to communicate a design decision.
Converted 3D path
- Prepare and export the Revit 3D view as FBX.
- Convert FBX to GLB, glTF, or OBJ externally.
- Reopen the converted file and check scale, orientation, materials, and missing geometry.
- Upload the supported model to 3D Preview, set the view, and render from that camera.
The image path is faster when the Revit camera is already right. The model path is more flexible when you still need to inspect the model, place it, or choose another camera. Read the Render a House supported file formats and 3D model export guide before converting a production model.
For a focused product workflow, see Revit rendering with Render a House. For the Autodesk subscription terms around the authoring tool, use the current Revit pricing guide. If local rendering or model navigation is slow, compare the machine with the Revit 2027 system requirements.
What should you check before the final render?
Use this checklist after the route is chosen and before the final native render, Twinmotion sync, image export, or FBX handoff:
- The active 3D view contains only the geometry needed for the image.
- The camera height, target, crop, and aspect ratio suit the final layout.
- Visible materials use intentional render appearances.
- Sun direction and artificial lights match the scene rather than competing with it.
- Glass, mirrors, emissive surfaces, and glossy finishes have been previewed.
- Draft or Medium output has already exposed missing textures and unwanted geometry.
- Final resolution matches the screen, sheet, or post-production destination.
- The export format matches the next step: raster image, Twinmotion, or FBX conversion.
The last item prevents the most common workflow mismatch: spending time on a native render when the next tool needs geometry, or exporting a heavy model when a fixed raster view would have been enough.
What are the limitations of each workflow?
Every route trades control, speed, and portability differently. The right choice depends on which part of the Revit model must remain editable after the handoff.
| Workflow | Strength | Limitation |
|---|---|---|
| Native Revit rendering | Stays attached to the BIM view and its materials | A final still may take longer at higher quality; scene building remains inside Revit’s rendering controls |
| Twinmotion | Real-time iteration, entourage, animation, and synchronized design changes | Adds another application and a compatibility-sensitive link to the workflow |
| Raster image | Fastest handoff and no model conversion | The camera and visible geometry are fixed in two dimensions |
| FBX plus conversion | Carries a 3D scene into tools that can write web-ready formats | Conversion can change materials, texture paths, hierarchy, units, or object grouping |
| Converted model in Render a House | Lets you inspect and place a supported 3D model before rendering | The converted file must be GLB, glTF, or OBJ; native RVT and FBX are not accepted |
Keep Revit as the source of truth for coordinated geometry and specifications. A renderer, a converted mesh, or an AI-generated image is a presentation output, not a replacement for checking the BIM model. Review openings, levels, facade rhythm, materials, and site relationships against Revit before approving the result.
Common questions about rendering in Revit
Can Revit create a photorealistic render by itself?
Yes. Revit can render a prepared 3D view with its own Rendering dialog. You choose the region, quality, resolution, lighting, background, and exposure, then render the image and either save it in the project or export it to a raster file.
Where is the render command in Revit?
Open the 3D view you want to render, then open Revit’s Rendering dialog from the presentation and rendering controls for that view. The command applies to the active renderable 3D view, so first confirm that the intended camera or orthographic view is open.
Which Revit render quality should you use?
Use Draft for framing and lighting checks, Medium for an overall impression, High for more accurate materials, reflections, and soft shadows, and Best only when the final image benefits from Revit’s highest native accuracy. Custom is for manually configured settings. A lower-quality preview should normally come before the final pass.
Can Revit 2027 export GLB?
No. Revit 2027 does not write GLB natively. Export a prepared 3D view as FBX, open that FBX in a compatible conversion or digital-content-creation tool, then export GLB and inspect the converted materials, units, and object organization.
Can Revit 2027 export glTF?
No. glTF is not a native Revit 2027 export. Use the Autodesk-documented FBX export and convert the file externally, or use a raster image when an editable 3D model is not required.
Can Revit 2027 export OBJ?
No. OBJ is not a native Revit 2027 export. The reliable built-in route is to export FBX from an open 3D view and convert it in another application that can write OBJ.
Why is the Revit FBX export command disabled?
Autodesk states that FBX export is available from a project 3D view. Open the 3D view you intend to transfer before choosing File, Export, and FBX.
What is the best Revit image format to export?
Use PNG when you want sharp edges or alpha transparency, JPEG or JPG for a compact presentation image, and TIFF for a post-production workflow in Photoshop. Autodesk says PNG and TIFF preserve alpha transparency and recommends TIFF for Photoshop.
Is Twinmotion available with Revit?
Autodesk states that Twinmotion for Revit is available with all Revit subscriptions, including AEC Collection and education subscriptions, as well as Flex and the Revit trial. It is a separate application that you access and install before opening or synchronizing a Revit view.
Can you upload a native RVT file to Render a House?
No. Render a House does not open native RVT files. Export a PNG or JPEG view for the image workflow, or export FBX from Revit and convert it to GLB, glTF, or OBJ for the supported 3D workflow.
Should you export a Revit image or convert the model?
Export an image when the Revit camera is already approved and speed matters. Convert the model when you still need to inspect the scene in three dimensions, choose another camera, or place it in 3D Preview. The model route takes longer because FBX must be converted and checked.
Keep reading
Related guides and comparisons
20 Best AI Interior Design Tools in 2026 (Free & Paid)
Compare 20 AI interior design tools for room redesign, architecture, floor plans, virtual staging, and client renders, with vendor-sourced prices and tradeoffs.
How to Render in SketchUp: A Practical Workflow Guide
Learn how to render in SketchUp with native viewport tools, in-app plugins, external renderers, Photoshop, Mac workflows, and free options for architects.
How to Render in Blender 5.2: 8-Step Architecture Guide
Learn how to render architecture in Blender 5.2 LTS with an 8-step workflow covering imports, Eevee versus Cycles, lighting, materials, cameras, and output.
