 Render a House/Updated Oct 18, 2026
3D Printing Architectural Models: Printers, Materials and Workflow
To 3D print an architectural model, make a print-only copy of the design, scale it, thicken walls and details, export a watertight STL, slice it for FDM or resin, then finish it. Render a House turns the same model into photoreal renders, so the printed model and the images tell one story.
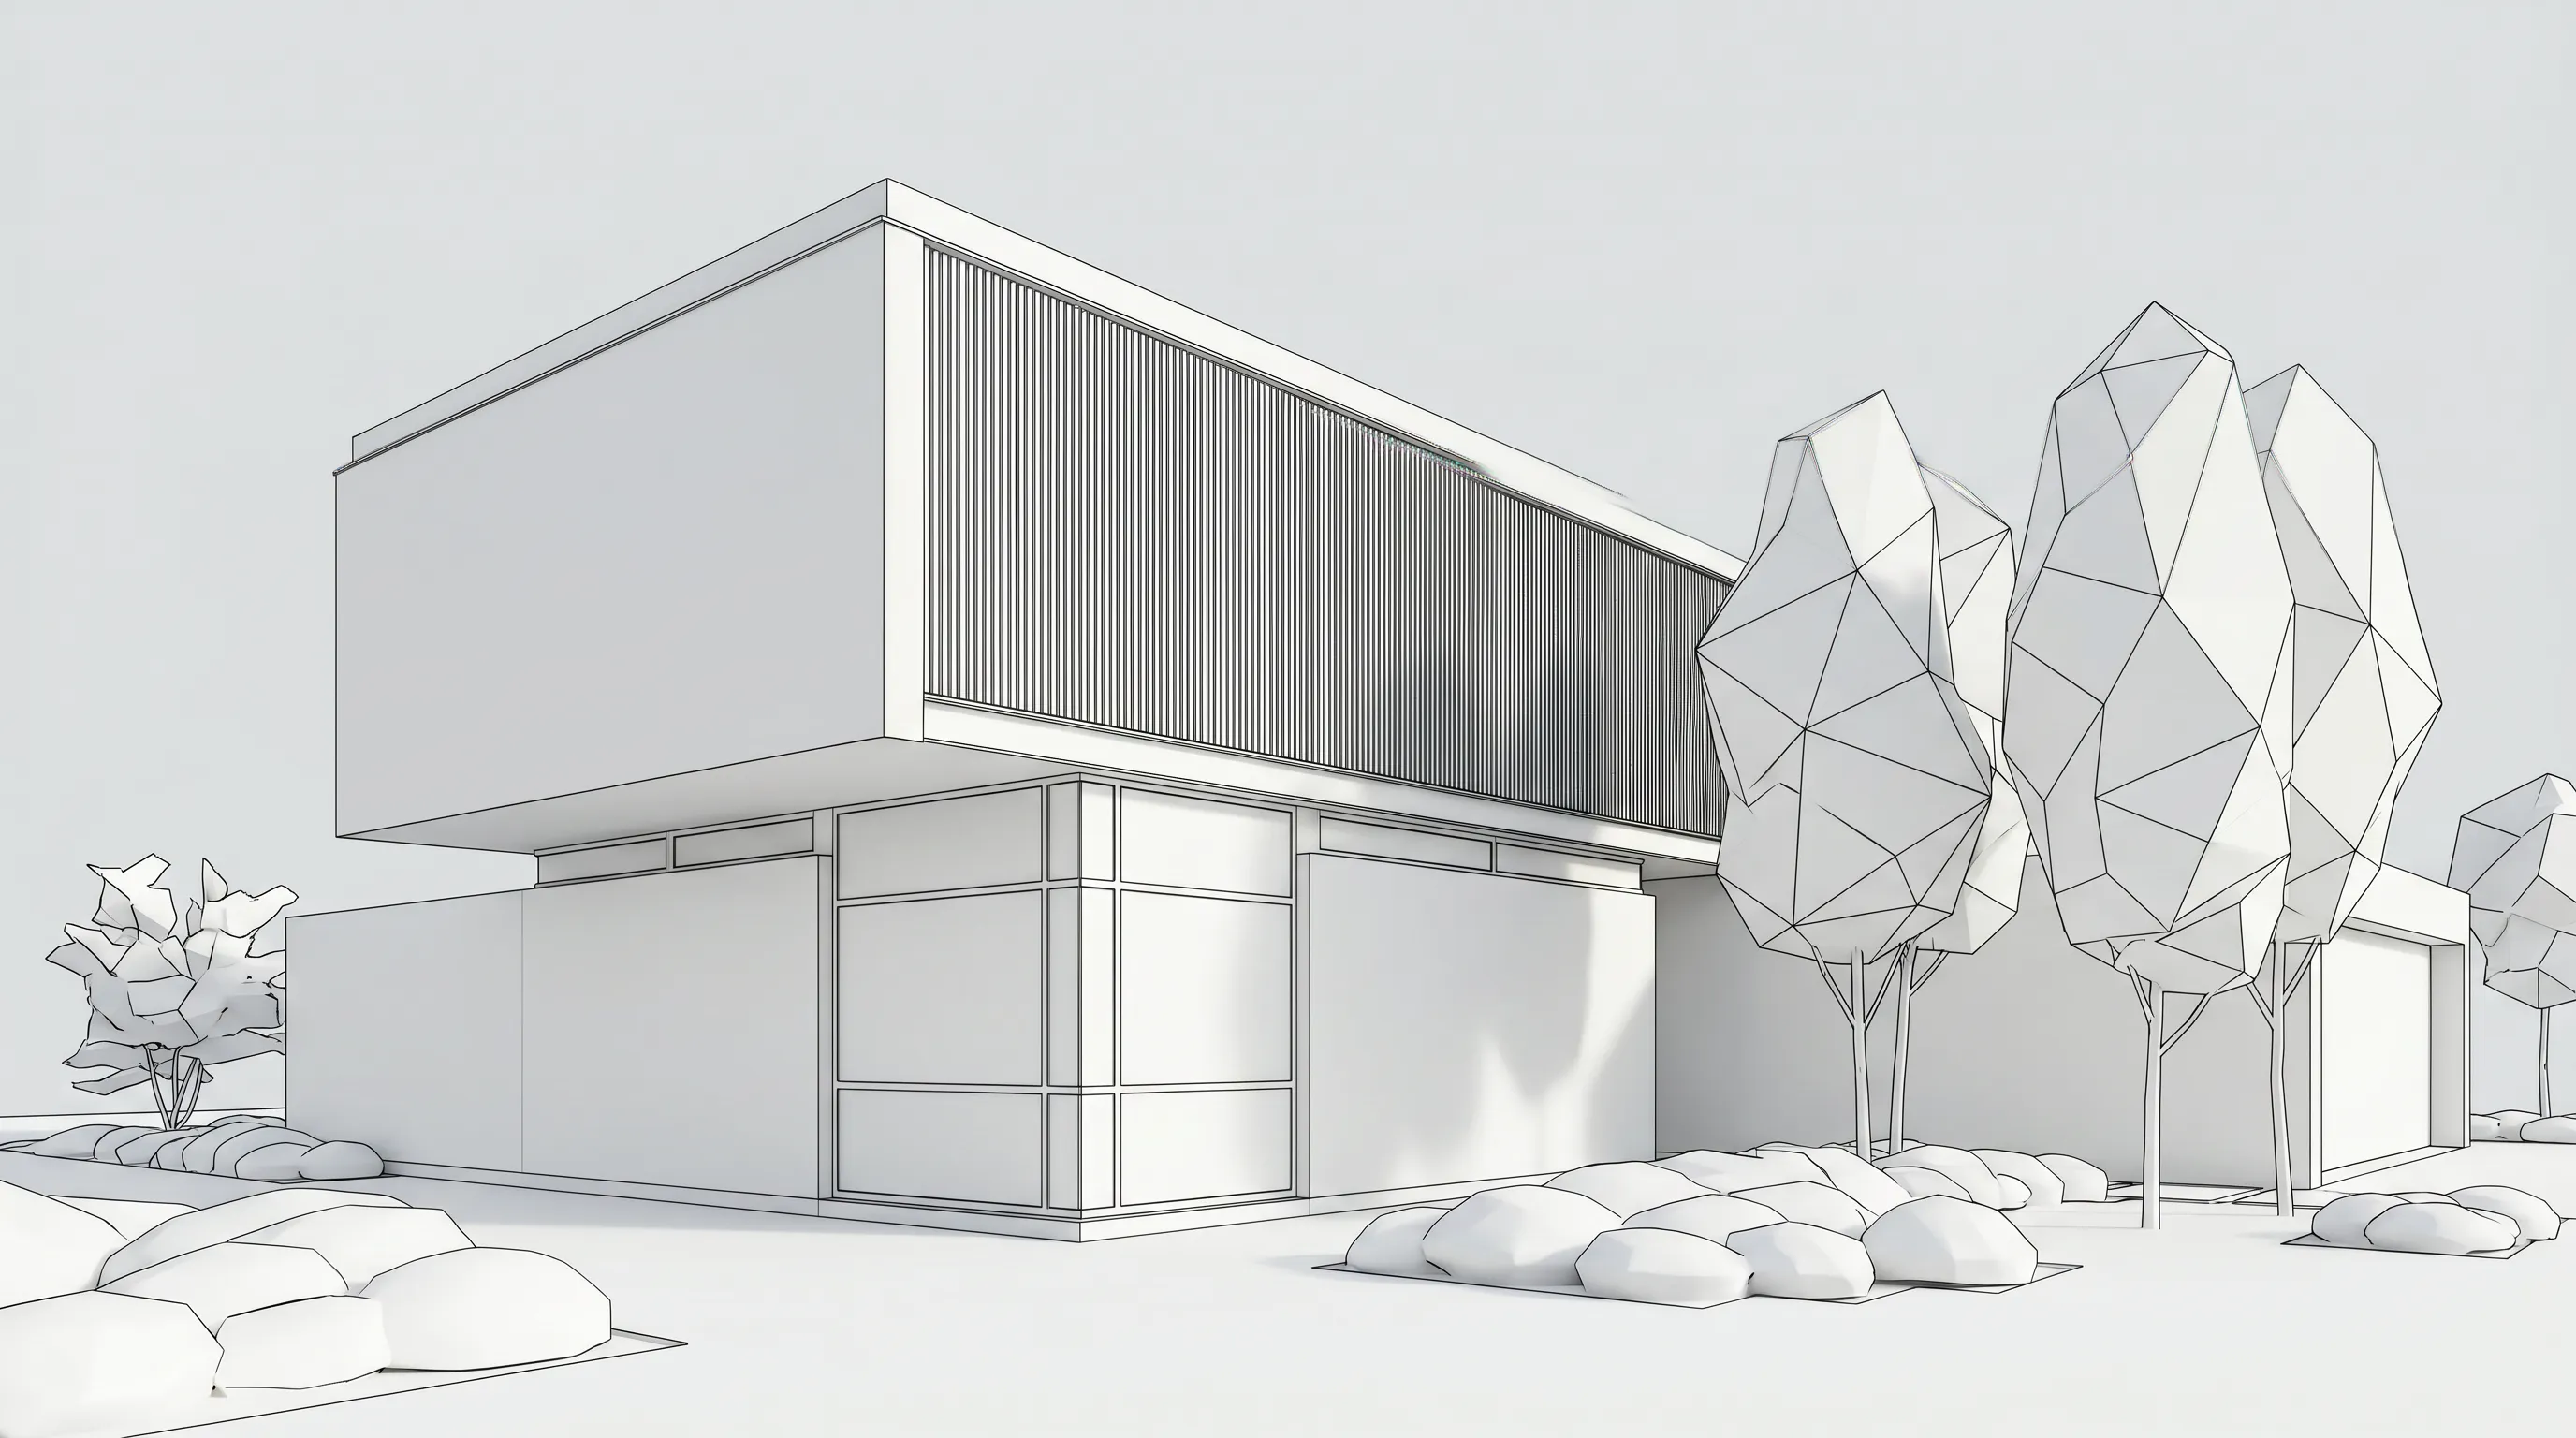
3D printing architectural models means converting a digital building model (from SketchUp, Revit, Rhino or another modeler) into a mesh file and building it layer by layer on a desktop printer. Render a House is not a CAD or slicing tool; it fits next to the print: you upload the same SKP, OBJ or STL model and describe materials and light in plain words to get presentation renders that match the physical model.
Quick answer: Use FDM (filament) for massing and site models and resin (SLA/MSLA) for small, detailed pieces. Choose the scale from your build volume, thicken walls in a print-only copy of the model, export STL in millimeters, and check the slicer preview before printing. Pair the print with renders of the same model for client presentations.
Printer specifications in this guide come from the manufacturers' own product pages, checked October 2026. Prices are not listed because they change often and vary by region; check the linked manufacturer pages for current pricing.
How do you 3D print an architectural model?
The workflow has the same eight steps whatever software or printer you use:
- Duplicate the model. Keep the design model clean and make a separate print copy you can simplify and thicken.
- Pick a scalethat fits the printer's build volume and still shows the details you care about.
- Simplify. Delete furniture, interior layers, hatches, text, people, trees and anything thinner than the printer can resolve.
- Make it solid. Every part must be a closed, watertight volume with no holes, reversed faces or zero-thickness surfaces.
- Thicken walls and details so they survive at the chosen scale.
- Split into parts (by floor, roof, site, or building) if it is too big or has overhangs that print better flat.
- Export STL (or OBJ/3MF) in millimeters.
- Slice, print and finish: set layer height, orientation and supports, print, then clean, sand, prime and paint.
Which scale should an architectural 3D print use?
Scale is the ratio between the model and the real building. At 1:100, 1 mm on the print equals 100 mm in reality. To get print size, divide the real dimension by the scale factor.
| Scale | 12 m house length | 200 mm wall | Typical use |
|---|---|---|---|
| 1:50 | 240 mm | 4 mm | Single house, detailed facade |
| 1:100 | 120 mm | 2 mm | House or small building |
| 1:200 | 60 mm | 1 mm | Larger building, site context |
| 1:500 | 24 mm | 0.4 mm | Urban massing, site model |
The table is plain arithmetic. It shows the main tension: the smaller the scale, the more of the building fits on the bed, but the thinner the walls become. Compare the print size with your printer's build volume (listed in the printer table below) and leave room for a brim or base plate.
In SketchUp, check the model units in Window > Model Info > Units before scaling. Scale the print copy so that the exported dimensions in millimeters equal the intended printed size, or export at full size and scale in the slicer — but do it in one place only, so you do not scale twice.
How thick should walls and details be?
Minimum wall thickness is the thinnest feature a given printer and material can reliably reproduce. It depends on the process: on FDM it is tied to the nozzle diameter (0.4 mm on all three FDM printers in this guide by default), and on resin it is tied to the pixel size and the resin.
- FDM: design walls as a multiple of the extrusion width, several lines thick, so the slicer can fill them completely. A wall thinner than one line may disappear from the slicer preview.
- Resin: resin prints far finer details, but thin unsupported fins, railings and mullions can still warp or break when you remove supports.
- Thicken, don't lie about it: it is normal to exaggerate walls, window frames and roof edges in a print copy. Note it on the presentation board if dimensional accuracy matters.
- Glazing: leave window openings open, or print them as shallow recesses; transparent glazing is easier to add afterwards with acetate sheet.
If a manufacturer publishes design guidelines for its printers or materials, those numbers beat any generic rule. Test-print a corner of the building with your settings before committing to a long print.
How do you export STL from SketchUp, Revit and Rhino?
STL (stereolithography) is a mesh format that stores only triangles — no colors, materials or units. Slicers also commonly read OBJ and 3MF. Whatever format you use, the mesh must be closed, with normals facing out.
SketchUp
SketchUp imports and exports STL natively. According to SketchUp's STL help page (checked October 2026):
- Select File > Export > 3D Model.
- Choose STereolithography File (.stl) as the file type (Save As Type on Windows, Format on macOS).
- Click Options to set Export Only Current Selection, Binary or ASCII, Swap YZ Coordinates and STL Units (meters, centimeters, millimeters, feet or inches).
- Click Export.
SketchUp recommends Binary because it keeps files smaller, and Export Only Current Selection lets you export each part of a multi-part model to its own STL. Its 3D printing guide adds that a printable model needs a base, volume and must be a solid — groups or components that SketchUp reports as solid are the safest to export.
Revit
Autodesk publishes an open-source STL Exporter add-in for Revit on GitHub; its latest listed update targets Revit 2021 (checked October 2026), so confirm it supports your Revit version. Before exporting, create a 3D view that shows only what you want to print, hide furniture, MEP and annotation categories, and use a section box to crop the building. Revit families with thin or open geometry often need repair in a mesh tool afterwards.
Rhino
Rhino lists STL among its native import and export formats on its file formats page (checked October 2026). Rhino works with NURBS surfaces, so export closed polysurfaces (solids) and check the mesh density when the STL is created: too coarse and curves facet; too fine and files become heavy.
Not sure the export worked? Open the STL in the free 3D model viewer to orbit it in the browser and check for missing walls or flipped parts before you slice.
How should you slice an architectural model?
A slicer is software that cuts the mesh into layers and writes the toolpaths the printer follows. Each manufacturer ships one: Creality Print, Bambu Studio, PrusaSlicer and Formlabs PreForm. For architectural models, these settings matter most:
- Orientation. Print buildings upright on their footprint so walls are crisp and floors print flat. Print roofs and facade panels separately when overhangs would need heavy supports.
- Layer height.Lower layers show fewer steps on sloped roofs and terrain but take longer. Use the printer's finer range for detailed pieces and a coarser one for site bases.
- Walls and infill. Architectural models are mostly walls, so wall count matters more than infill. Low infill is usually enough for solid massing blocks.
- Supports. Window heads, balconies and cantilevers need supports or bridging. Check the preview layer by layer.
- Bed adhesion. Large flat site bases can warp; a brim and a clean build plate help.
- Preview. Scrub the layer preview for walls that vanish (too thin) or floating islands (missing supports) before starting.
FDM or resin: which is better for architectural models?
FDM (fused deposition modeling) melts plastic filament and lays it down line by line. Resin printing (SLA or MSLA) cures liquid photopolymer with light, one layer at a time. Both make good architectural models, for different jobs.
| Factor | FDM (filament) | Resin (SLA/MSLA) |
|---|---|---|
| Best for | Massing, site and urban models, large bases | Detailed facades, small buildings, details and furniture |
| Detail | Visible layer lines; detail limited by nozzle width | Very fine layers and sharp edges |
| Build size (examples below) | 220-256 mm per axis on the FDM printers listed here | 20.0 x 12.5 x 21.0 cm on the Form 4 |
| Post-processing | Remove supports, sand, prime | Wash, post-cure, remove supports, sand, prime |
| Handling | Spools; low mess | Liquid resin: gloves and ventilation per the resin's safety data sheet |
A common studio setup is an FDM printer for the site and massing, and a resin printer for the hero building or detail pieces that sit on top.
Which printers are used for architectural models?
The four printers below are examples from well-known manufacturers, not a ranking. Specifications are taken from each manufacturer's product page (checked October 2026); no prices are listed.
| Printer | Process | Build volume | Layer height | Enclosure | Slicer |
|---|---|---|---|---|---|
| Creality K1C | FDM | 220 x 220 x 250 mm | 0.1-0.35 mm | Enclosed | Creality Print, Cura 5.0+ |
| Bambu Lab A1 | FDM | 256 x 256 x 256 mm | Not listed on the specs page | Not listed on the specs page | Bambu Studio |
| Prusa CORE One+ | FDM (CoreXY) | 250 x 220 x 270 mm | 0.05-0.30 mm | Enclosed, heated chamber up to 55 °C | PrusaSlicer |
| Formlabs Form 4 | Resin (MSLA, Low Force Display) | 20.0 x 12.5 x 21.0 cm | 25-200 µm | Not applicable (resin) | PreForm |
Creality K1C
The Creality K1C is an enclosed FDM printer. Creality lists a 220 x 220 x 250 mm build volume, up to 600 mm/s print speed (typical 300 mm/s), up to 20,000 mm/s² acceleration, 0.1-0.35 mm layer height, a 0.4 mm nozzle, a hotend up to 300 °C, a built-in AI camera and printing accuracy of 100 ± 0.1 mm. Supported filaments include PLA, PETG, ABS, ASA, PC, PA and carbon-fiber blends such as PLA-CF; Creality Print and Cura 5.0+ slice STL, OBJ and 3MF for it. For architects, the enclosure helps with ABS and ASA, and the build volume fits a 1:100 house with room to spare.
Bambu Lab A1
The Bambu Lab A1 is an FDM printer with a 256 x 256 x 256 mm build volume, 500 mm/s maximum toolhead speed, a 300 °C all-metal hotend, a 0.4 mm nozzle (0.2, 0.6 and 0.8 mm optional) and a heated bed up to 100 °C. Bambu Lab rates PLA, PETG, TPU and PVA as ideal and does not recommend ABS, ASA, PC, PA or fiber-reinforced filaments on it, so plan on PLA for models. For ABS or ASA, check Bambu Lab's enclosed models on its site.
Prusa CORE One+
The Prusa CORE One+ is a fully enclosed CoreXY FDM printer with a 250 x 220 x 270 mm (14.9 liter) build volume, a heated chamber up to 55 °C, 0.05-0.30 mm layer height and swappable nozzles from 0.25 mm to 0.8 mm. Prusa says PrusaSlicer includes over 200 factory-tuned material profiles. The 0.25 mm nozzle option is useful for finer window frames and railings on FDM.
Formlabs Form 4
The Formlabs Form 4 is a resin printer using Formlabs' Low Force Display (LFD) process. Formlabs lists a 20.0 x 12.5 x 21.0 cm (5.25 liter) build volume, 25-200 µm layer thickness, a 50 µm pixel size and ±0.15% XY dimensional tolerance. It says most prints finish in under 2 hours, defined as the 80th-percentile print height (53 mm) at 100 µm on most materials. The smaller volume suits detailed buildings and parts rather than large site bases.
Which materials work for architectural models?
Model material is about appearance and handling more than strength. Most architectural models are printed in one neutral color and finished by hand.
| Material | Process | Good for | Watch out for |
|---|---|---|---|
| PLA | FDM | Default for massing and site models; prints on every printer here | Softens with heat, e.g. in a hot car |
| PETG | FDM | Tougher parts, translucent versions for glazing studies | Stringing on fine details |
| ABS / ASA | FDM (enclosed printer) | Sanding, solvent smoothing (ABS), outdoor-stable parts (ASA) | Needs an enclosure and ventilation; not recommended on the A1 |
| Standard resin | SLA/MSLA | Detailed buildings, facades, furniture-scale pieces | Brittle thin parts; wash and cure required |
White or light gray filament or resin reads like a traditional card or foam model and photographs well. Wood-filled PLA and colored filaments can separate site, existing buildings and the proposal without painting.
How do you finish a printed architectural model?
- Remove supportscarefully with flush cutters; on resin, follow the manufacturer's wash and post-cure steps first.
- Sand layer lines on visible faces, from coarse to fine grit.
- Prime with a spray filler primer to hide layer lines and unify colors between parts.
- Paint with a matte finish; a monochrome scheme usually looks most architectural.
- Assemble floors, roofs and site with glue and add acetate glazing, scale figures and trees from a model shop.
- Mount the model on a rigid base and label scale and north.
How do you pair a printed model with renders?
A printed model shows form and massing in the room; a render shows materials, light and context the print cannot. Presenting both from the same source model keeps them consistent.
- Upload the design model — SKP, GLB, GLTF, OBJ or the same STL you printed — to Render a House. 3D import is available on the paid plans; on the free plan you can upload a screenshot of the model as PNG, JPG or WebP instead.
- Pick a camera angle that matches a photo of the printed model.
- Describe the materials and light in plain words ("white render facade, oak cladding, late afternoon sun"), since STL carries no materials.
- Generate the render; it typically takes 30-60 seconds. Repeat for other angles or times of day.
- Put the model photo and the render side by side on the board or in your architecture portfolio.
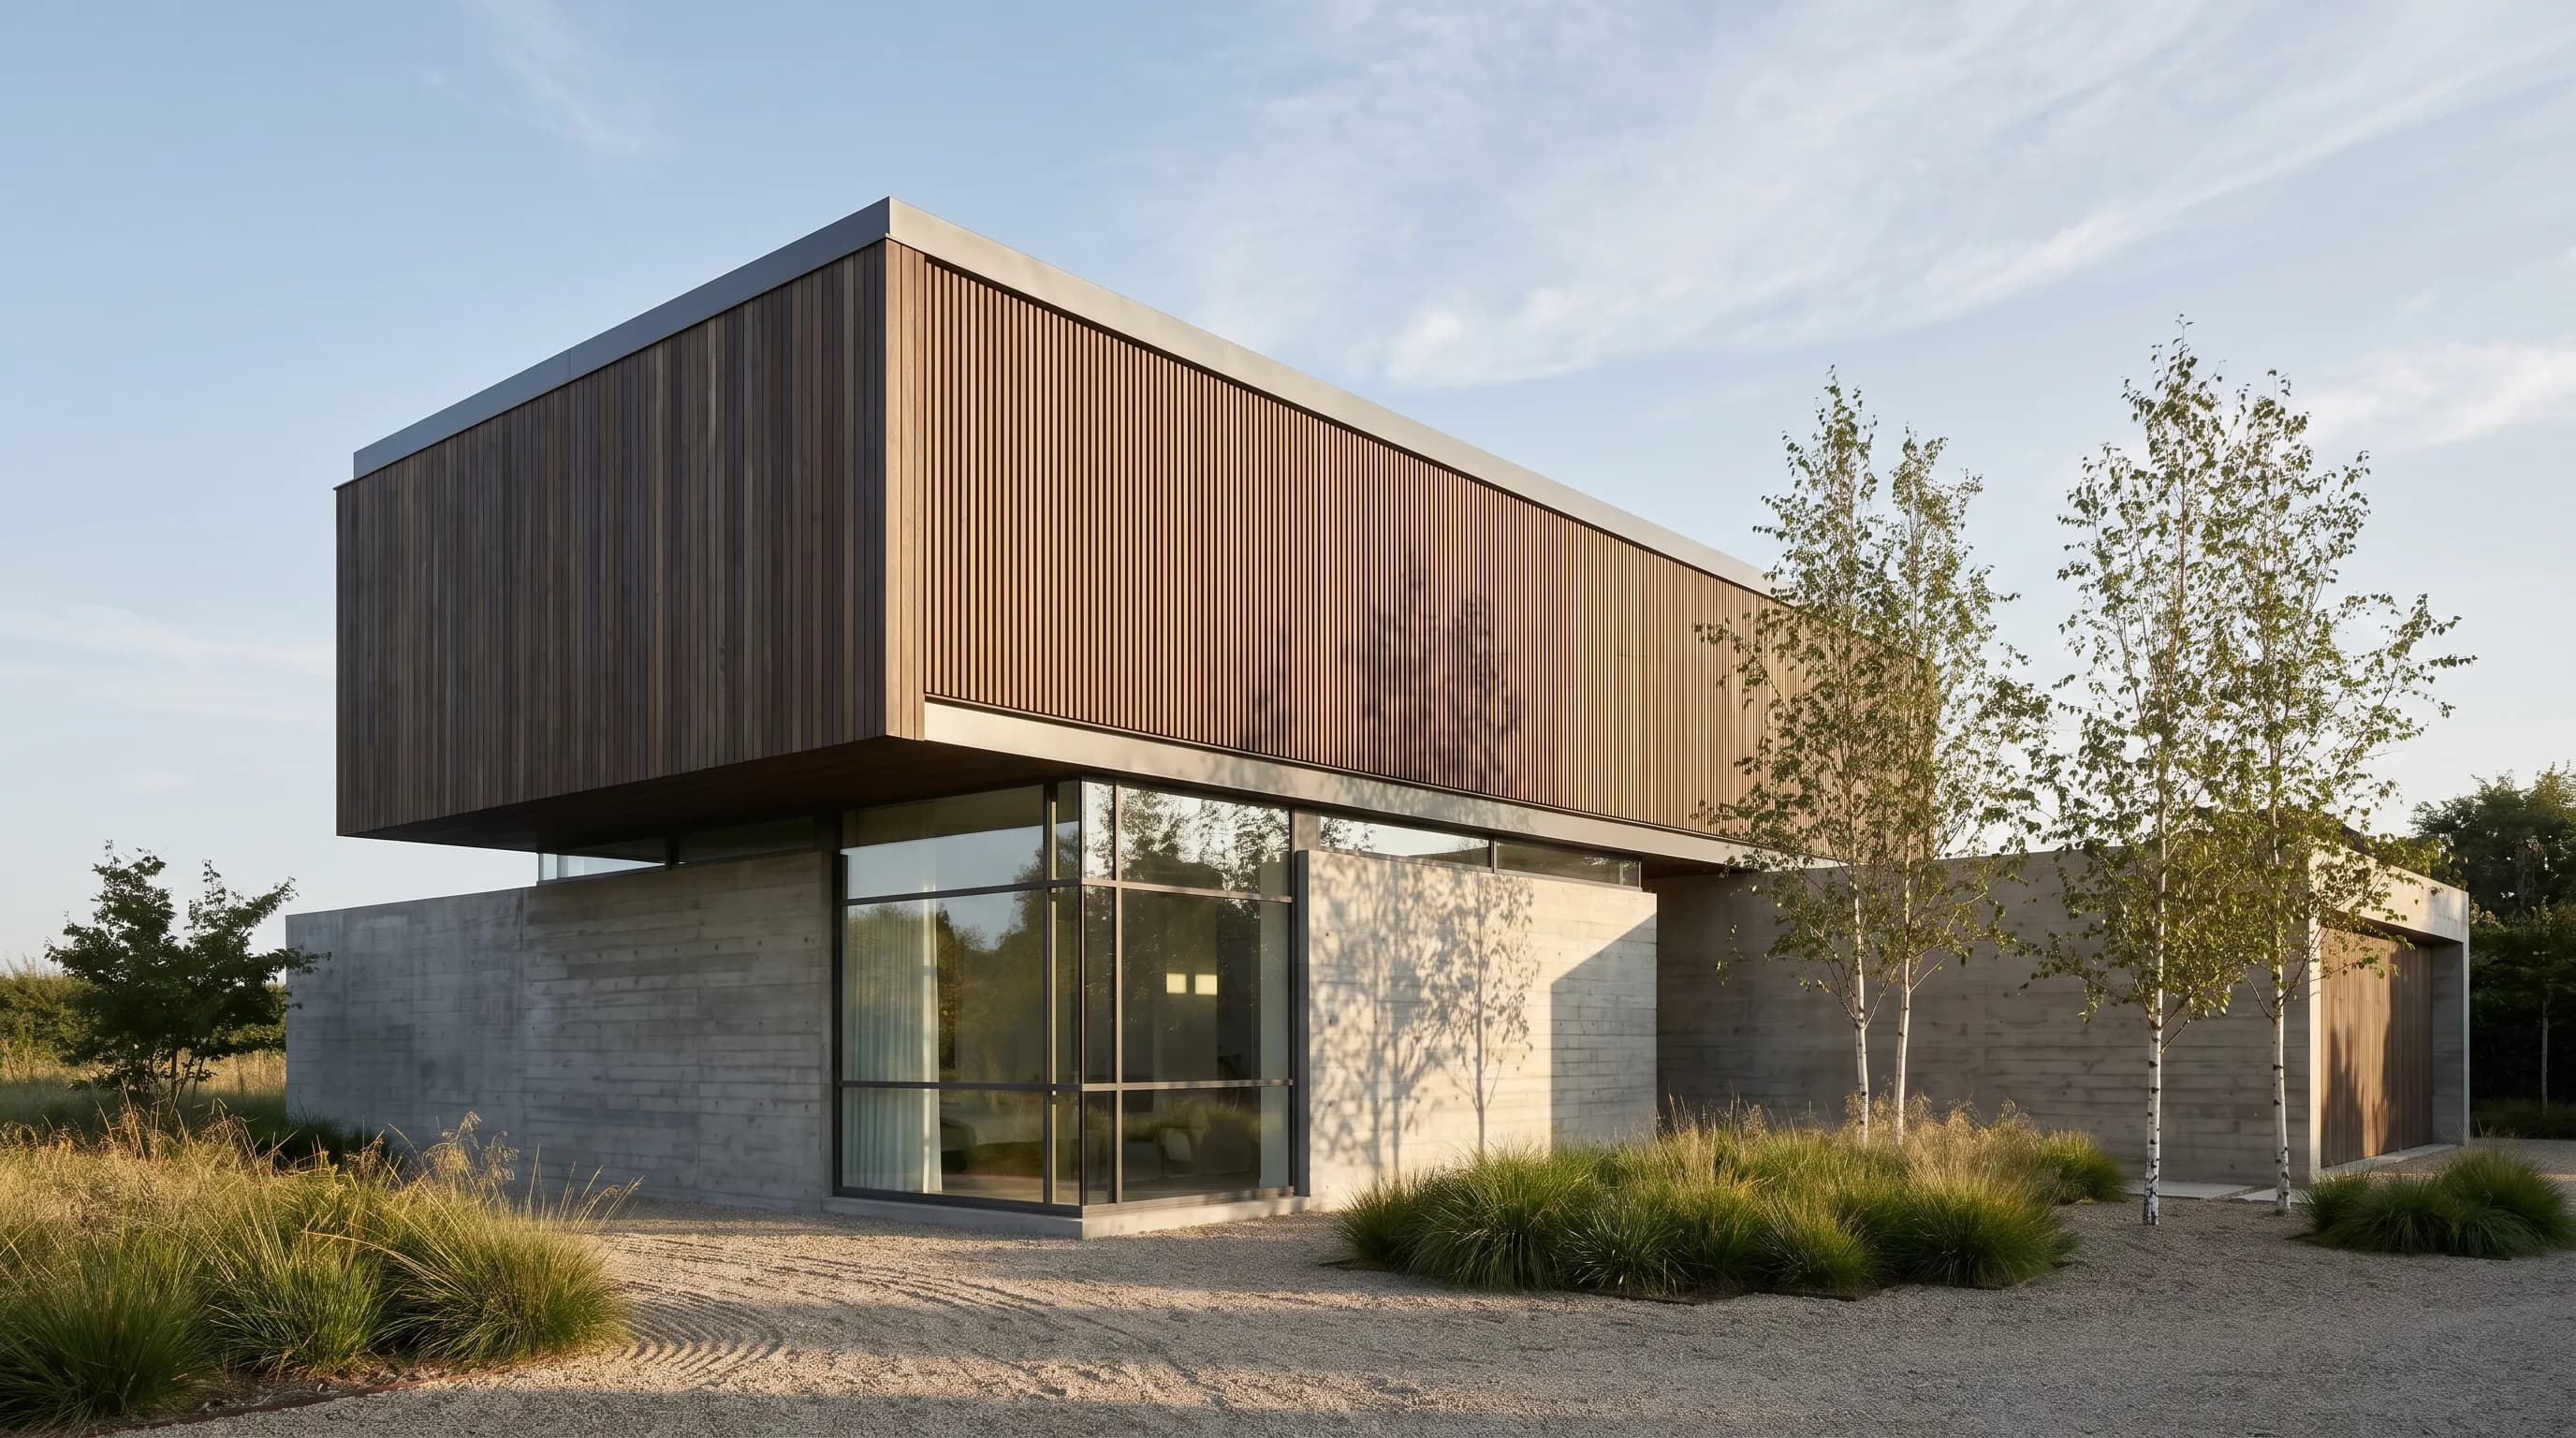
The free plan gives 3 credits a day at 1K with a watermark and no card. To estimate what a full set of presentation images would cost on a paid plan, use the render cost calculator.
What can't a 3D-printed model or a render do?
- A desktop print is not a scale-accurate construction document: walls are usually thickened and fine details dropped.
- Large site models often exceed a single build volume and must be printed in tiles and joined.
- Render a House does not slice, repair or prepare models for printing, and it is not CAD software; you still model in SketchUp, Revit, Rhino or similar, and slice in the printer's slicer.
- Renders are visualizations for presentation, not engineering or daylight analysis.
Related guides and tools
- Architecture portfolio guide — how to present model photos and renders together.
- 3D model viewer — check an STL, OBJ or GLB in the browser before printing.
- SketchUp to render workflow — turn the SketchUp model you printed into presentation images.
- Render cost calculator — estimate credits for a set of renders.
What do people ask about 3D printing architectural models?
Is FDM or resin better for architectural models?
- FDM is better for large massing and site models because filament is cheap per part and build volumes are larger. Resin (SLA/MSLA) is better for small, detailed models such as facade studies, railings and furniture-scale pieces because it prints much finer layers and crisper edges. Many studios print the massing on FDM and the detailed pieces in resin.
Which file format do 3D printers need?
- Slicers read mesh files, most commonly STL, plus OBJ and 3MF. The slicer turns the mesh into G-code or the printer's own job format. SketchUp, Rhino and Revit (through Autodesk's STL Exporter add-in) can all produce STL.
What scale should I print a house model at?
- Pick the scale from the printer's build volume and the smallest detail you need. Divide the real dimension by the scale: at 1:100 a 12 m long house becomes 120 mm and a 200 mm wall becomes 2 mm. If the model does not fit, split it into parts or pick a smaller scale.
How thick should walls be on a 3D-printed architectural model?
- Thick enough to be several extrusion widths on FDM, or above the resin printer's published minimum feature size. Real walls usually become too thin at small scales, so thicken them in a copy of the model made only for printing rather than printing them at true scale.
Is the Creality K1C good for architectural models?
- Creality lists the K1C as an enclosed FDM printer with a 220 x 220 x 250 mm build volume, 0.1-0.35 mm layer height and support for PLA, PETG, ABS, ASA and carbon-fiber filaments (checked October 2026). That suits massing and site models; very fine facade detail is usually better on resin.
Can I render the same STL I 3D printed?
- Yes. Render a House accepts STL uploads, along with SKP, GLB, GLTF and OBJ, on its paid plans. STL holds geometry only, with no colors or materials, so you describe the materials you want in plain words when you render.
Keep reading
Related guides and comparisons
The Architectural Design Process: Phases From Brief to Construction
The architectural design process runs from programming through schematic design, design development, construction documents, bidding and construction.
Architectural Styles Explained: 22 Styles and How to Recognize Them
22 architectural styles from Classical to Tropical Modernism: dates, 3-4 features to spot each one, a canonical example building and a summary table.
Architecture Firm Website Design: Ideas, Must-Have Pages and Examples
An architecture firm website needs six pages: home, projects, project pages, studio, services and contact. Structure, imagery, speed and platform options.
