 Render a House/Updated Sep 25, 2026
How to change materials in a render with AI: 7 tools compared (2026)
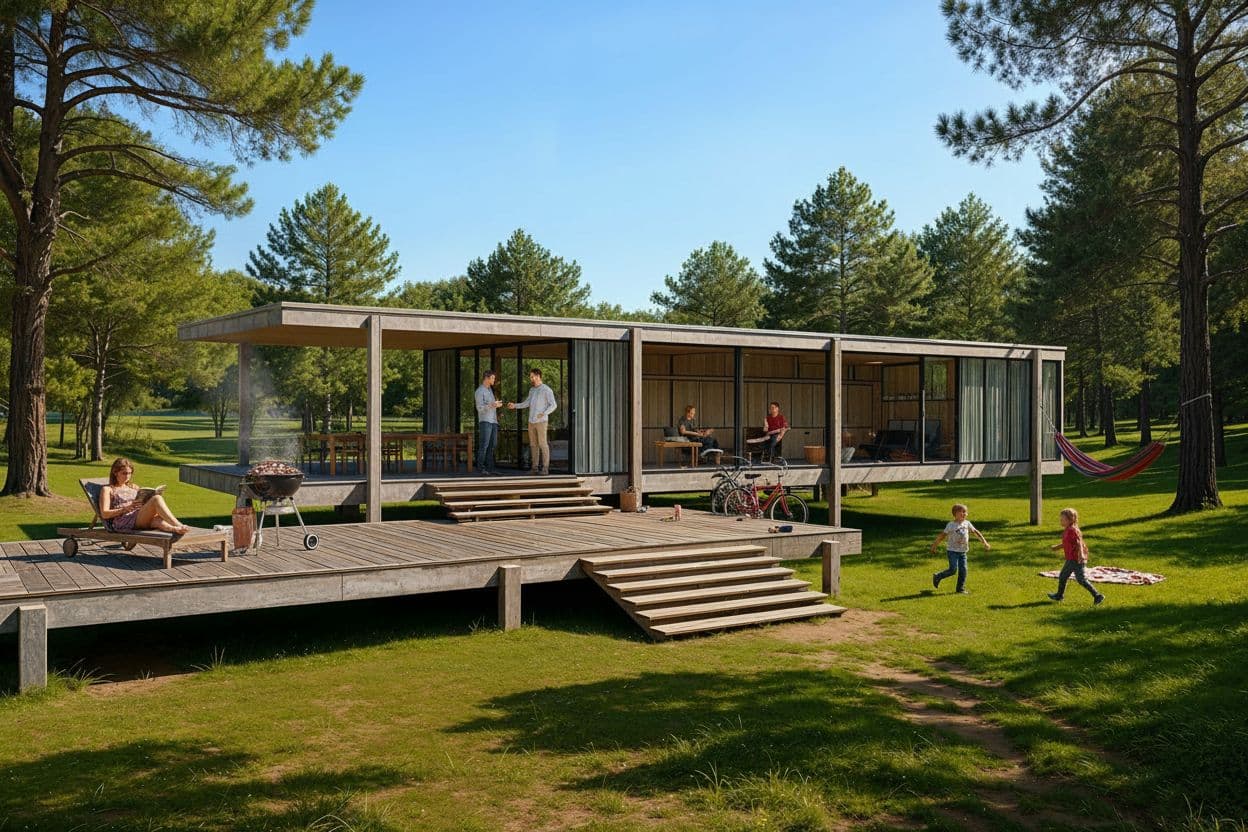
How do you change materials in a render with AI?
The short version: you do not re-render. Every tool in this guide works on the pixels of an image you already have. You mark the surface (a brush, a lasso, a polygon or an ID pass), you say what the new material is (text, a reference photo, or a texture from a library), and the model inpaints that region while leaving the rest of the frame untouched. Syntina describes it as keeping composition, camera, lighting and other elements fixed; Rendervi calls it inpainting without rebuilding the scene. The wording differs, the mechanism is the same.
What changes between tools is the input they accept, how precise the mask can be, whether you can bring your own texture, how long a pass takes, and what it costs. The table below is the answer to “which one”; the rest of the page is the answer to “how” and “when not to”.
Why this matters in practice: a full re-render of a Lumion, Enscape or V-Ray scene means reopening the project, finding the material, reassigning it to the right faces and waiting for the frame again. For a client who asks “what about brick?” during a call, that is an email the next day. A masked AI swap on the exported image is under a minute on every tool here except Lumely, and the output is good enough to decide whether the idea is worth carrying back into the model.
| Question | Answer (checked Sept 2026) |
|---|---|
| Do I need the 3D model? | No, except for SketchUp AI Render, which paints over a live model view. |
| How long does one swap take? | Syntina ~20 s; SketchUp AI Render 13–20 s; Render a House 30–60 s; Lumely ~3 min average. |
| Cheapest way to try it | Free tiers at Rendervi, Idear, LayerHouse, Lumely and Render a House (3 renders/day, no card). |
| Can I upload my own texture? | Rendervi (PNG/JPG), Idear (JPG/PNG/WebP), Syntina, LayerHouse and Render a House accept a reference image. |
| What is most likely to go wrong? | Thin geometry drifts (mullions, balustrades) and reflections in glass or gloss surfaces are re-invented. |
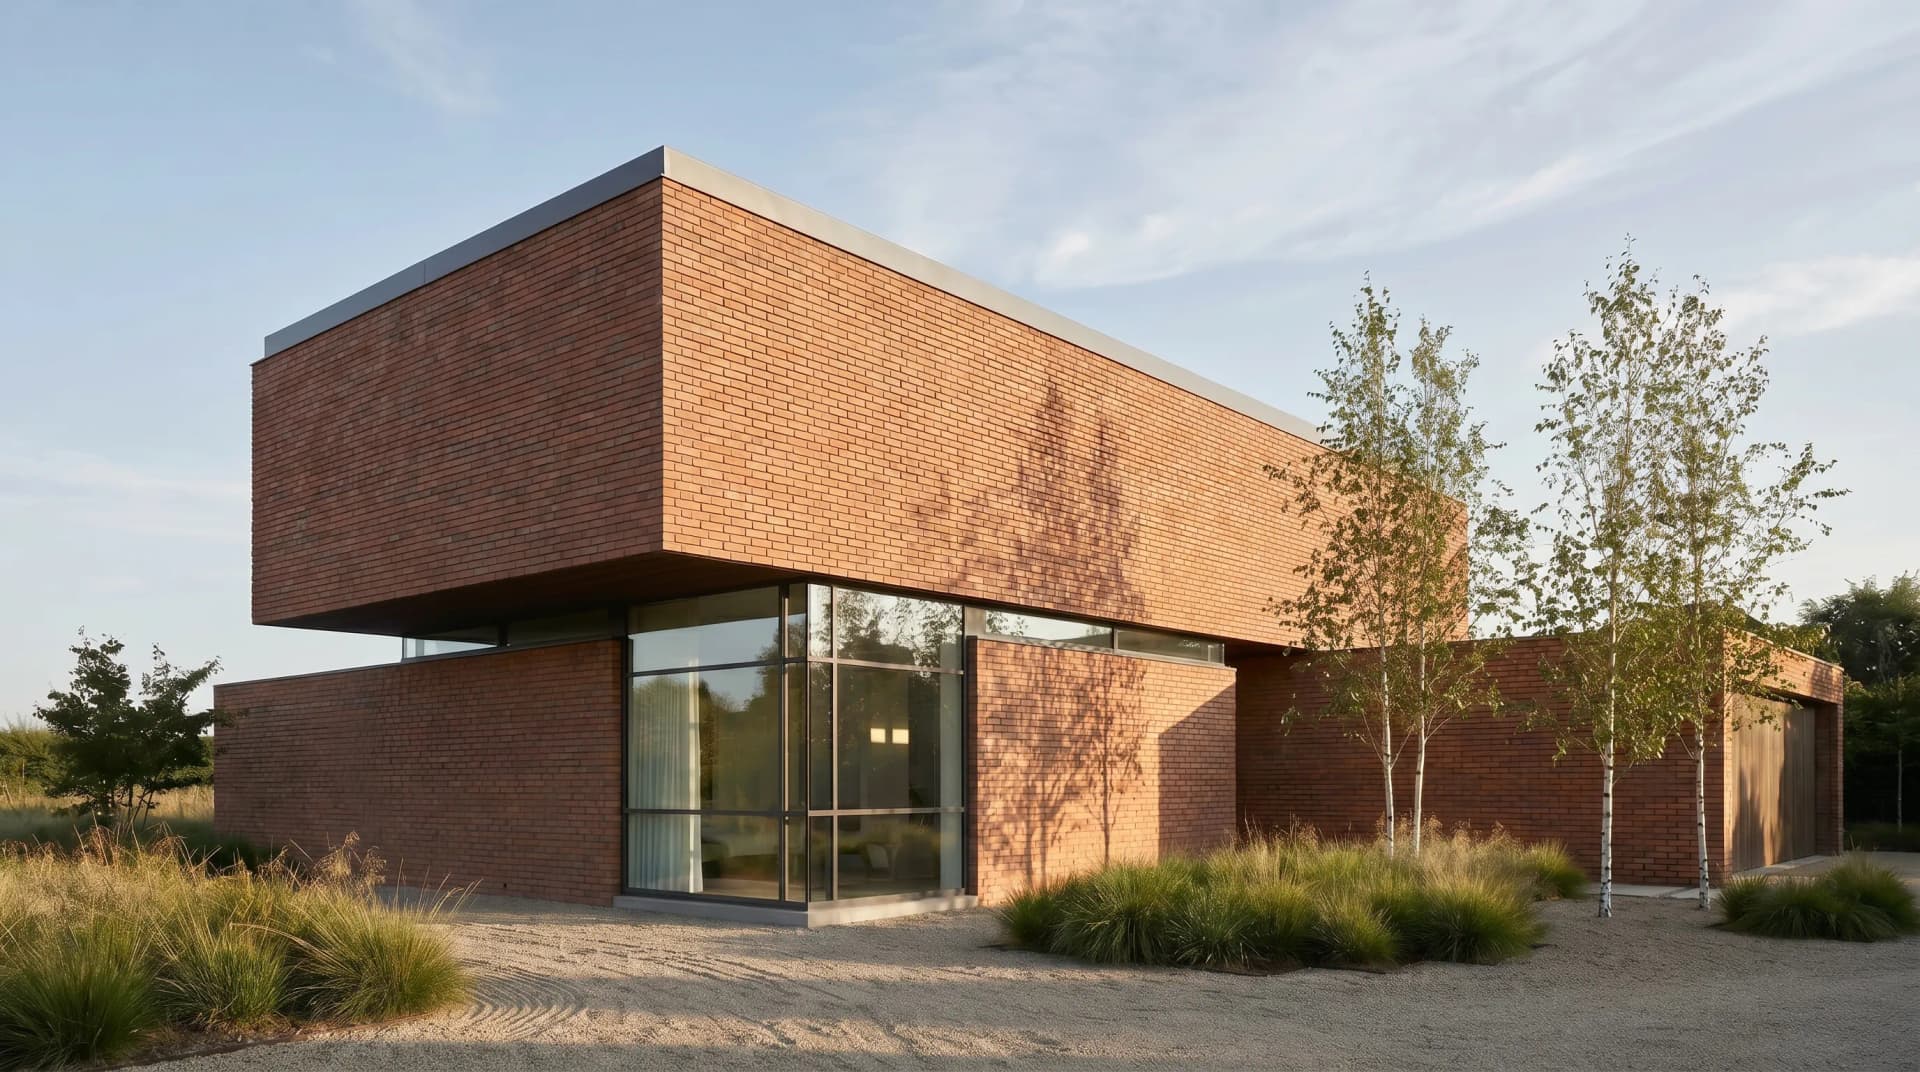
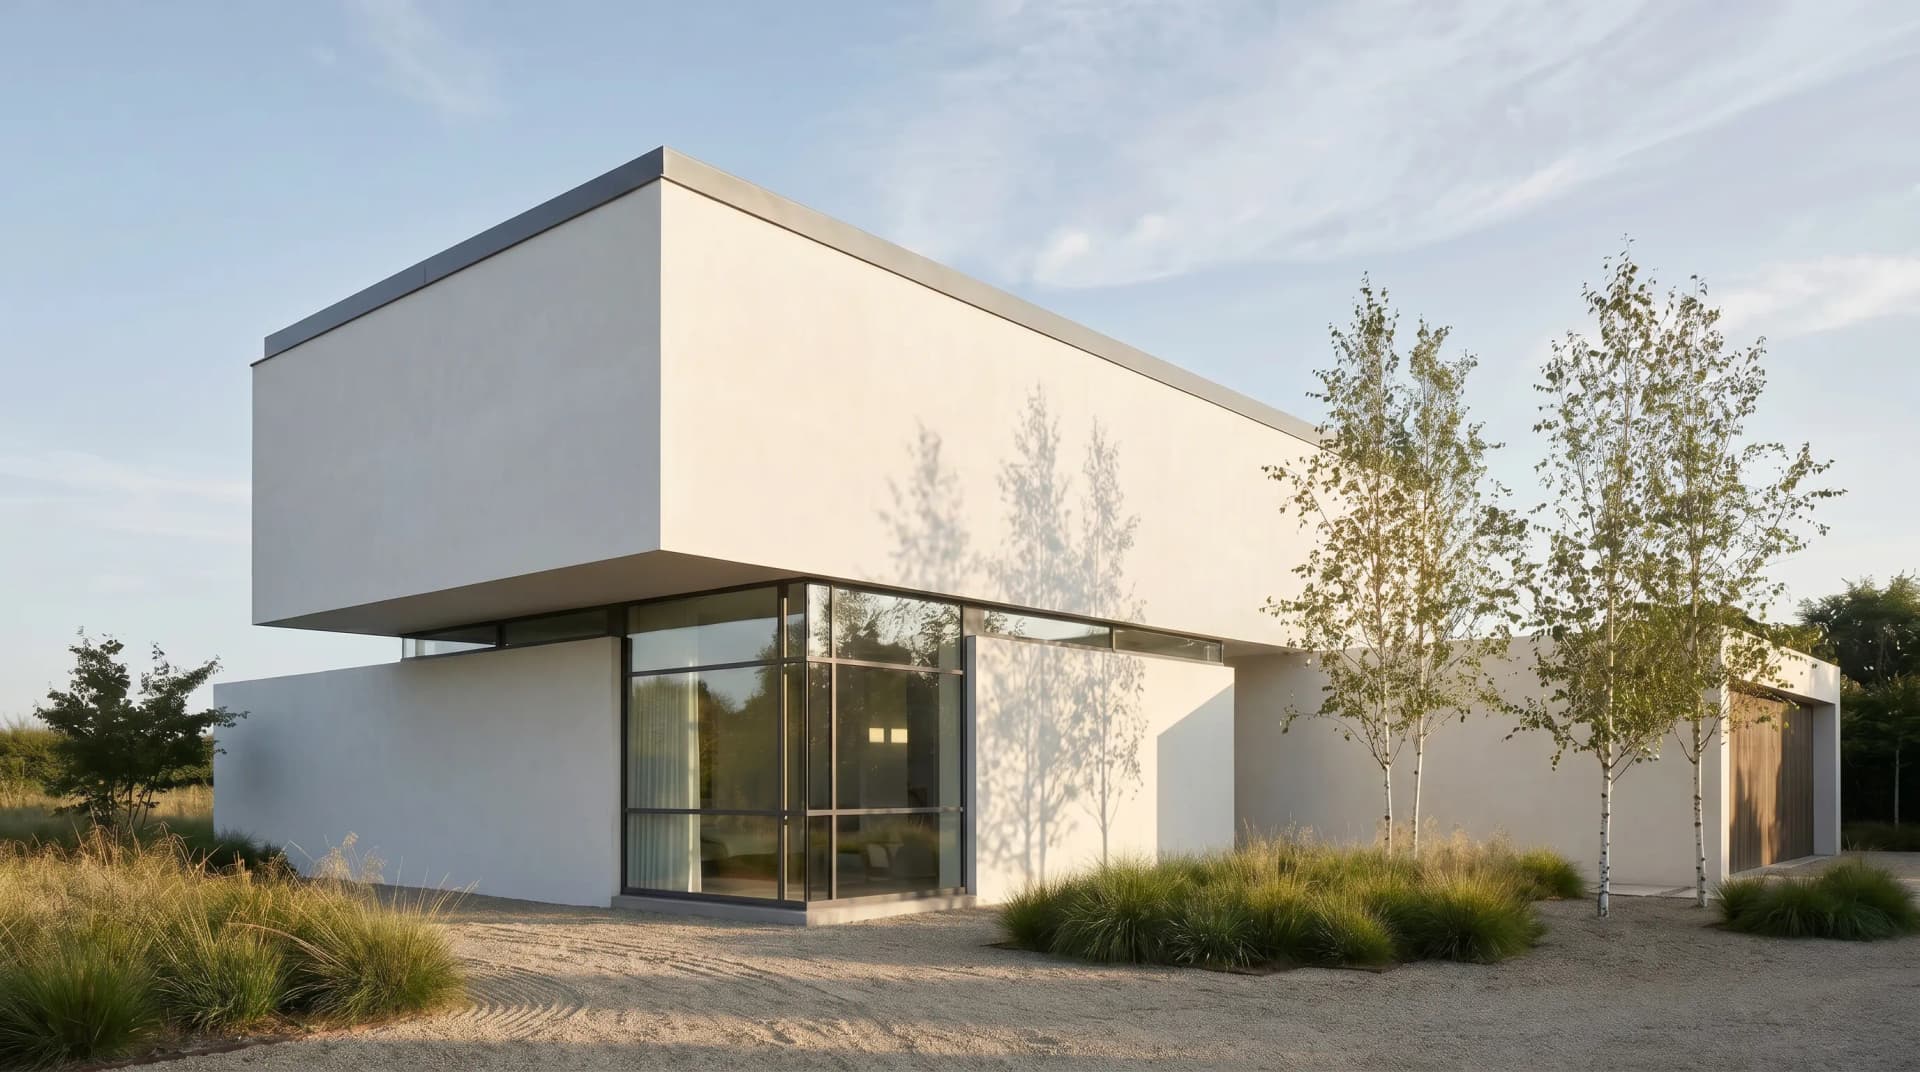
Which AI tools change materials in an existing render?
Seven tools market a material or finish change on an existing image. Prices are the entry paid tier on each vendor’s own pricing page in September 2026; where a vendor does not publish a figure we say so rather than guess. Render a House sits last so you can read the competitors first.
Two columns need a note. “Needs a 3D model?” asks whether the tool can start from a flat image alone; only SketchUp AI Render requires the model, because its Paint tool masks the live viewport rather than a file. “Speed” is the vendor’s own published figure for one generation, not our benchmark, and where a vendor gives none we do not estimate one. Prices are converted nowhere: Idear publishes in euros, the rest in US dollars.
| Tool | Best for | Inputs (sketch/plan/3D/photo) | Needs a 3D model? | Speed | Starting price (checked Sept 2026) | Free tier |
|---|---|---|---|---|---|---|
| Rendervi | Studios that reuse the same material library across projects | Existing render or photo; PNG/JPG texture upload | No | Not published (checked Sept 2026) | $12.99/mo Light, 150 credits | Yes: 12 credits, up to 10 renders |
| Idear | Precise masks from an ID pass exported from the 3D tool | Render or photo; optional material image (JPG/PNG/WebP); ID-pass or polygon mask | No, but an ID pass improves the mask | Not published (checked Sept 2026) | €12/mo Pro, 80 credits | Yes: 5 credits |
| Syntina | Fast one-surface swaps on a fixed camera | Render or architectural photo; text or reference image | No | ~20 s | $19/mo Starter, 1,500 credits | Not published (checked Sept 2026) |
| LayerHouse | Localised edits on a finished render with texture references | Existing render; texture reference image | No | Not published (checked Sept 2026) | $29/mo Pro, 50 credits | Yes: $0 plan |
| Lumely | Design options generated from an uploaded image | Image upload | No | ~3 min average | Pricing page did not load (checked Sept 2026) | Yes: 3 free images |
| SketchUp AI Render (Paint) | Repainting one area of a live SketchUp viewport | Active SketchUp model view; masked prompt | Yes, an open SketchUp model | 13–20 s | Inside SketchUp Pro, $33.25/mo billed annually | No standalone free tier |
| Render a House | Whole-facade or room material swaps from any render, photo or 3D export | Render, photo, sketch, plan or GLB/GLTF/OBJ | No | 30–60 s | $39/mo Pro, 240 credits | Yes: 3 renders/day, no card |
Where each competitor genuinely wins
- Rendervi lets a team save materials as reusable entries with technical descriptions and re-apply them across projects, which is the closest thing here to a shared spec library. rendervi.com also states new accounts get 12 free credits, typically 4–10 images.
- Idear has an Advanced mode that takes an ID pass or a polygon mask, plus a scale control for the material, so a tile grid can be sized rather than guessed. Idear’s help page lists Advanced mode as Pro/Studio only, and the homepage prices Pro at €12/mo (80 credits) and Studio at €24/mo (200 credits).
- Syntina is the fastest published figure at about 20 seconds and is honest about limits: one surface per pass, reflective surfaces are harder, default cost 2 credits. Plans run $19 to $199/mo.
- LayerHouse is built only for editing architectural renders, not general image generation, and leads with texture references. Pro is $29/mo for 50 credits, Ultra $49/mo for 100.
- Lumely advertises 4K output and 3 free images on its homepage. Its design-options and pricing pages did not load when we checked in September 2026, so we cannot confirm a material-specific workflow or a paid price.
- SketchUp AI Render needs no export at all: the Paint tool masks a region of the live viewport with a brush or lasso and takes a prompt plus a negative prompt. It runs in SketchUp Desktop, iPad and Web, and the help centre quotes 13–20 seconds per generation.
How to swap a facade material in Render a House (7 steps)
Render a House is an AI rendering tool for architects, interior designers and real estate. Area editing is the feature that does the material swap; it is on the Pro plan ($39/mo or $312/yr, 240 credits) and Studio ($99/mo, 1000 credits). The walk-through below swaps a facade; the same seven steps apply to a floor or a worktop.
Step 1: Upload the render you already have
Sign in at renderahouse.com and upload the finished image as JPG, PNG or WebP. You do not need the original model; a client-facing render or a site photo works.
Step 2: Open area editing and paint the surface
Choose the area editing tool and brush over the surface you want to change, for example the whole front facade. Paint slightly past the edges so the model has context, but stay off windows and the roof line.
Step 3: Describe the new material in plain words
Write the material as a specification, not a mood: 'vertical charred timber cladding, black, 100 mm boards' beats 'modern dark wood'. One material per pass.
Step 4: Optionally attach a reference image
Upload a photo of the real product or a swatch as a style reference. Render a House uses it without any fine-tuning, so a supplier photo is enough.
Step 5: Render and wait 30-60 seconds
Standard 1K costs 1 credit; 2K Pro costs 2 and 4K Pro costs 4. Failed renders are not charged. Complex inputs or heavy load can take about two minutes.
Step 6: Check openings, roof lines and thin elements
Compare the result with the original at 100% zoom. Geometry is generally preserved, but window mullions, balustrades and fascias are where drift shows first.
Step 7: Repeat per surface, then export or share
Run flooring, worktops or roofing as separate passes on the accepted image. Download PNG or JPG at 1K, 2K or 4K, or send a read-only share link to the client.
Three prompts to use instead of the ones people type
Instead of “modern warm facade”, write “horizontal thermowood cladding, 120 mm boards, honey colour, black window frames unchanged”. Instead of “nice stone floor”, write “large-format 900x900 mm limestone tiles, honed, 3 mm grout, laid square to the wall”. Instead of “dark roof”, write “flat interlocking concrete roof tiles, anthracite, matte”. The pattern is the same every time: product type, module size, colour, finish, and an explicit note of what must not change. Vague adjectives leave the model to pick a material for you, and it will pick the most common one it knows.
What one swap costs, tool by tool
Credits are the honest unit of comparison, not the monthly price. In Render a House a 1K swap is 1 credit, so the 240-credit Pro plan covers about 240 standard swaps a month, or 60 at 4K Pro; extra credits are $0.20 each and failed renders are free. Syntina’s Change Material preset defaults to 2 credits, so the $19 Starter plan’s 1,500 credits are roughly 750 swaps. Rendervi says 12 credits typically yield 4–10 images, which suggests 1–3 credits per generation. LayerHouse sells 50 credits for $29 and Idear 80 for €12, but neither publishes a per-swap credit cost on the pages we checked, so compare them by trying the free tiers. The SketchUp help centre pages we checked do not document separate credit metering for AI Render, and plan availability is not stated there either.
Two habits save credits. First, do the biggest surface first and accept it before touching smaller ones, because every later pass inherits its result. Second, render at 1K (1 credit) while iterating and only go to 4K Pro (4 credits) for the version you will send. If you also need a moving shot, the same render can be turned into a clip at 0.8 credits per second; see how to make an AI video walkthrough from a render.
Material-by-material tips: cladding, floors, worktops, roofs, glazing
The prompt that works for cladding does not work for glass. This table is what we tell users who ask why a finish came out wrong. It applies to any of the tools above, though the mask controls differ.
| Material | How to describe it | Where it works well | What to check |
|---|---|---|---|
| Facade cladding | Name the product type, orientation and board width: 'horizontal larch cladding, 140 mm boards, silver-grey' | Solid walls, gables, single-storey elevations seen face-on | Window reveals and corners; check that board lines stay level across openings |
| Flooring | Give plank or tile size and pattern: 'oak herringbone, 600 mm planks' or '600x600 mm porcelain, warm grey' | Open floors in eye-level interiors | Perspective of tile joints; furniture legs and rug edges often smear |
| Worktops | Specify stone and finish: 'honed white quartz with faint grey veining' plus edge thickness | Kitchen islands and vanities with a clear top surface | Veining scale; sinks, hobs and taps can be redrawn, so mask around them |
| Roofing | State tile type, colour and pitch behaviour: 'standing-seam zinc, dark grey, vertical seams' | Simple pitched or flat roofs seen from ground level | Ridge, eaves and any dormer; seams must follow the slope, not the image |
| Glazing | Change frame or tint, not the glass geometry: 'black aluminium frames, clear low-iron glass' | Frame colour swaps; adding tint to large panes | Reflections are re-invented; expect a new sky or interior in the glass |
A general rule: the more a material is defined by geometry (a standing seam, a herringbone joint, a mullion), the tighter the mask must be and the more explicitly you must name the module size. A material defined by colour and roughness (lime render, polished concrete, matte paint) is almost always a clean first pass.
What breaks when you change finishes with AI
Geometry drift
Inpainting regenerates pixels inside the mask, and the model has no idea where your walls actually are. On flat areas this is invisible. At edges it is not: a board line can bend to meet a window head, a fascia can thicken, a balustrade can lose a post. Render a House generally preserves geometry but documents that it can shift, and the same is true of every tool in the table. LayerHouse and Syntina both make preserving geometry a headline claim; treat it as a goal, not a guarantee, and check openings, roof lines and thin elements on every pass.
Reflections and gloss
Glass, polished stone and wet floors show the rest of the scene. When you regenerate a region that contains or borders them, the model invents a plausible reflection rather than tracing the real one, so a window may suddenly reflect a different sky or a room that does not exist. Syntina notes that reflective surfaces are harder; in practice, the fix is to keep the mask off the glass and run glazing as its own pass.
Scale and repetition
Without a size hint, a tile or brick will be whatever scale the model has seen most often. Say the module: 600 mm tiles, 100 mm boards, standard 215 mm bricks. Idear exposes a scale control for exactly this reason. Also watch for repetition artefacts where a texture visibly tiles across a large flat wall.
Colour and light mismatch
The original render was lit once, for the original material. A dark charred-timber facade absorbs light that a white render would bounce onto the ground and the soffit, so a swap that only changes the wall can leave a bright ground plane under a wall that should now be darkening it. Most tools handle this acceptably at facade scale; it shows most in interiors, where a floor swap changes the colour of every wall through bounce. If the room looks subtly wrong after a floor change, that is why, and a relighting pass or a re-render is the fix.
Consistency across views
An AI swap is per image. If you have four views of the same house, you run four swaps, and the timber will be a slightly different timber in each. Use the same prompt and the same reference image to narrow the gap, and accept that a client comparing views side by side may notice.
When to redo the change in the 3D tool instead
AI is the right tool when a client asks “what would it look like in brick?” and you want an answer in the meeting. It is the wrong tool in five situations:
- The material is in the spec. If the finish is going into a tender or a planning submission, change it in SketchUp, Revit or Archicad and re-render. An AI image is a concept image, not a measured or contractual drawing.
- You need many views. Above three or four cameras, one model change is faster and more consistent than repeated per-image edits.
- The surface is mostly glass or mirror. Reflections must be traced, not imagined.
- The change alters geometry. Swapping flat panels for standing-seam metal is a material change; adding a canopy is not. Model the canopy.
- You need an exact product. A reference photo gets you close; a supplier’s PBR texture in the 3D tool gets you the product.
A useful test before you start: if the client could reasonably ask “is that exactly what we will get?”, the answer must come from the model. If the question is “do we like this direction?”, the answer can come from the image. Most material conversations in early design are the second kind, which is why AI swaps have found a place; most conversations at tender are the first kind, which is why they have not replaced the render engine.
A practical middle path: change the material in the model, export a flat viewport or a GLB, and let Render a House do the lighting and photorealism. That is the workflow in SketchUp model to realistic render with AI and Revit and Archicad to render with AI.
Render a House, alongside SketchUp
SketchUp AI Render Paint is the most direct comparison because it also repaints a masked region, but from inside the modelling tool. Here is how it lines up against Render a House for a material swap on a finished image.
| SketchUp | Render a House | |
|---|---|---|
| Input | An open SketchUp model viewport; the tool paints over the live view | Any render, photo, sketch, plan or GLB/GLTF/OBJ export; no source model needed |
| Where the edit happens | Inside SketchUp Desktop, iPad or Web with the Paint tool | In the browser on Mac, Windows or Linux; nothing to install |
| Generation time | 13–20 s per generation (SketchUp help centre, checked Sept 2026) | 30–60 s; up to ~2 min on complex inputs |
| Reference image for the material | Reference image only in the 'No Style' preset | Any supplier photo or swatch as a style reference, no fine-tuning |
| Resolution and export | Saved to the AI Render Gallery inside SketchUp | PNG/JPG at 1K, 2K or 4K; video from the same render |
| Price to start | Requires a SketchUp subscription (Pro $33.25/mo billed annually) | Free plan with 3 renders/day; Pro $39/mo |
What you get
3D integration
Where SketchUp exports a mesh, upload it and set the camera in the browser, then render from that view.
Rendering
Photorealism in seconds rather than a queued calculation you leave running over lunch.
Video
A camera move across the same project, generated from a finished still. Nothing to animate.
Design
Try materials, light and surroundings until the version you want exists, without touching the source model.
Refinement
Fix one part of a render — a facade panel, a tree, a sky — without starting the image again.
Precision
Your geometry is respected: the walls, openings, heights and proportions you drew in SketchUp stay where you put them.
Collaborative
Share a link and take comments on the image itself, so feedback lands on the render rather than in an email thread.
Mobile and web
Runs in the browser, on the machine you have open, including a laptop that would struggle with a local render engine.
4K
Delivery resolution, ready to print or put on a board without a separate upscaling step.
If the model is open in SketchUp and you only need a quick look, the Paint tool is closer to hand. If you are starting from a render, a photo or a client’s JPG, or you need 4K and a share link, Render a House gets there without the model. Start on the architectural rendering tool with the free plan.
SketchUp rendering with Render a House covers the export path in full, and the free tier is there if you want to try it on your own file before deciding anything.
What AI material changes cannot do
Render a House is not a BIM or CAD replacement, not a real-time engine, and not a team account: uploads are private unless you share a link, but there is no multi-user workspace. It runs in Chrome, Firefox, Safari and Edge on Mac, Windows and Linux; there is no offline mode and no native mobile app. Downloads on the free plan carry a small watermark. Commercial use is allowed on all plans.
It is also not the tool for anyone who needs the material change to be dimensionally exact, who needs identical results across a dozen views, or who needs a supplier’s real texture rather than a photorealistic approximation. In those cases go back to the model, as described above. For a broader comparison of AI renderers by input type, see the best AI rendering tools for architects.
FAQ
Can AI change materials in an existing render without re-rendering?
Yes. Tools such as Render a House, Rendervi, Idear, Syntina and LayerHouse take the finished image, mask the surface and regenerate only that region, so camera, lighting and composition stay as they were. Render a House returns the result in about 30-60 seconds and the free plan gives 3 renders a day.
How do I change finishes in an existing render with AI and keep the geometry?
Mask only the surface, keep the brush off openings and edges, describe one material per pass, and compare the output with the original at full zoom. Geometry is generally preserved but can shift, so check window mullions, roof lines and thin elements before sending the image to a client.
Which tool is best to swap a facade material in a render?
For a whole-facade swap from an image you already have, Render a House or LayerHouse. If you exported an ID pass from your 3D tool, Idear can use it as a precise mask. If the model is still open in SketchUp, the Paint tool in SketchUp AI Render repaints a region of the live viewport in 13-20 seconds.
Do I need the original 3D model to change materials with AI?
No. Every tool in the table except SketchUp AI Render works from a JPG or PNG of the render or a site photo. You only need the model if the change is contractual, if you need consistent results across many views, or if the surface is heavily reflective.
How much does it cost to change materials in a render with AI?
Free tiers exist at Rendervi (12 credits), Idear (5 credits), LayerHouse ($0 plan), Lumely (3 images) and Render a House (3 renders/day). Paid entry plans checked in September 2026 run from €12/mo (Idear) and $12.99/mo (Rendervi) to $19/mo (Syntina), $29/mo (LayerHouse) and $39/mo (Render a House Pro, 240 credits).
Can I upload my own texture or product photo as the new material?
Rendervi accepts PNG/JPG texture uploads, Idear accepts a JPG, PNG or WebP material image, Syntina and LayerHouse accept a reference image, and Render a House uses any reference image as a custom style with no fine-tuning. SketchUp AI Render only accepts a reference image in its 'No Style' preset.
Why do the windows change when I only asked for new cladding?
Glass reflects its surroundings, so when the model regenerates a masked region next to glazing it also re-invents what the glass reflects. Keep the mask off the glass, run glazing as its own pass, and if reflections must be exact, change the material in the 3D tool and re-render.
Keep reading
Related guides and comparisons

Render a House vs Veras (and D5 Render): 2026 comparison of prices, inputs and speed
Render a House vs Veras vs D5 Render: Veras from $16.90/mo, D5 Pro $30/mo, Render a House free daily tier. Inputs, hosts, geometry control and speed compared.

AI for real estate renders and marketing videos: 7 tools by job, with 2026 prices
AI for real estate renders and marketing videos by job: staging, day-to-dusk, off-plan renders and video. 7 tools, prices checked Sept 2026.

AI rendering for small architecture studios on a budget: 7 tools under $50 a month, and what a render really costs in 2026
Cheap AI rendering for small architecture studios: 7 tools under $50/mo, cost-per-render math and a year-one budget for a 2-person firm. Checked Sept 2026.
