 Render a House/Updated Sep 25, 2026
3D model to AI video walkthrough: five routes compared, step by step, with the credit math
The fastest way to turn a 3D model into an AI video walkthrough is to render a still from the model and animate it into 5–10 second clips: in Render a House a 10 second clip costs 8 credits (0.8 per second) on the $39/mo Pro plan, and Luma image-to-video does the same from any single image. If you need a continuous path with exact geometry, animate the model itself in Twinmotion (free under $1M revenue), D5 Render or Revit's built-in walkthrough instead.

Which route turns a 3D model into a walkthrough video?
There are two families of route. Three animate the model: a camera moves through real geometry and every frame is rendered from it. Two animate a picture: an AI model generates motion from a single still. Prices checked Sept 2026, in USD, from each vendor's own page.
| Route | Needs a 3D model? | Time | Cost | Output |
|---|---|---|---|---|
| Twinmotion video | Yes — the full scene, animated with parts and keyframes | You place every keyframe; export time depends on frame count, resolution and your GPU (not published) | Free under $1M annual revenue; $445/seat/yr above that | MP4 or PNG/EXR frames, 25–120 fps, 2K to 16K presets |
| Revit walkthrough | Yes — a camera path drawn through the Revit model | You draw the path and set frames; render time not published | Revit $380/mo or $3,005/yr; walkthroughs are built in | AVI or an image sequence |
| D5 Render video | Yes — a full scene on a GPU workstation | Camera templates or custom paths; render time not published | Community free (non-commercial); Pro $360/yr; Teams $59/seat/mo | MP4/AVI up to 4K and 120 fps; 8K on Teams |
| Luma image-to-video | No — any single image, including a screenshot of the model | Browser upload plus a prompt; generation time not published | Plus $30/mo (10,000 credits); Pro $90/mo; Ultra $300/mo | 5 or 10 s per clip; 1:1, 16:9 or 9:16 |
| Render a House render→video | No — a screenshot, or a GLB, GLTF or OBJ export you orbit in the browser | Still in about 30–60 s; then one clip per view | Pro $39/mo (240 credits); video 0.8 credits/s | 5 or 10 s per clip, from your own render |
Read the table by the second column first. If the deliverable has to follow a specific route through the building — the client asked to see the corridor from the lift to unit 4B — only the three model-driven routes can do it. If the deliverable is a set of short moving shots for a listing, a pitch or a social feed, a still-driven route gets there without building an animation scene at all.
The time column is deliberately qualitative. None of the three engine vendors publishes how long a walkthrough takes to export, because it depends on frame count, resolution and the graphics card, and Luma does not publish a generation time either. What you can compare is where the hours go: on the engine routes they go into materials, lighting and keyframes before anything renders; on the still-driven routes they go into getting each still right and reviewing each clip.
Camera-path animation and AI video are different products
In Twinmotion, a video is built from parts and keyframes: keyframes are camera viewpoints, parts are animated sequences, and you can reorder parts and use phasing to show construction stages. In Revit, a walkthrough is a path of camera positions that you draw in a plan or 3D view, then adjust for frame count and speed. Both render every frame from the model, so the tenth second shows the same building as the first.
AI image-to-video works the other way round. It takes one image and predicts what the next frames look like as the camera moves. It never sees your model, only the pixels of the still. That is why it needs no scene setup, and also why it can bend a mullion or grow an extra step when the camera travels further than the still can explain.
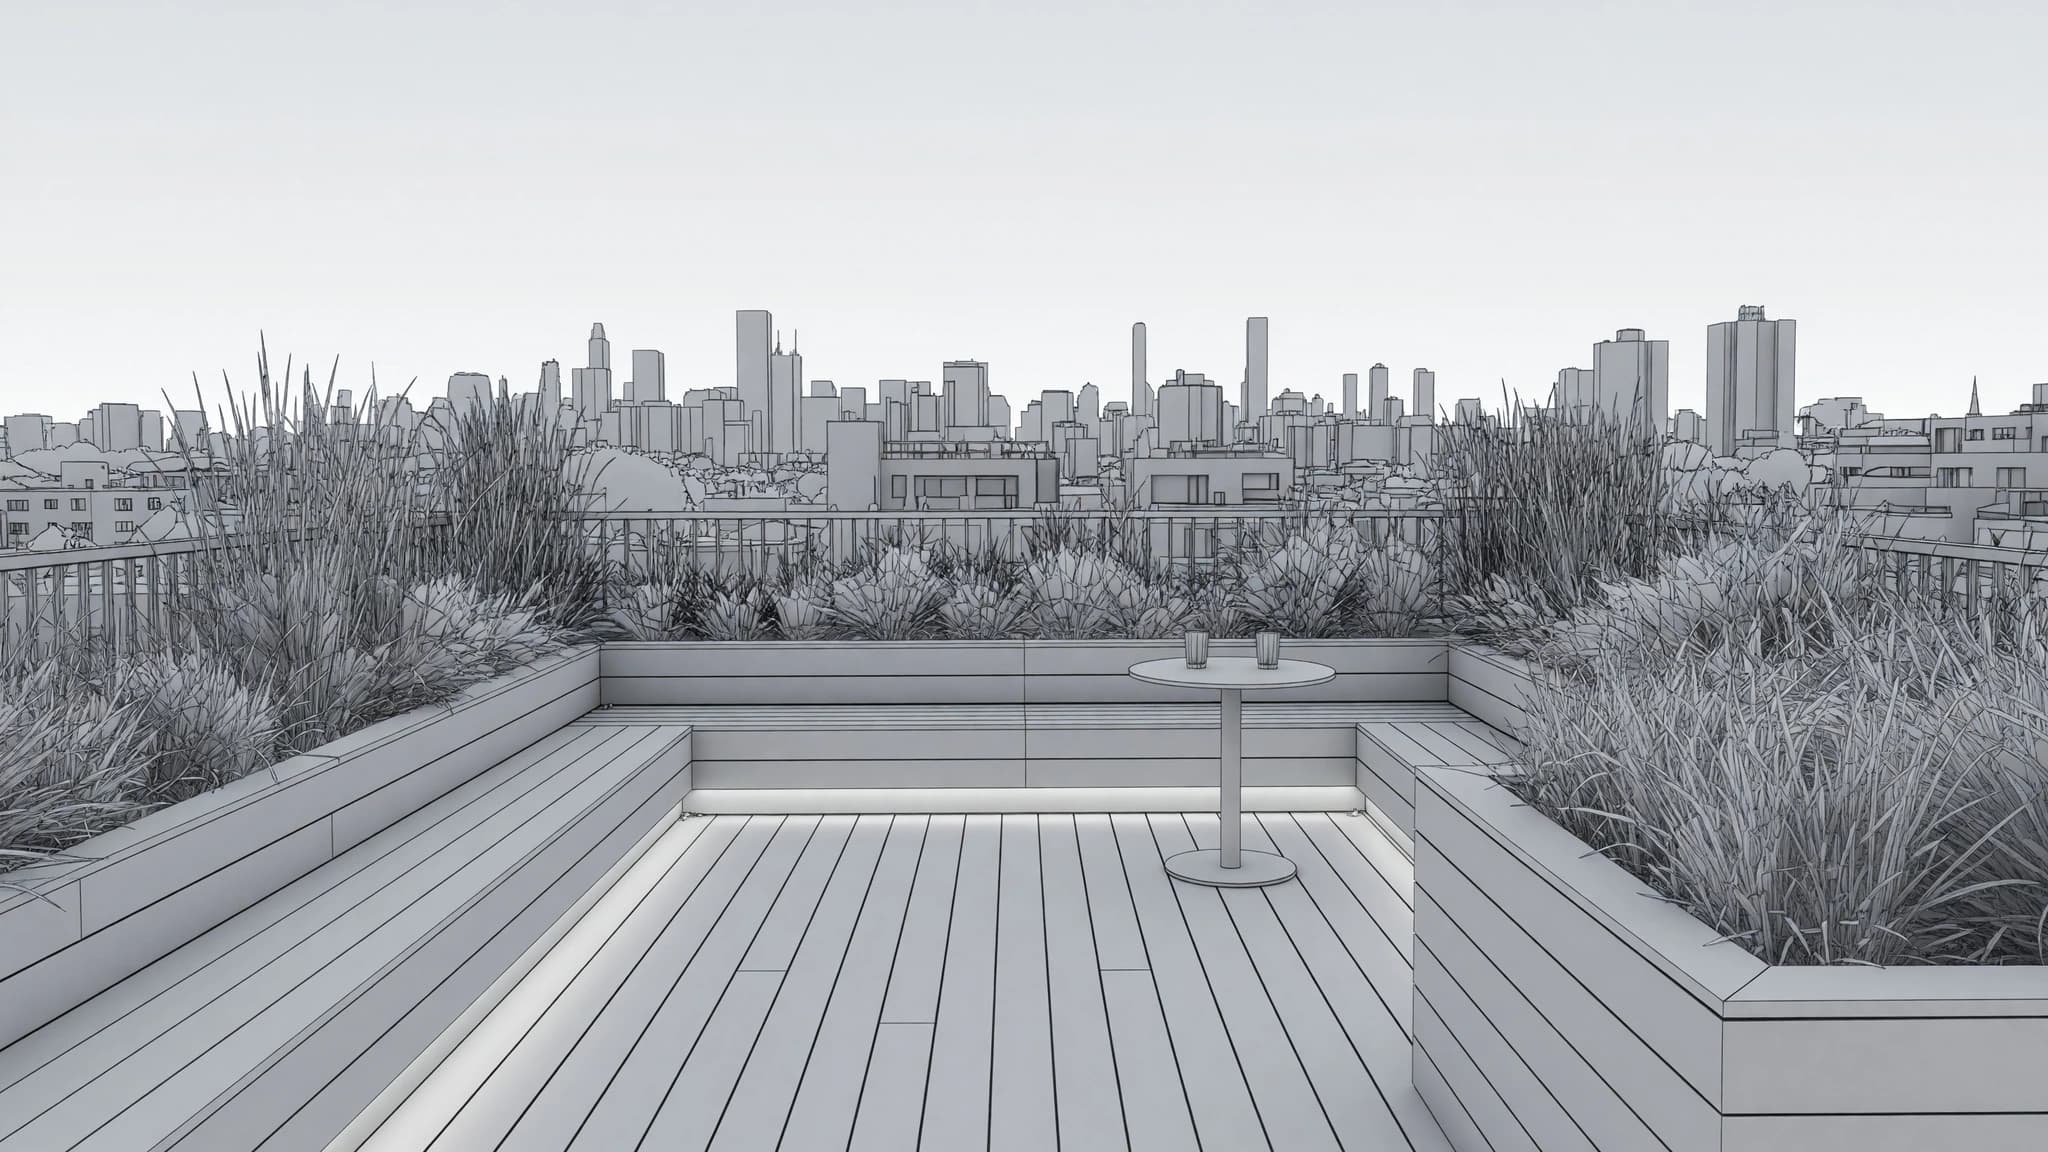
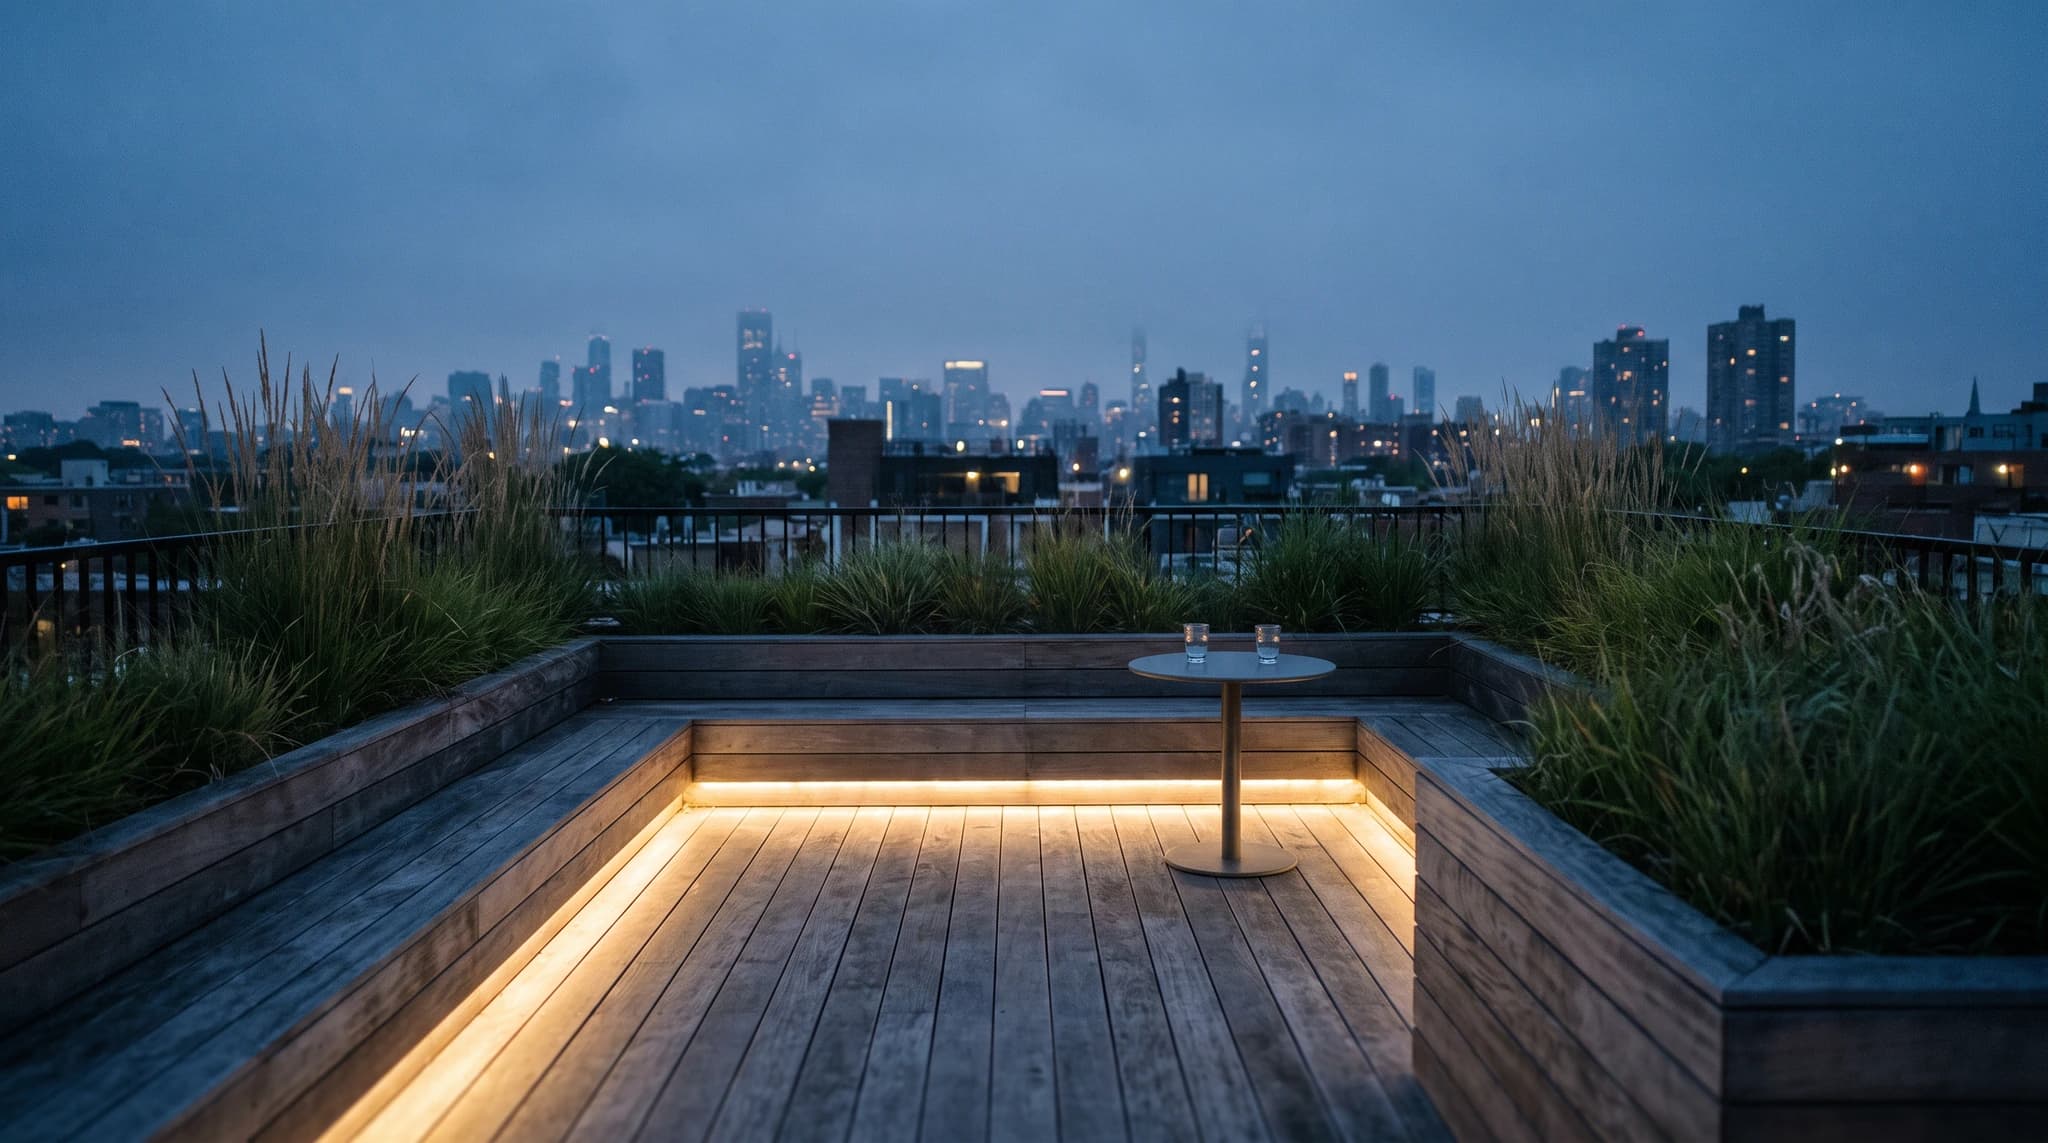
Which route fits which deliverable?
Most confusion about “AI walkthroughs” comes from asking one route to produce every deliverable. Match the route to the output instead:
- Listing reel or social teaser (15–30 s). Still to video. Three to six short clips, each from a strong still, cut to music. Nobody expects a continuous path in a reel.
- Competition or client pitch (30–90 s). Still to video for mood, with an engine shot for any moment that must be exact, such as the approach or the view from a balcony.
- Design review with the client. The model itself, in Revit, Twinmotion or D5. Reviewers pause, ask to go back, and compare options; an AI clip cannot be re-shot identically.
- Construction sequence or phasing video. Twinmotion, whose phasing tools exist for exactly this. AI video has no idea which element is built first.
- VR or 360° tour. An engine. Twinmotion exports 360° video; still-to-video tools output flat clips.
If the answer is “a bit of both”, that is normal: a short AI teaser for the listing and a keyframed engine walkthrough for the meeting can both come from the same model.
How to turn a SketchUp or Revit model into an AI video walkthrough, step by step
This is the still-driven route in Render a House, from a SketchUp or Revit model to a cut walkthrough. The same logic applies to any image-to-video tool; only the upload and pricing differ.
Export a view or a mesh from SketchUp or Revit
Either save a clean viewport image (JPG, PNG or WebP) of the exact view you want, or export the model as GLB, GLTF or OBJ. Native .skp and .rvt files are not accepted, so export first.
Choose the camera before you render
Upload the mesh, orbit it in the browser and pick the view, or crop the screenshot. The AI clip will only move a short way from this frame, so compose it as the first frame of the shot.
Render the still and fix it before animating
Render the view with a style preset or a reference image, then use area editing and relighting to fix materials, planting and time of day. Check openings, roof lines and thin elements against the model now.
Animate the still into a 5 or 10 second clip
Write a short prompt that names one move — push in, pan left, slow orbit. Each second costs 0.8 credits, so a 10 second clip costs 8 credits.
Review the clip frame by frame
Scrub the clip for warping glass, bending mullions, flickering reflections and furniture that changes shape. Regenerate or shorten any clip that drifts.
Cut the clips into one walkthrough
Render one still per room or view, animate each, and join the clips in any video editor with short cuts or cross-fades. Order them as a visitor would walk: approach, entrance, main space, detail.
Two details decide most of the result. First, the still: the walkthrough is only as good as the frame you animate, so spend your iterations there, where an edit costs a render rather than a clip. Render Reboot makes the same point for Twinmotion stills — clear foreground, midground and background, clean geometry and consistent light animate better. Second, the shot list: decide before you start which rooms and views make the cut, and in which order, so you render six good stills rather than twenty loose ones.
For export specifics, the SketchUp model to realistic render guide and the Revit and Archicad to AI render guide cover views, screenshots and mesh exports for each modeller.
What makes a model view animate well?
The clip inherits every decision in the still, so a little preparation in the modeller saves several regenerations later. None of this needs a render engine; it is framing and housekeeping.
- Camera at eye height for interiors and streets. A view taken from roughly standing height reads as a walkthrough; a high three-quarter view reads as a model on a table.
- Leave room in the direction of travel. If the clip will push toward the entrance, keep the entrance off the frame edge. The model can only move into space the still shows.
- Hide construction clutter. Section planes, guide lines, tags, grids and hidden layers that print in the viewport end up in the render and then move in the video.
- Give the scene depth. A foreground element — a tree, a railing, a table edge — gives the camera move something to pass, which is what makes a short clip read as movement.
- Export large. Upload the highest-resolution screenshot you can. Thin mullions and handrails survive a clean, sharp input far better than a blurred one.
- Decide the time of day once. Relight every still to the same light before animating, so clips cut together as one film rather than a morning shot next to a dusk shot.
Which camera moves work in an architectural AI video?
Short, single moves survive; compound moves do not. A prompt like “slow push toward the entrance” gives the model one job. “Fly over the roof, then dive through the window into the kitchen” asks it to invent most of the building. Match the move to what the still actually shows:
| Shot | Move to ask for | Why |
|---|---|---|
| Exterior, street or garden view | Slow push-in or a short lateral pan | Parallax between planting, facade and sky reads as depth without asking the model to invent the side of the building |
| Detached house on a site | Partial orbit of a few degrees | A small arc keeps the massing on screen; a large orbit reveals faces the still never showed |
| Double-height interior | Vertical tilt or a slow push toward the window | Keeps the dominant opening in frame, which is where drift shows first |
| Kitchen, bathroom or tight room | Short push-in only | Close furniture and reflective finishes flicker when the camera travels far |
| Glass, water or polished floors | Minimal movement, or a static shot with light change | Reflections are the surfaces most likely to warp, per Render Reboot's own checklist |
For aspect ratio, pick the channel first: 16:9 for websites and presentations, 9:16 for Reels, TikTok and Shorts, 1:1 for feeds. Luma supports all three on image-to-video; compose the still for the crop you will publish, because a vertical crop of a wide facade loses the building.
A worked example: a 60 second house walkthrough from a SketchUp model
Here is a shot list for a detached house modelled in SketchUp, exported as GLB and rendered view by view in Render a House. It is the order a visitor would walk, with one move per clip:
- Approach from the street — slow push toward the entrance, 10 s, 8 credits of video.
- Front door and porch — short push-in, 5 s, 4 credits of video.
- Living room toward the garden — slow lateral pan, 10 s, 8 credits of video.
- Kitchen island detail — short push-in, nothing else, 5 s, 4 credits of video.
- Double-height stair — gentle upward tilt, 10 s, 8 credits of video.
- Garden facade at dusk — partial orbit of a few degrees, 10 s, 8 credits of video.
- Aerial of the site from the model — slow pull-back, 10 s, 8 credits of video.
That is 60 seconds of footage for 48 video credits, plus seven stills. At 4 credits each for 4K Pro renders, the stills add 28, for 76 credits in total — about a third of a Pro month. Budget a second attempt for the stair and the kitchen: tight interiors with reflective surfaces are the clips most likely to need a retake. Cut in an editor with short cross-fades and a music track, and the result is a one-minute film for a listing page or a pitch, made without an animation scene.
What a Render a House video walkthrough costs in credits
Render a House video costs 0.8 credits per second, so a 5 second clip is 4 credits and a 10 second clip is 8. The still you animate is a separate render; the table assumes one 4K Pro render per clip at 4 credits, which is the most expensive render option, so it is a ceiling rather than an average. Failed renders are not charged.
| Deliverable | Video credits | Stills (4K Pro) | Total credits | Share of Pro month |
|---|---|---|---|---|
| One 5 s clip | 4 | 4 | 8 | 3% |
| One 10 s clip | 8 | 4 | 12 | 5% |
| 30 s social teaser (3 × 10 s) | 24 | 12 | 36 | 15% |
| 60 s walkthrough cut (6 × 10 s) | 48 | 24 | 72 | 30% |
| 90 s listing film (9 × 10 s) | 72 | 36 | 108 | 45% |
Pro includes 240 credits a month for $39, or $312/yr on annual billing. Spent only on video that is 300 seconds, thirty 10 second clips; with a 4K Pro still per clip, a full 60 second cut uses 72credits, so Pro covers three such cuts a month. At Pro's monthly price each credit works out to about $0.16, which puts a 10 second clip near $1.30; extra credits bought beyond the plan are $0.20 each, or $1.60per 10 second clip. Studio's 1,000 credits at $99/mo cover 1250 seconds of video. The free tier (3 renders a day) does not include video. Plan details are in the pricing docs.
The same clips on Luma's credit table
Luma publishes a per-model credit table on its pricing page. Plus is $30/mo ($300/yr) with 10,000 credits. Here is what a 10 second image-to-video clip costs on the two Ray models it lists, and how many fit in a Plus month:
| Luma model and resolution | Credits per 10 s | 10 s clips per Plus month |
|---|---|---|
| Ray3.14, 720p | 200 | 50 |
| Ray3.14, 1080p | 800 | 12 |
| Ray3.2, 720p | 300 | 33 |
| Ray3.2, 1080p | 1,200 | 8 |
So the honest comparison depends on resolution. At 720p on Ray3.14, Luma Plus fits more 10 second clips per month than Render a House Pro; at 1080p the count drops to 12 or 8. The difference that matters more for architects is upstream: Luma starts from whatever image you give it, while Render a House renders the still from your model view in the same place, so the frame being animated is already an architectural render rather than a screenshot.
When Twinmotion, D5 or Revit is the better tool
An AI clip is the wrong tool when the video has to be a faithful, continuous record of the design. These three are the right tools, and one of them is probably already on your machine.
Twinmotion video
Twinmotion exports MP4 by default or PNG/EXR frame sequences, at 30 fps by default with 25, 60 and 120 fps options, in 2K, 4K, 8K or 16K presets or a custom size, per its export settings. It also offers 3D, 360° and 360° 3D video modes. The licence is free for individuals and companies under $1M in annual revenue, and $445 per seat per year above that. For a walkthrough that has to follow a specific corridor, with construction phases, it is the cheapest serious option.
D5 Render video
D5 Render lists camera movement templates, custom camera paths and keyframes, MP4 and AVI output and frame sequences up to 4K and 120 fps on its features page. On the pricing page, Community is free for non-commercial use, Pro is $360/yr, and Teams is $59/seat/mo with 8K video. It is GPU-accelerated, so the workstation is part of the cost.
Revit walkthrough
Revit's walkthrough tool places cameras along a path you draw, inside or around the building, and exports AVI or an image sequence. It is already paid for if you license Revit ($380/mo or $3,005/yr, Windows only), and it is exact: it is the model. If you need presentation-grade frames rather than design-review frames, pair it with an engine such as Twinmotion, or render stills separately.
Render a House, alongside SketchUp or Revit
Render a House is an AI rendering tool for architects, interior designers and real estate. For video, it sits between your modeller and your editor: it renders the still from your model view and animates it, without an animation scene. Here is how that compares with animating the model itself.
| SketchUp or Revit | Render a House | |
|---|---|---|
| What you animate | The model itself, along a path you draw (Revit) or keyframe (Twinmotion, D5) | A finished still, rendered from a screenshot or a GLB, GLTF or OBJ export |
| Setup | Materials, lights and context set up in the scene before the first frame | Upload, pick the view, render in about 30–60 s, then animate |
| Clip length | Any length the path covers | 5 or 10 s per clip, assembled into a longer cut |
| Camera | Exact, repeatable keyframes | A move described in the prompt; not keyframed |
| Hardware | A desktop app; Revit and D5 run on Windows, D5 relies on GPU acceleration | Any browser on Mac, Windows or Linux; no GPU or install |
| Cost of a 10 s clip | Licence plus your own hardware time | 8 credits (0.8 per second), on Pro from $39/mo |
What you get
3D integration
Where SketchUp or Revit exports a mesh, upload it and set the camera in the browser, then render from that view.
Rendering
Photorealism in seconds rather than a queued calculation you leave running over lunch.
Video
A camera move across the same project, generated from a finished still. Nothing to animate.
Design
Try materials, light and surroundings until the version you want exists, without touching the source model.
Refinement
Fix one part of a render — a facade panel, a tree, a sky — without starting the image again.
Precision
Your geometry is respected: the walls, openings, heights and proportions you drew in SketchUp or Revit stay where you put them.
Collaborative
Share a link and take comments on the image itself, so feedback lands on the render rather than in an email thread.
Mobile and web
Runs in the browser, on the machine you have open, including a laptop that would struggle with a local render engine.
4K
Delivery resolution, ready to print or put on a board without a separate upscaling step.
Use it for short, polished moving shots of views you have already approved. Keep the engine for the continuous, exact walkthrough.
The architectural rendering tool covers the workflow in full, and the free tier is there if you want to try it on your own file before deciding anything.
What AI video cannot do in an architectural walkthrough
Every still-to-video tool, Render a House included, shares the same three limits. None of them is a bug that the next model release will quietly remove; they follow from generating frames instead of rendering them.
Exact camera control
You set the first frame and describe a move. You cannot set a focal length change at second four, a path around a column, or a speed curve, and you cannot repeat the exact same move on a second design option to compare them. If a reviewer will ask for “the same shot, but with the brick facade”, render it from a keyframed path in Twinmotion or D5.
Geometry fidelity
The frames are predictions from pixels, not projections of your model. Geometry is generally preserved in the still, but it can shift, and motion adds more chances for it to shift: window mullions bend, stair counts change, a balustrade thins out, a door appears where the still showed a wall edge. Check openings, roof lines and thin elements in every clip. AI video is a concept and marketing format, not a measured or contractual walkthrough, and it does not replace BIM or CAD.
The practical check is simple: open the model next to the clip and compare the frames where the camera stops. Count the windows on the facade, the risers on the stair and the posts on the balustrade. If a count changes, regenerate with a shorter move or cut the clip before the drift starts.
Length
Clips are 5 or 10 seconds in Render a House and in Luma image-to-video. A two-minute film is a dozen clips, each starting from its own still, joined in an editor. Joins between clips are cuts, not a continuous camera, so plan the film as a sequence of shots — the way an estate agent video is edited — rather than as one unbroken walk.
Five mistakes that make AI walkthroughs look fake
- Animating a weak still. A flat, low-contrast screenshot does not improve when it moves. Fix materials and light in the still first.
- Asking for too much motion. Long orbits and fly-throughs force the model to invent unseen faces of the building. Keep each move short.
- One long clip instead of several short ones. A sequence of 5–10 s shots, each from its own still, holds together better than any single long generation.
- Skipping the frame-by-frame check. Warped glass and bending mullions are easy to miss at full speed and obvious to a client who pauses the video.
- Presenting it as the design record. Label AI clips as visualisation. For anything a client will sign off against, show the model or drawings.
3D model to AI video: FAQ
How do I turn a 3D model into an AI video walkthrough?
Render a still of each view from the model, animate each still into a 5 or 10 second clip, then join the clips in a video editor. In Render a House a 10 second clip costs 8 credits on top of the still.
Can I upload a SketchUp or Revit file directly to make a video?
Not as a native .skp or .rvt file. Export the model as GLB, GLTF or OBJ and upload that, or upload a JPG, PNG or WebP screenshot of the view. Luma image-to-video likewise starts from a single image.
How much does an AI architectural walkthrough video cost?
On Render a House video costs 0.8 credits per second: 8 credits for 10 seconds and 48 credits for a 60 second cut made of six clips. Pro's 240 monthly credits at $39/mo cover 300 seconds of video if you spend nothing on stills. The free tier does not include video.
How long can an AI walkthrough video be?
Each generation is short: 5 or 10 seconds on both Render a House and Luma image-to-video. A 60 or 90 second walkthrough is six to nine clips cut together, not one continuous generation.
Can I control the exact camera path in an AI video?
No. You choose the first frame and describe the move in words; the model decides the rest. For an exact, repeatable path, keyframe it in Twinmotion or D5, or draw a walkthrough path in Revit.
Can I make an architectural walkthrough video with AI without a 3D model?
Yes, for the still-driven route. Render a House accepts hand sketches, floor plans and existing photos or renders as well as model exports, and Luma animates any single image. The camera-path routes in Twinmotion, D5 and Revit all need the full model.
Is AI video good enough for real estate and marketing?
For teasers, listing reels and early client presentations, yes, provided every clip is checked for geometry drift. It is not suitable as a measured or contractual record of the design; the frames are generated, not rendered from the model.
Where to go next from a 3D model
- AI real estate renders and marketing videos covers how listing stills and short clips fit into a property marketing plan.
- SketchUp model to realistic render with AI walks through the export and render steps that produce the still you animate.
- Revit and Archicad to AI render does the same for BIM models, including which views to export.
- 3D model viewer opens a GLB, GLTF or OBJ in the browser so you can check a view before rendering it.
- Twinmotion pricing breaks down the licence if you need the camera-path route instead.
- Render a House FAQ answers account, credit and file-format questions not covered here.
Keep reading
Related guides and comparisons

Render a House vs Veras (and D5 Render): 2026 comparison of prices, inputs and speed
Render a House vs Veras vs D5 Render: Veras from $16.90/mo, D5 Pro $30/mo, Render a House free daily tier. Inputs, hosts, geometry control and speed compared.

AI for real estate renders and marketing videos: 7 tools by job, with 2026 prices
AI for real estate renders and marketing videos by job: staging, day-to-dusk, off-plan renders and video. 7 tools, prices checked Sept 2026.

AI rendering for small architecture studios on a budget: 7 tools under $50 a month, and what a render really costs in 2026
Cheap AI rendering for small architecture studios: 7 tools under $50/mo, cost-per-render math and a year-one budget for a 2-person firm. Checked Sept 2026.
