Animate a render
Turn a finished render into a short animated video clip, step by step.
Render a House can turn any finished render into a short animated video clip. The camera moves through the scene while the geometry and lighting of your render stay in place, so the building keeps looking exactly like your render. This guide walks through animating a single render from start to finish.
📺 Prefer to watch? Follow the full walkthrough on YouTube (in Spanish):

Before you start
You need at least one finished render to animate. If you do not have one yet, follow Generate renders first. You can also upload your own image if you prefer to animate something made outside the platform.
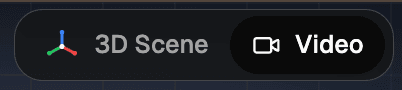
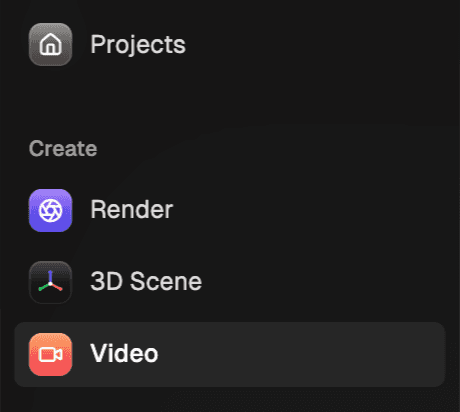
1. Open the Video tool
Open your project and switch to the Video tab at the top of the editor.
You can also open it from the Video entry in the left sidebar.
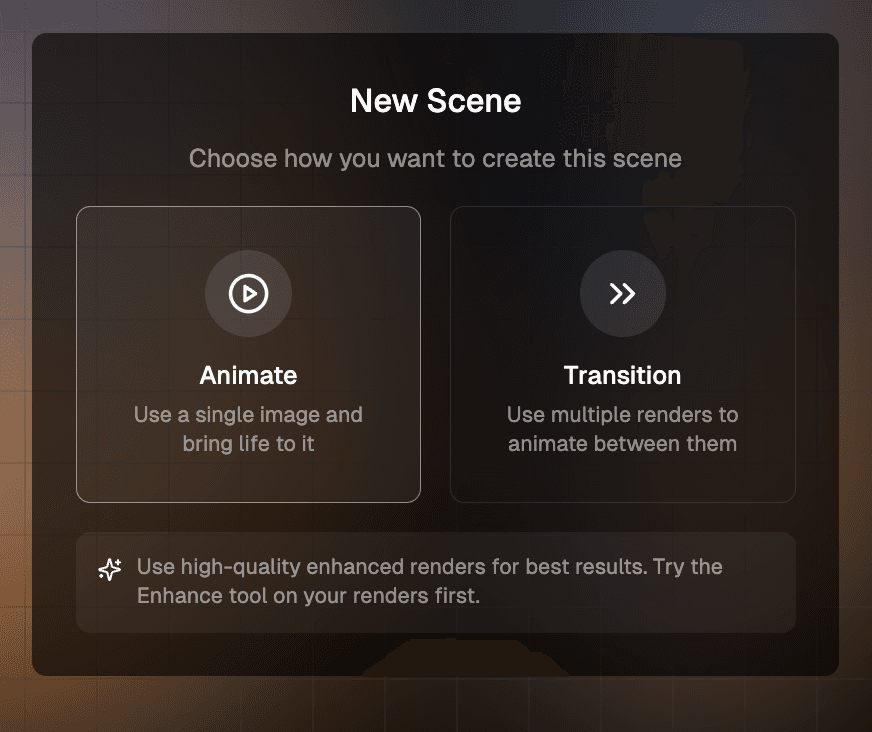
2. Create an Animate scene
A video is built from scenes. Click + Scene and choose Animate, the option that brings a single render to life. The other option, Transition, moves between two renders and has its own guide.
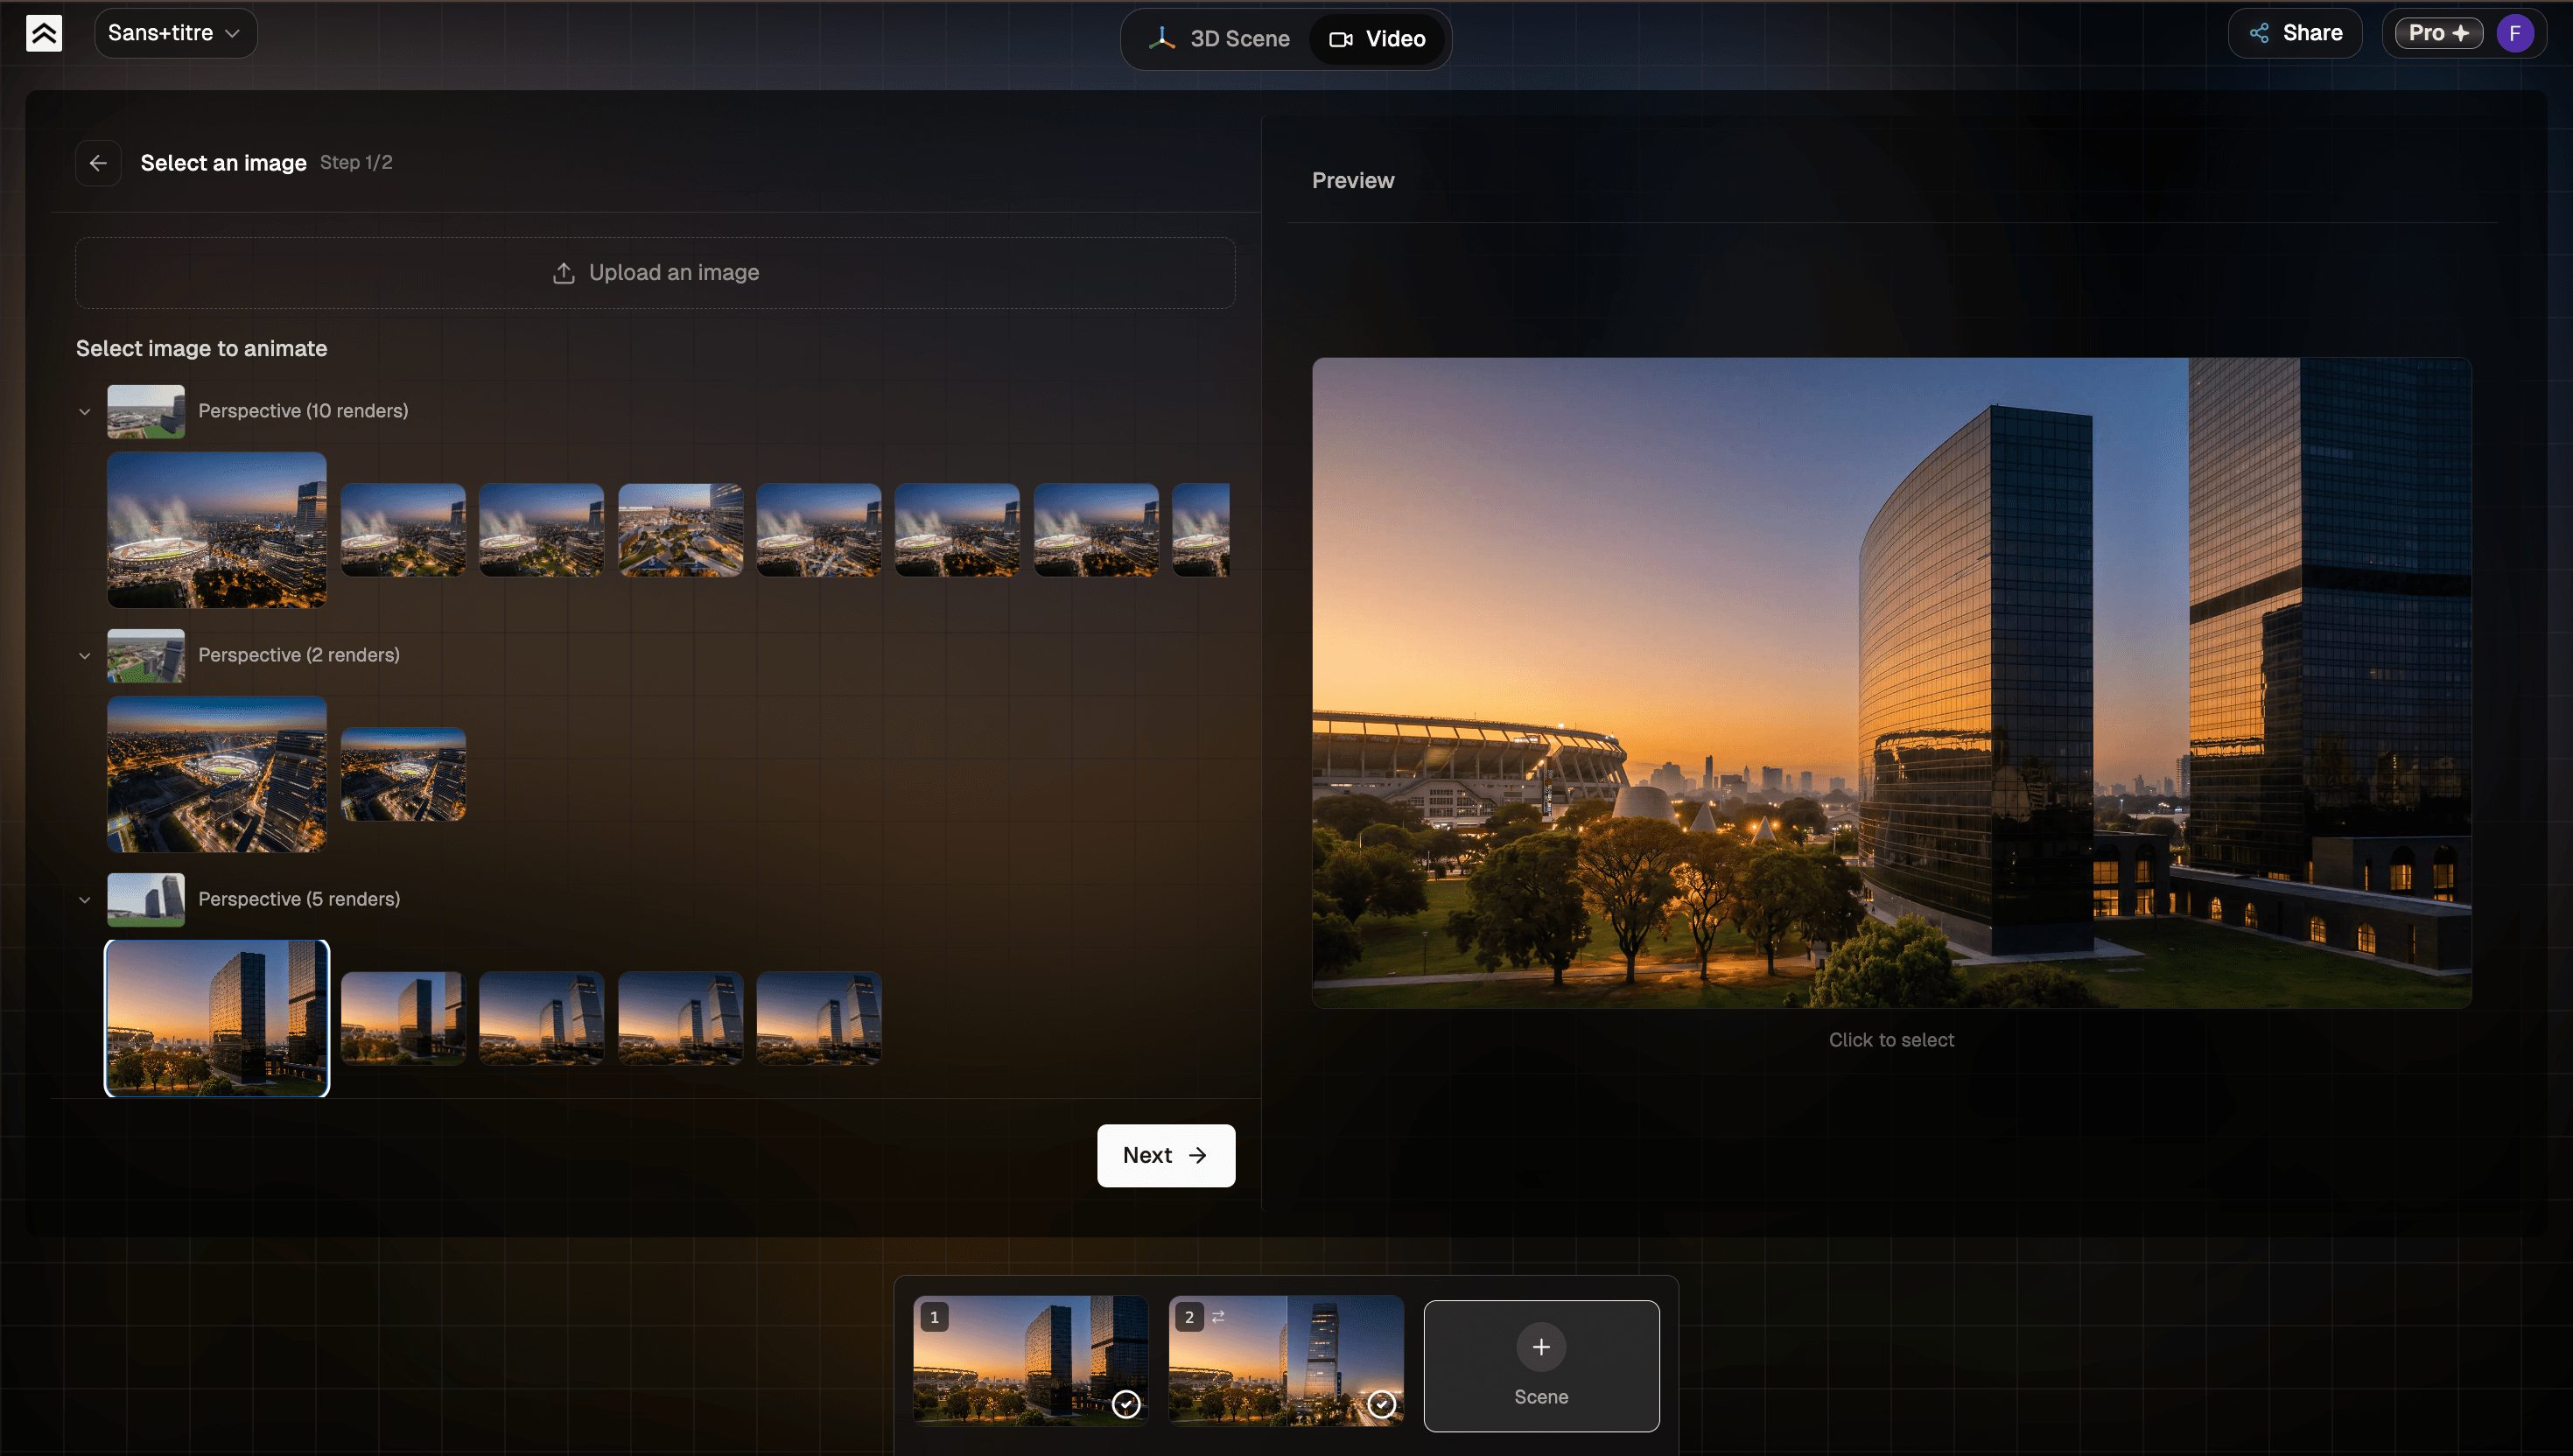
3. Choose the render to animate
Pick any render from your project. Renders are grouped by perspective, so you can animate any view you saved. If you want to animate an image made elsewhere, use Upload an image. Select your render and click Next.
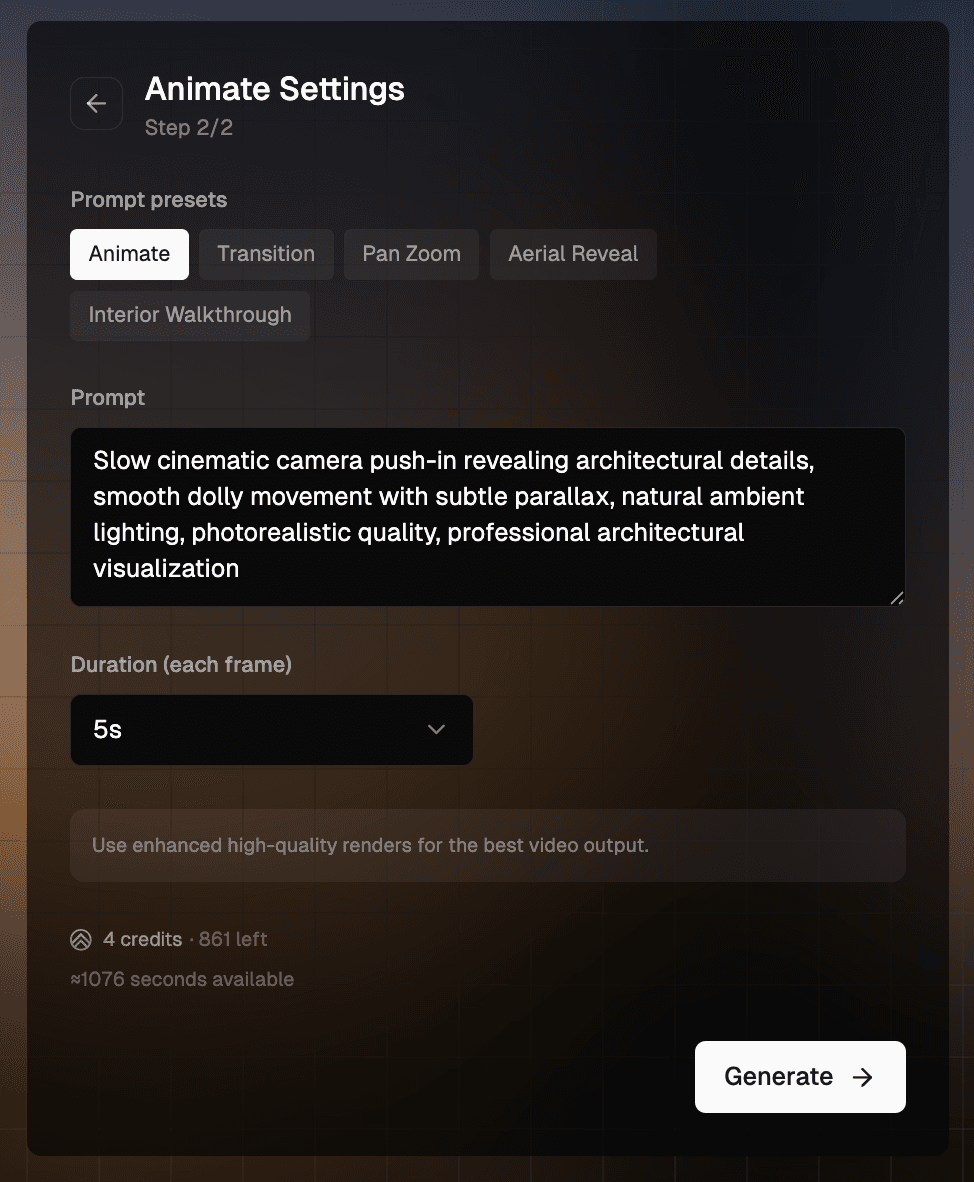
4. Set the animation and duration
Choose how the camera moves. Pick an animation preset such as Pan Zoom for a slow camera push, Aerial Reveal for a descending drone shot, or Interior Walkthrough for a walk through interior spaces. Each preset fills in a prompt for you.
Keep the prompt that the platform generates. It is tuned to give the best result, so change it only when you need something specific.
Set the Duration. You can choose 5 or 10 seconds. For animating a single render, 5 seconds works best, because it gives the scene enough movement without feeling too long. Ten seconds is a better fit for transitions between renders.
5. Generate the video
Click Generate. The clip is usually ready in one to two minutes. You do not need to wait in front of the screen. While it renders, click + Scene and start animating another render, so several clips process at the same time.
6. Watch and download
When the clip is ready, click the scene and press play. The animation keeps the geometry of your model, and the lighting carries into the video, including reflections on glass and other surfaces.
To save the video, click the Download button. The clip downloads to your computer as an MP4 file.

Next steps
Learn how to Transition between two renders.