Image to 3D
Turn a photo or render of an object into a real 3D model you can rotate, zoom, and download as a GLB file for SketchUp, Blender, or 3D Preview.
Image to 3D turns a flat image of an object into a real 3D model. Feed it a sharp photo or render of a small-to-medium object — a chair, a lamp, a vase — and it rebuilds it as a rotatable mesh you can spin around, zoom into, and download as a .glb file to use in other 3D software.
Before you start
- It works with objects, not scenes. The tool is built to reconstruct a single small-to-medium object — a piece of furniture, a light fixture, a decor piece, a product. Whole buildings, rooms, and large scenes don't reconstruct reliably.
- Use a good-resolution image. A sharp, well-lit shot that's clearly focused on the object gives a clean mesh; low-resolution or blurry inputs come out rough and distorted. Upload a photo, pick a render you made in Render a House, or choose one from your library — JPG, PNG, and WEBP up to 8 MB.
- One clear subject on a clean background reconstructs far better than a busy, cluttered image. Frame the object head-on with plenty of it in view.
- Each generation costs 4 credits. You're only charged when it succeeds — if a generation fails, your credits are refunded. See Plans and pricing for how credits work.
1. Open Image to 3D
In the left sidebar, under Tools, click Image to 3D.
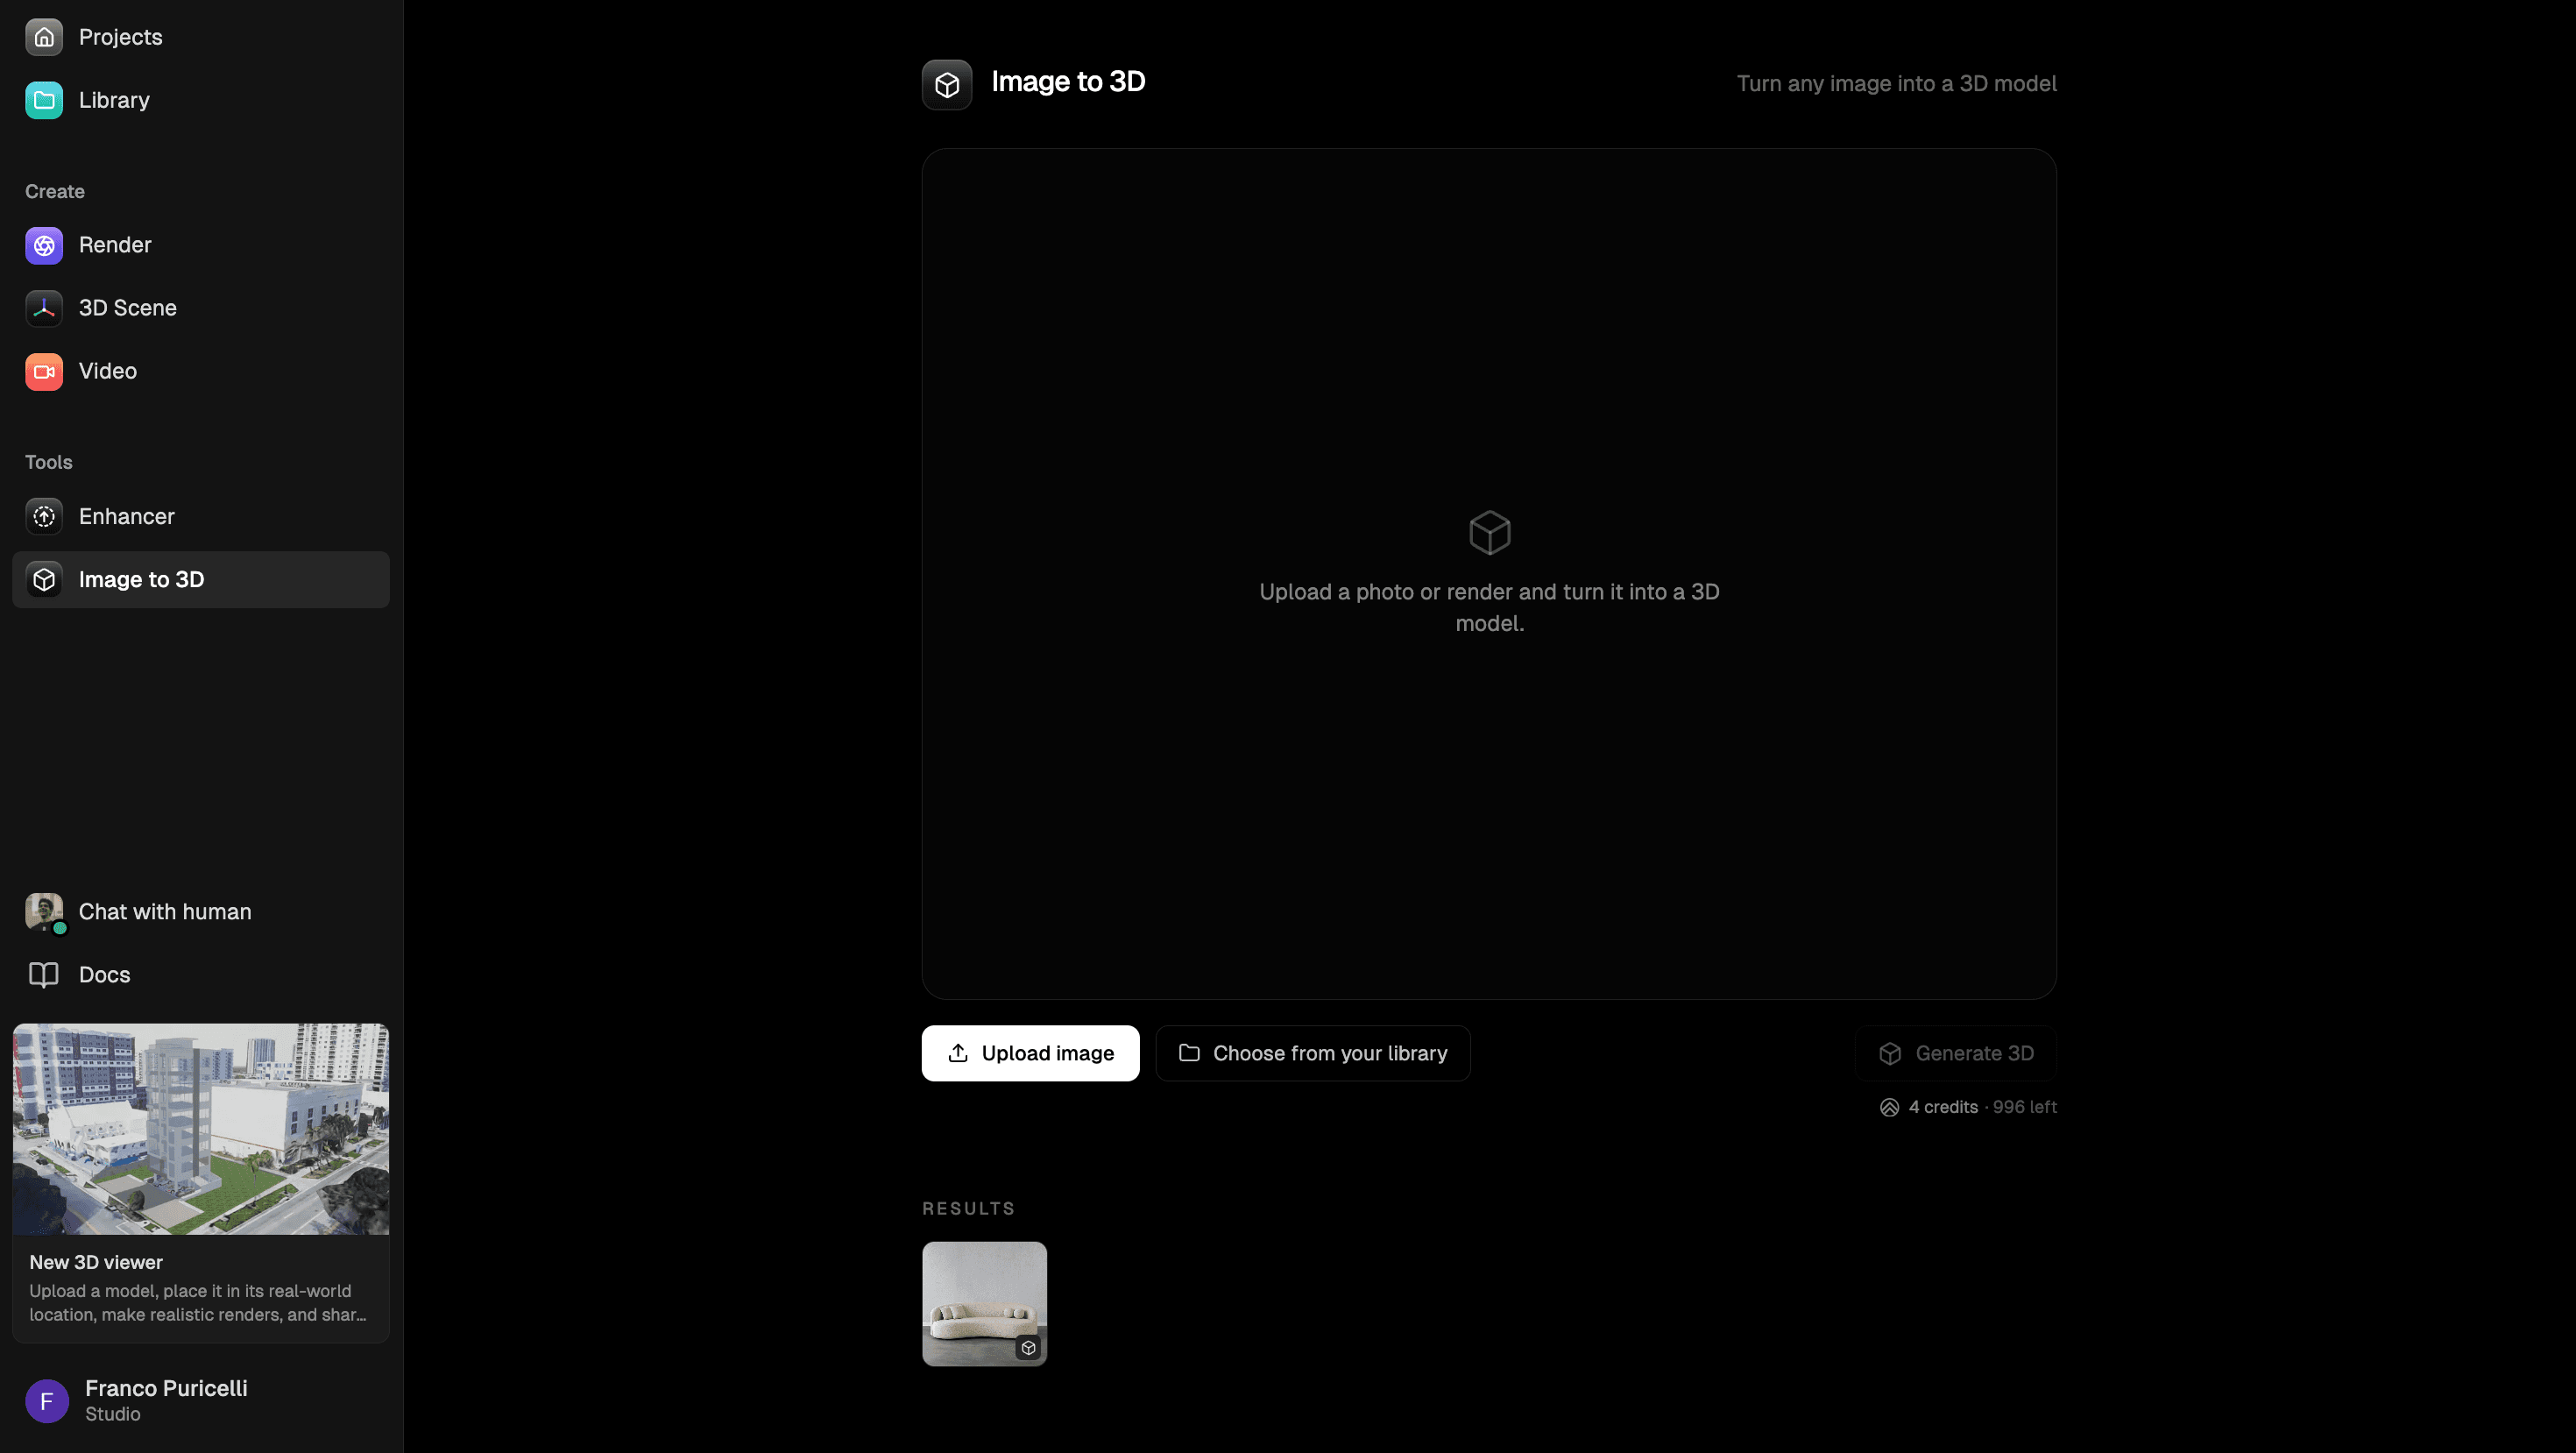
The tool opens on an empty canvas — Turn any image into a 3D model. Nothing here is tied to a project; it's a standalone tool, and everything you generate is saved to your library.
2. Add an image
You have two ways to bring in an image:
- Upload image — pick a file from your computer.
- Choose from your library — opens Your library, where you can filter by All, Uploads, Renders, or Tool results to reuse anything you've already made.
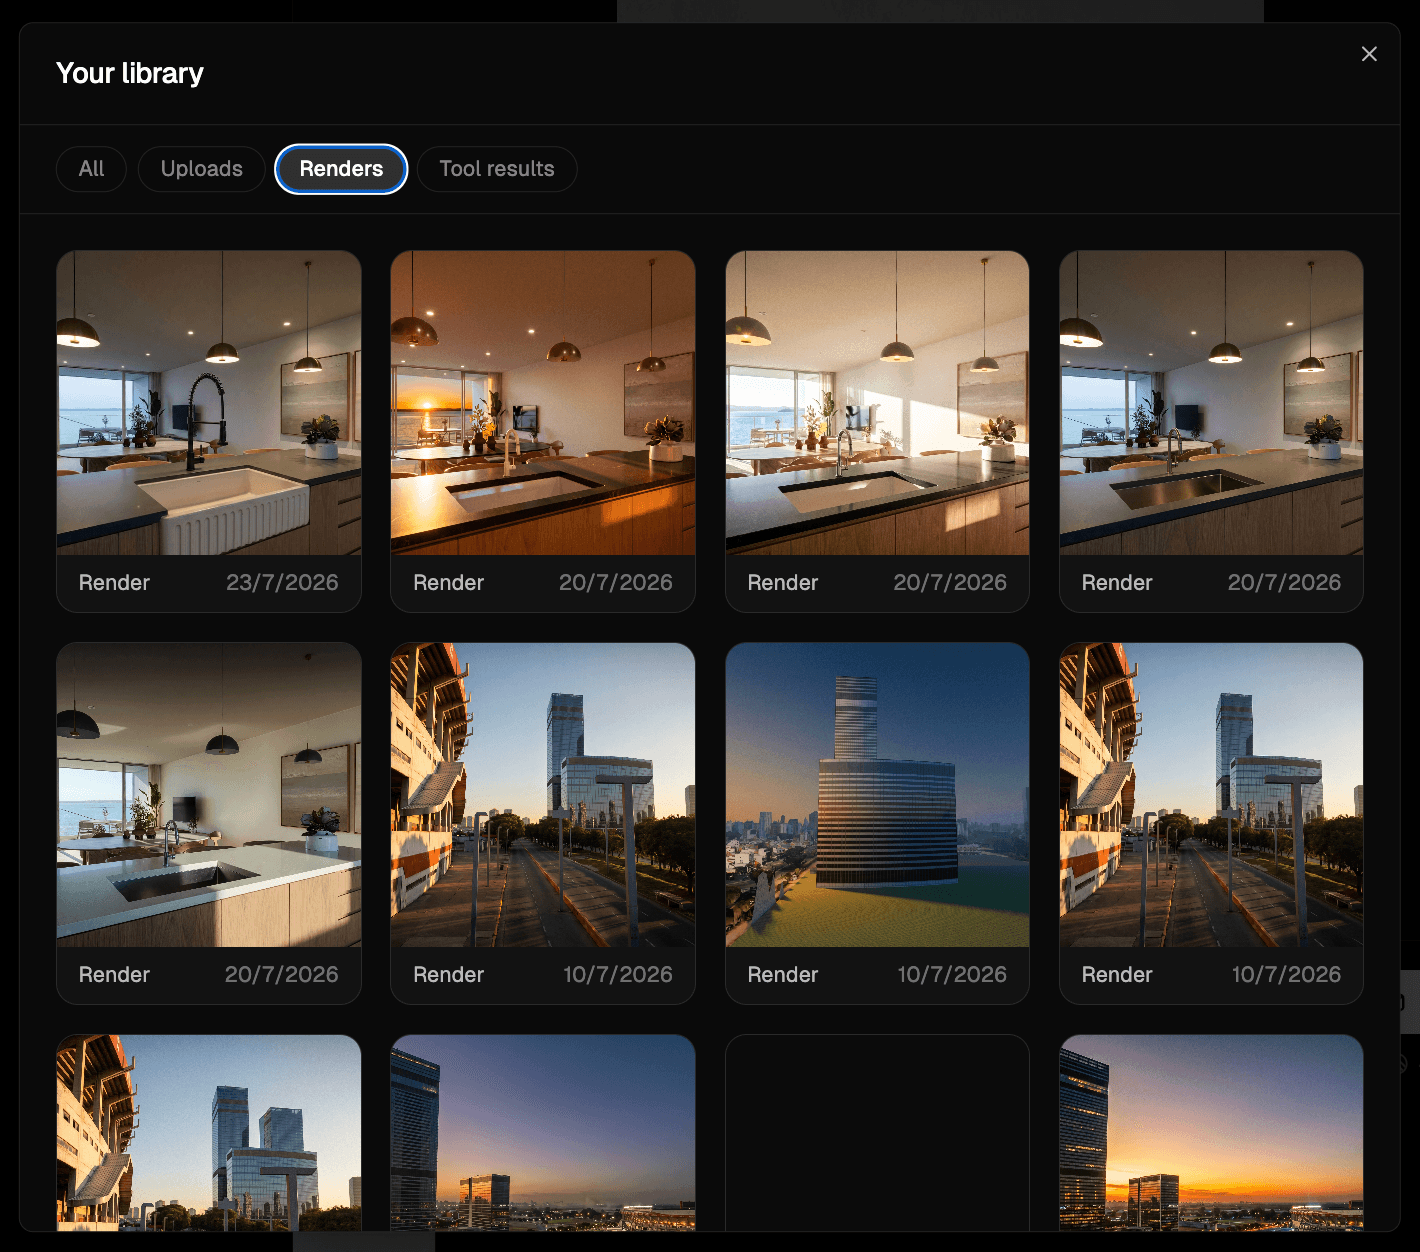
Once an image loads, it fills the preview. Use Replace image or Choose from your library to swap it for a different one before you generate.
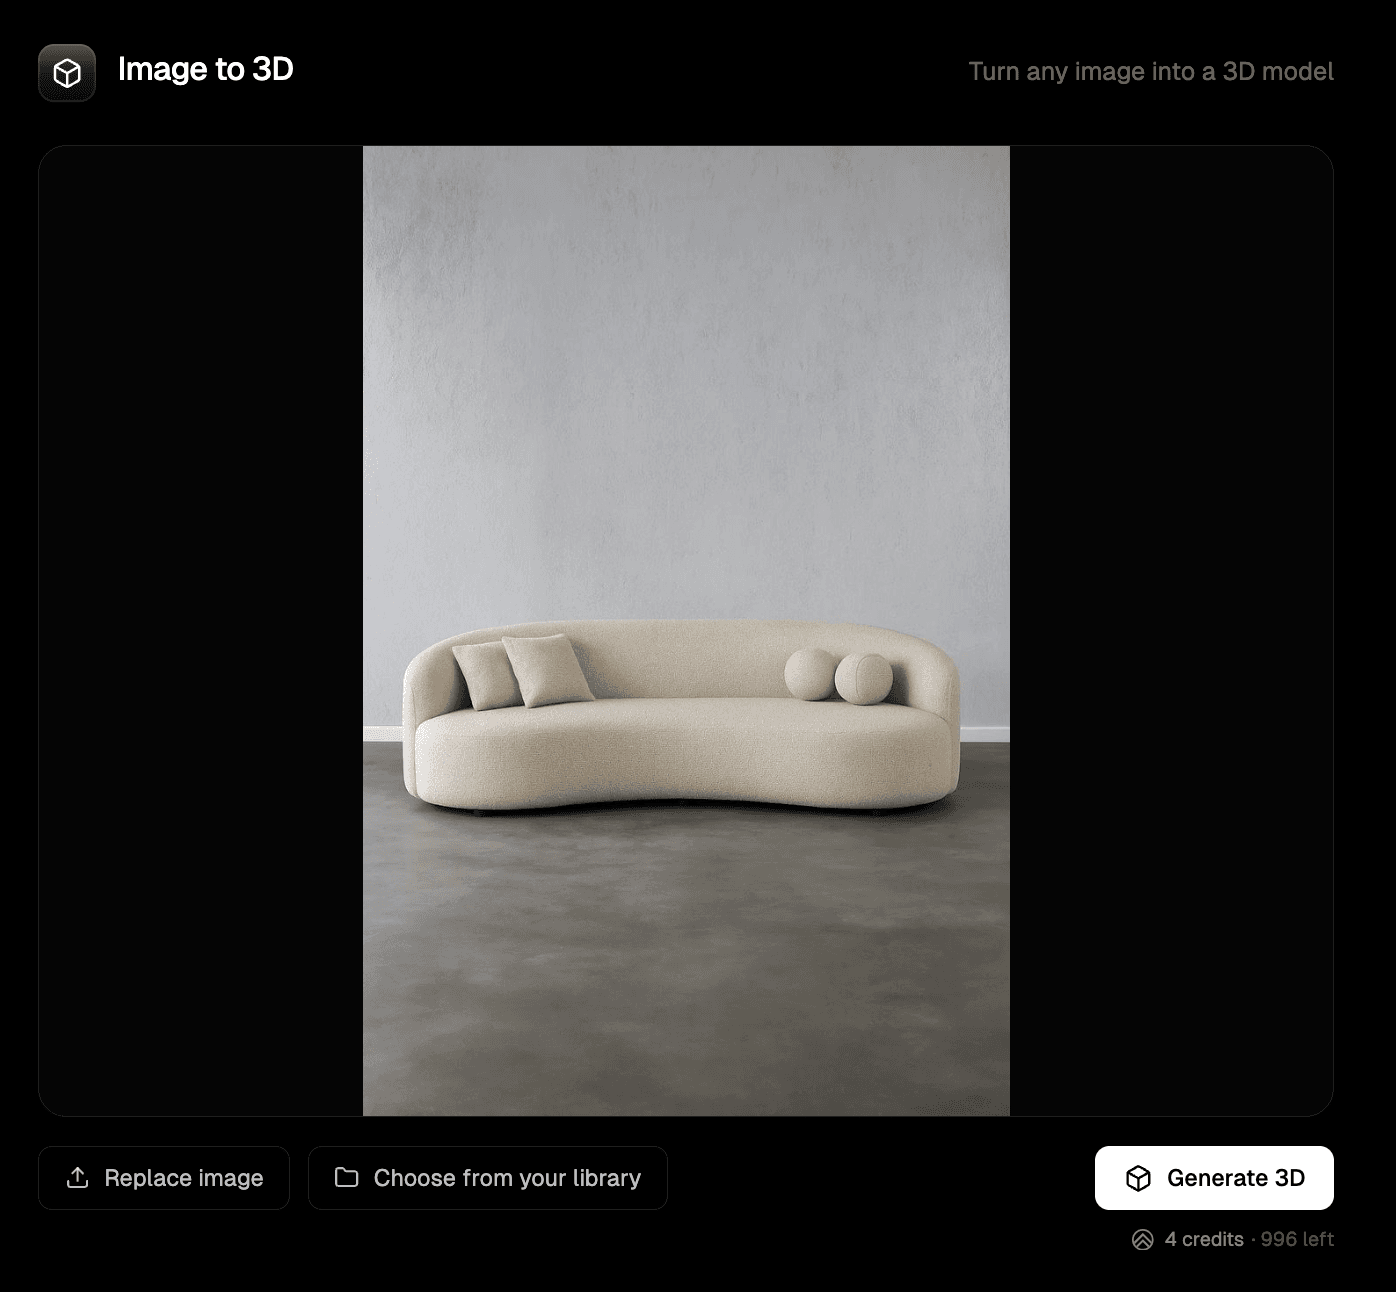
3. Generate the 3D model
Click Generate 3D. The 4-credit cost is shown right next to the button, along with how many credits you have left.
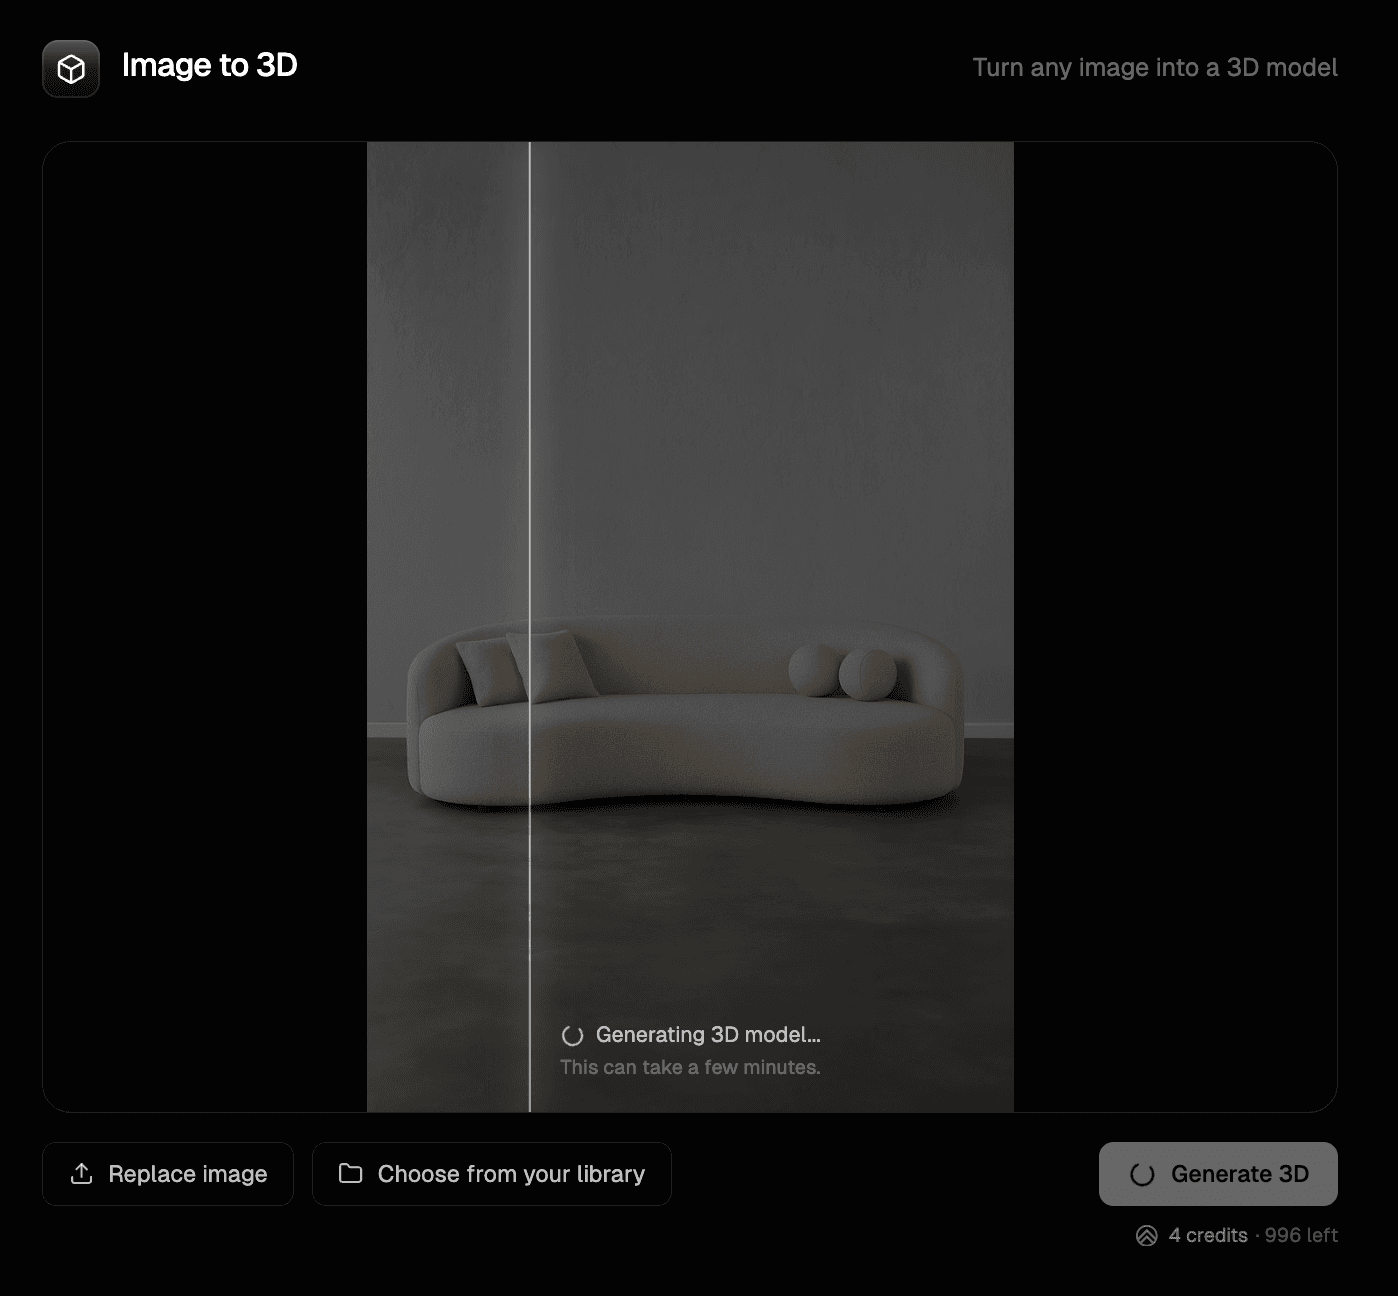
Generation usually takes a few minutes — you don't have to wait on the screen. You can start another one or leave and come back; finished models wait for you in the Results row at the bottom.
4. Explore and download the result
When it's ready, the model opens in an interactive viewer:
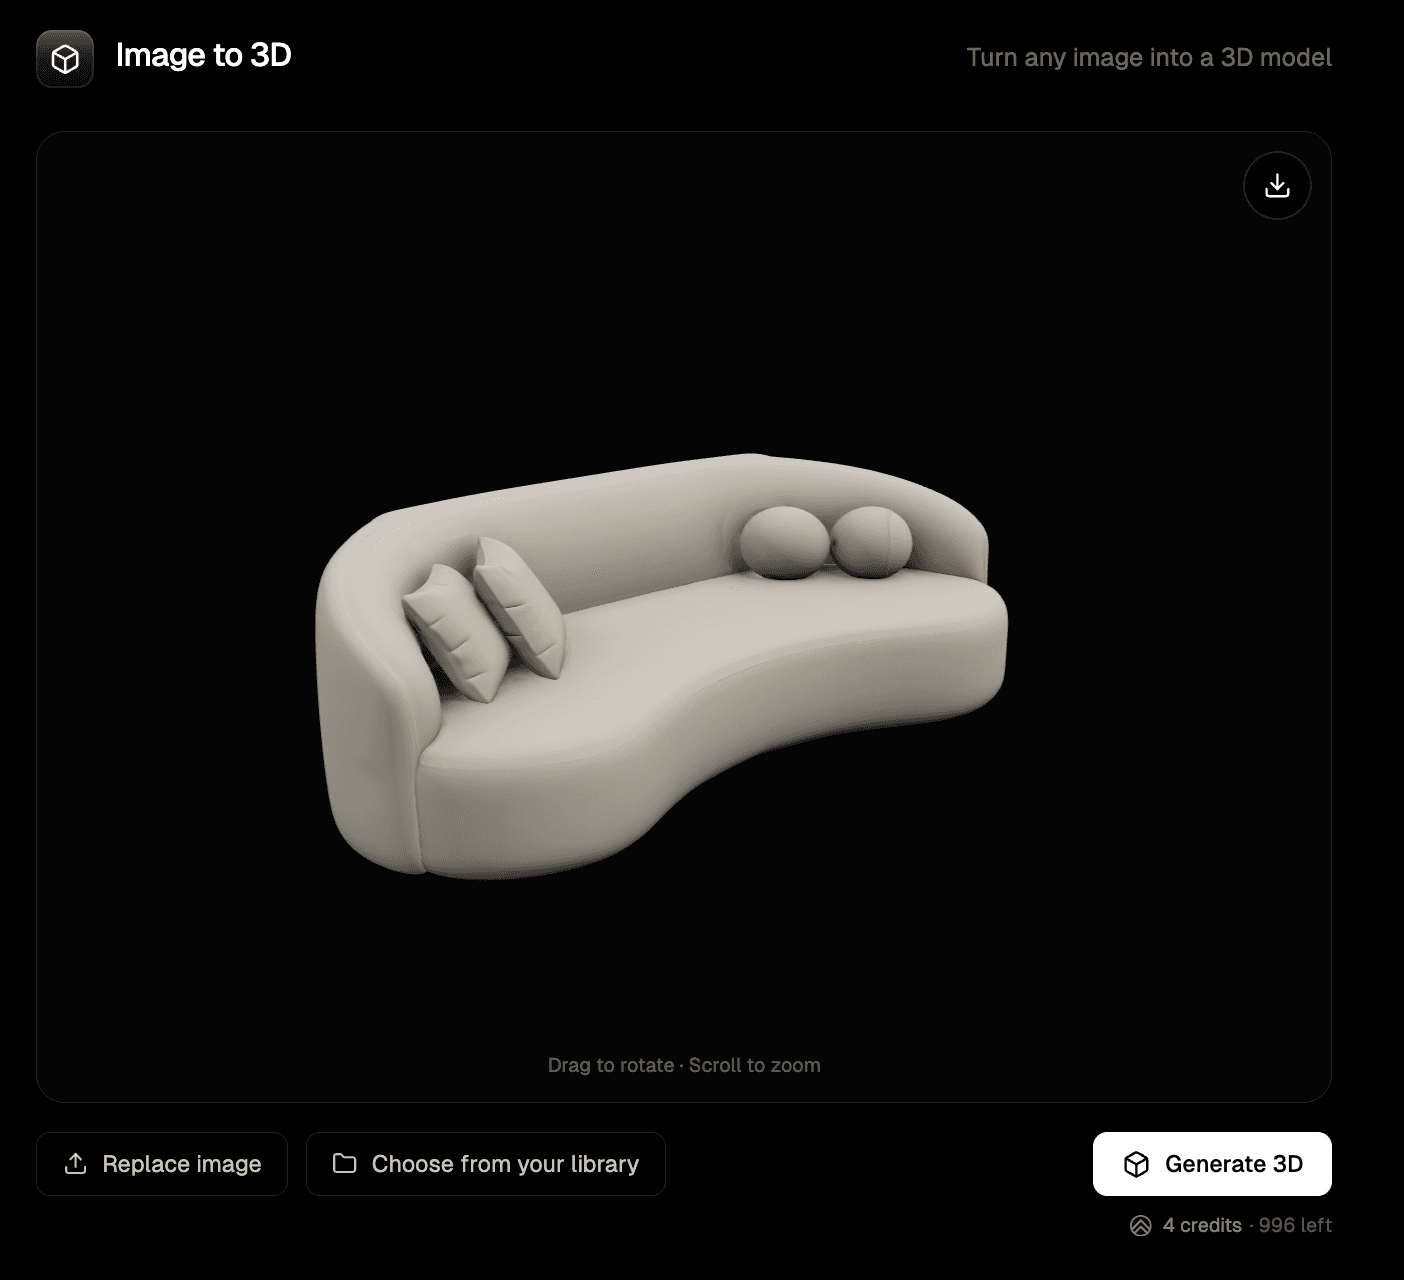
- Drag to rotate the model and inspect it from any angle.
- Scroll or pinch to zoom in and out.
- Click the download button (top-right of the viewer) to save it as a
.glbfile.
A .glb is a standard 3D model file. It opens in most 3D tools and viewers — Blender, SketchUp (via a plugin), Windows 3D Viewer, macOS Preview, and countless web viewers — so you can drop your object straight into another scene or share it as a model.
Every generation is kept in the Results row under the viewer. Click any thumbnail to reopen that model, download it again, or compare it against another attempt. A red warning badge marks a generation that failed — those weren't charged, so just try again.
Tips
- Use a front-facing view. The tool reconstructs from what it can see, so a straight-on shot of the subject gives it the most to work with. Angled or partial views leave the hidden sides to guesswork.
- Keep the background clean. A plain, uncluttered backdrop helps the model separate the subject from its surroundings.
- Start from a good-resolution image. Sharper, well-lit inputs produce cleaner meshes; blurry or low-res ones come out distorted. Running Enhance on a render first can help.
- Stick to objects, not buildings. The tool is tuned for small and medium objects — a chair, a lamp, a vase. Whole buildings and large scenes are outside what it reconstructs well.
What's next
- Export 3D models — another way to get a downloadable 3D model, from your 3D scene
- Generate renders — make a render you can turn into a 3D model
- Supported file formats — what you can bring in and take out
- Plans and pricing — how credits are used across tools