Variations
Explore several looks of the same design — different light, location, style, or materials — without losing the version you already like.
A variation is the same uploaded design rendered a different way. The geometry stays fixed; the treatment changes — a new time of day, a new environment, a different style, fresh materials, or another angle. Variations are how you give a client a clear set of options instead of a single take.
This page pulls together the tools that produce them. For the settings themselves, see Generate Renders; for the iterate-versus-edit logic, see Refine and Iterate.
What you can vary
From one upload, without redrawing anything:
- Time of day — seven options from Sunrise to Night. Rendering the same design at Noon, Sunset, and Dusk is the fastest way to a believable set
- Location — drop a pin on the map to change what surrounds the building (countryside, beach, forest, suburb)
- Style — Real photo, Sketch, Blueprint, and more. The cleanest way to move between a concept look and a presentation look. See Choose a Style
- Materials — upload a reference under References → Materials and pair it with Select to test a facade or finish
- Camera angle — keep Same as drawing for a faithful match, or pick a Custom angle
- Season and weather — prompt a swap like summer to autumn, or clear to snow

Four ways to make a variation
Generate a new version
The main path. Change a setting, then let the AI remake the image from an updated brief. Best for broad swaps — light, location, style, season — when more than ~30% of the image should change. Each new version is added to the view, so nothing is overwritten. See Refine and Iterate.
New Variation
On your first render, a New Variation button (a copy-plus icon) appears in the viewer's history controls. It creates a fresh view from the same upload, pre-filled with the same settings and its own clean chat history — so you can chase a new direction without disturbing the render you already like. Your original view stays exactly where it was.
Edit this image (Select)
For a local variation — one material, one object, one zone — use Edit this image and Select to confine the change. Best when less than ~30% of the image needs to move. See Refine and Iterate.
New perspective and Copy Render
To vary the angle while keeping a set consistent, add a perspective for each view, then use Copy Render (Pro) to carry the same style, model, and seed across them.
Every variation is saved
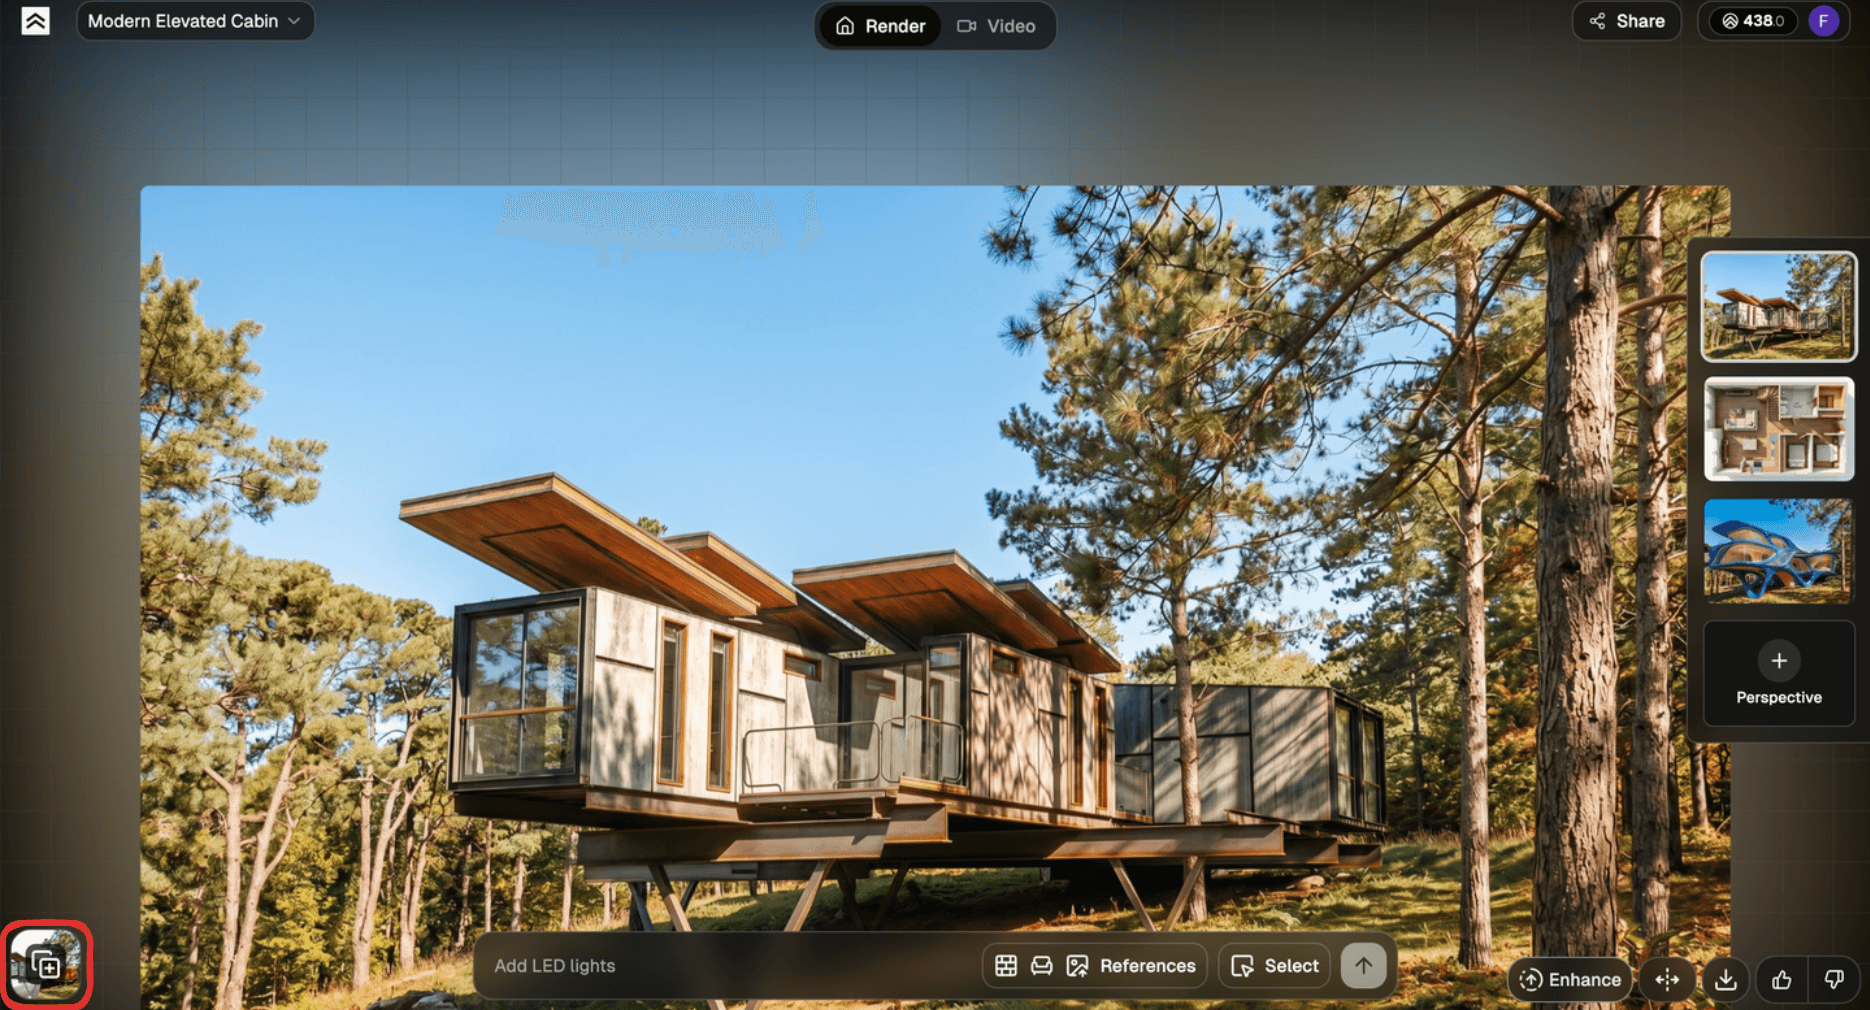
Each render lives in its view's history. Open All Renders (the stacked-cards icon at the bottom-left of the viewer) to compare them side by side, or use Undo / Redo to step through.

Past variations don't expire and cost nothing to revisit — credits are only spent when the AI actually runs a new render. See Projects, Views, and Renders for how renders are organized.
Tips
- Vary one axis at a time. Change light, or location, or style — not all three at once. One change per render tells you exactly which lever moved the result
- Don't over-copy for variety. Copy Render is for consistency. Three perspectives off the same seed look near-identical; for genuine variety, generate fresh renders instead
- If a variation drifts too far, turn off Real photo and add "keep geometry, materials, and openings unchanged," or use Select to confine the change
- Browsing is free. Comparing, zooming, and Undo / Redo don't cost credits, so explore everything in All Renders before generating more
Related
- Generate Renders — the settings behind every variation
- Refine and Iterate — Generate a new version versus Edit this image
- Copy Render — keep multiple angles consistent
- Projects, Views, and Renders — where variations are stored