Position your model
Place, scale, rotate, and set the height of your imported model on the real-world map.
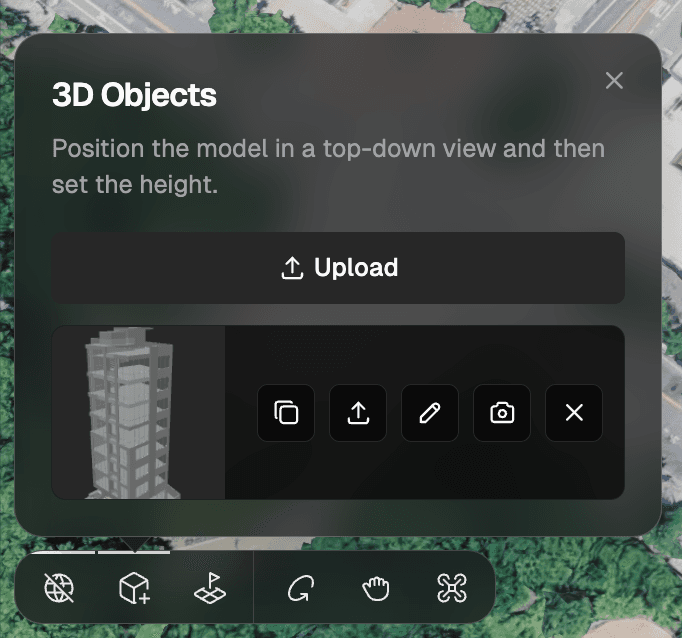
After you import a model, it lands on the satellite map in the 3D Objects step, seen from the top down. This is where you pin it to its real plot.
📺 Prefer to watch? See this step in the walkthrough on YouTube: Importar tu modelo 3D en su ubicación real (in Spanish, from 3:47).
Your model keeps the scale you modeled it at (glTF's convention is 1 unit = 1 meter), so it usually drops in at the right size — no rescaling needed.

The placement gizmo
A gizmo wraps the model — drag to move · corners scale · rings rotate. The bottom toolbar mirrors those tools:
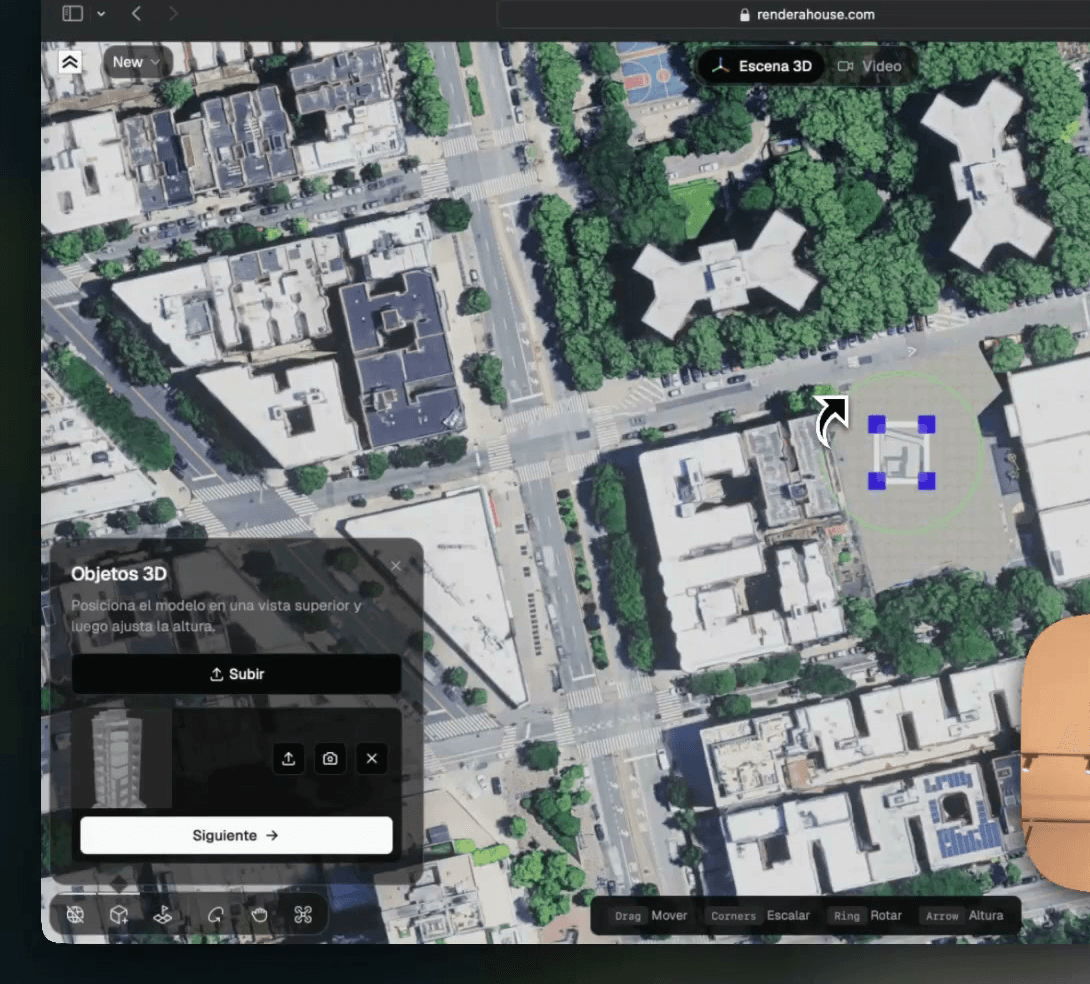
- Move — click and hold on the model and drag it across the map.
- Scale — drag the corner handles to resize (only if the scale looks off).
- Rotate — grab a ring to spin the model; use it to turn the façade toward the street.
- Height — raise or lower the model vertically (for sloped plots, or to seat it on the flattened patch).
Position from the top-down view first, then click Next to switch to Height and seat the model. Click Done when it looks right.
Place more than one
Need several buildings or props? In the 3D Objects panel, click Upload to add another model (each must be .glb, .gltf, or .obj), or Place copy to drop another instance of a model you already imported.
Look around while you place
To check the fit, switch camera modes from the bottom bar:

- Orbit mode — left click + drag to circle the model.
- Hand tool (pan) — right click + drag to slide the view sideways.
- Fly mode (the drone icon) — WASD / arrow keys to move, Q / E for up / down, mouse to look around.
What's next
- Edit your model's position — adjust it later
- Update an imported 3D model — swap in a newer file
- 3D Preview — the full flow