Video transitions
Create a video that morphs one render into another.
A transition is a short video that morphs one render into another. It is the way to reveal a design change, travel between two angles of the same building, or shift the time of day, all in one continuous clip.
📺 Prefer to watch? See the full walkthrough on YouTube (in Spanish):

Before you start
You need two renders from the same project: one to start on and one to end on. You can create them in Render a House or upload your own. Different versions of the same view work too, so you don't have to use the latest render.
For the cleanest result, run the Enhance tool on each source render first. Higher quality inputs give a smoother transition.
Open the Video tool
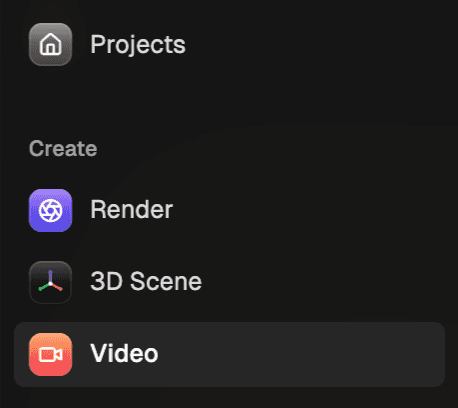
You can reach Video in two ways: from the left sidebar, under Create, or from the top of the editor, next to 3D Scene.
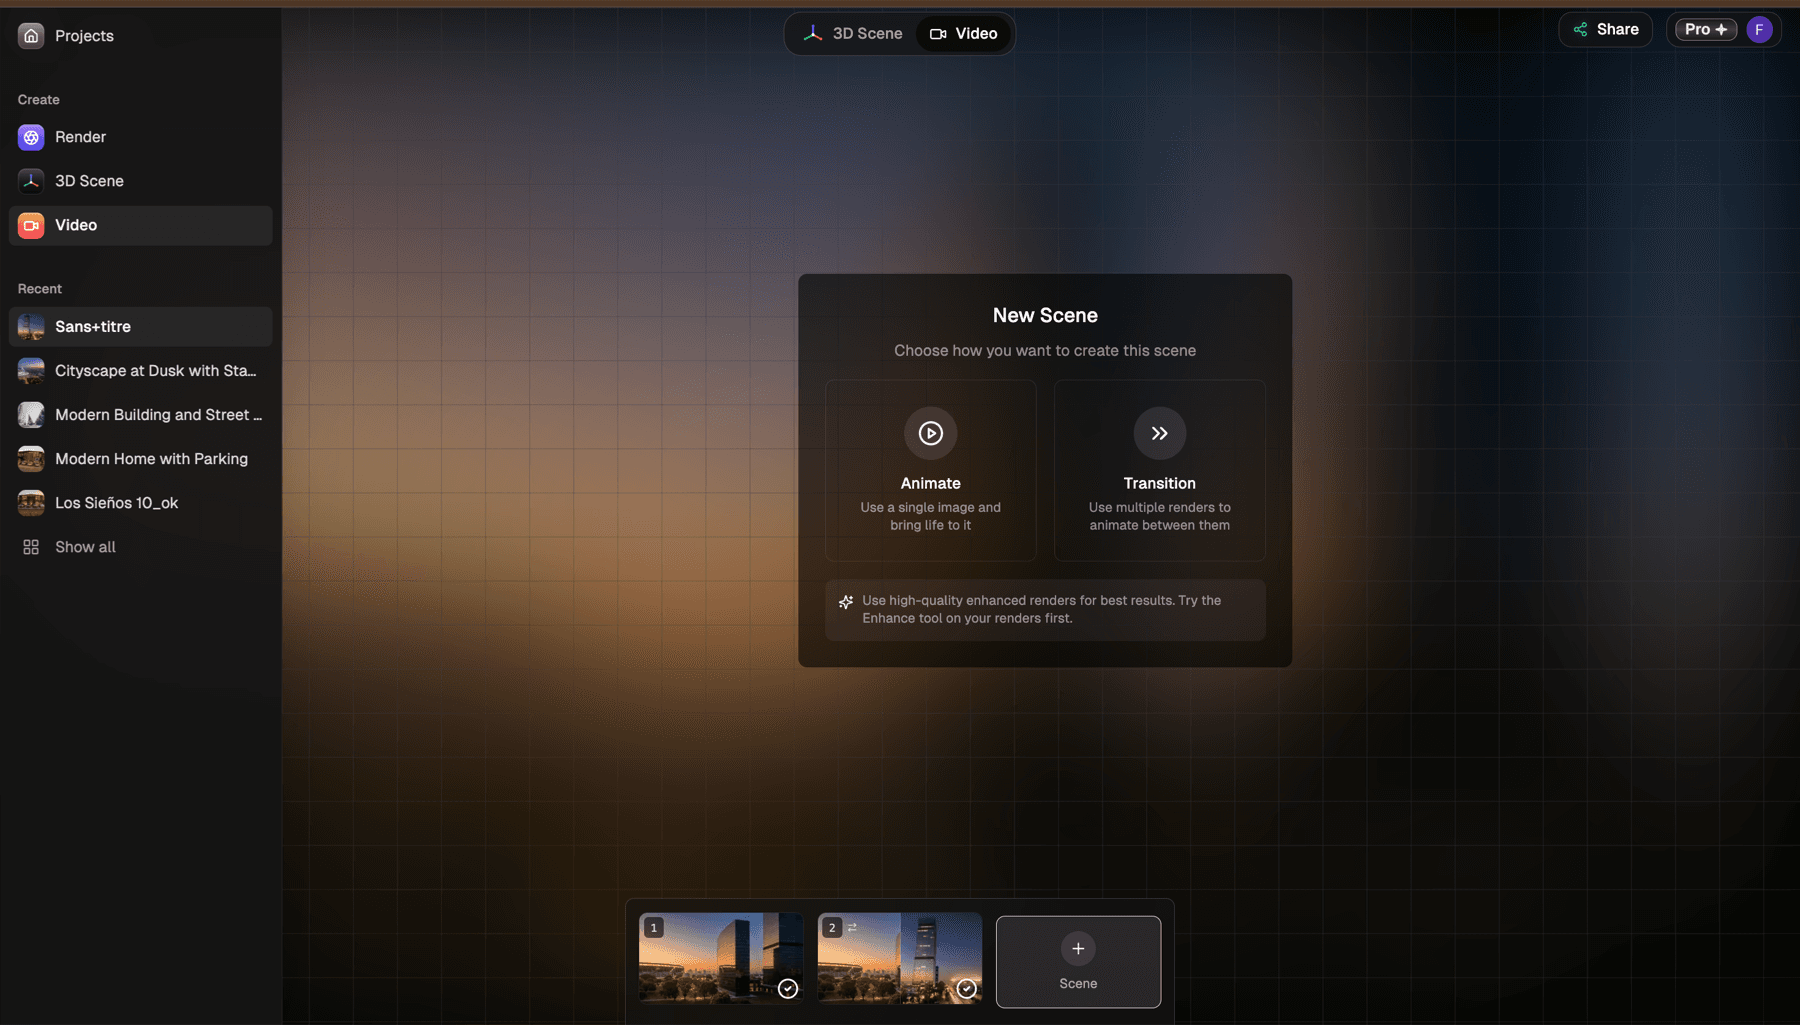
If you have made videos before, they appear here; click + Scene to start a new one. If this is your first video, the new scene panel opens on its own.
Start a transition
In the new scene panel, choose Transition.

The other option, Animate, brings a single render to life instead of blending two. See Animate a render for that flow.
1. Pick your start and end image
The panel lists every render in the project, grouped by perspective. Choose the image you want to start from and the image you want to end on. You can also Upload an image from your computer.
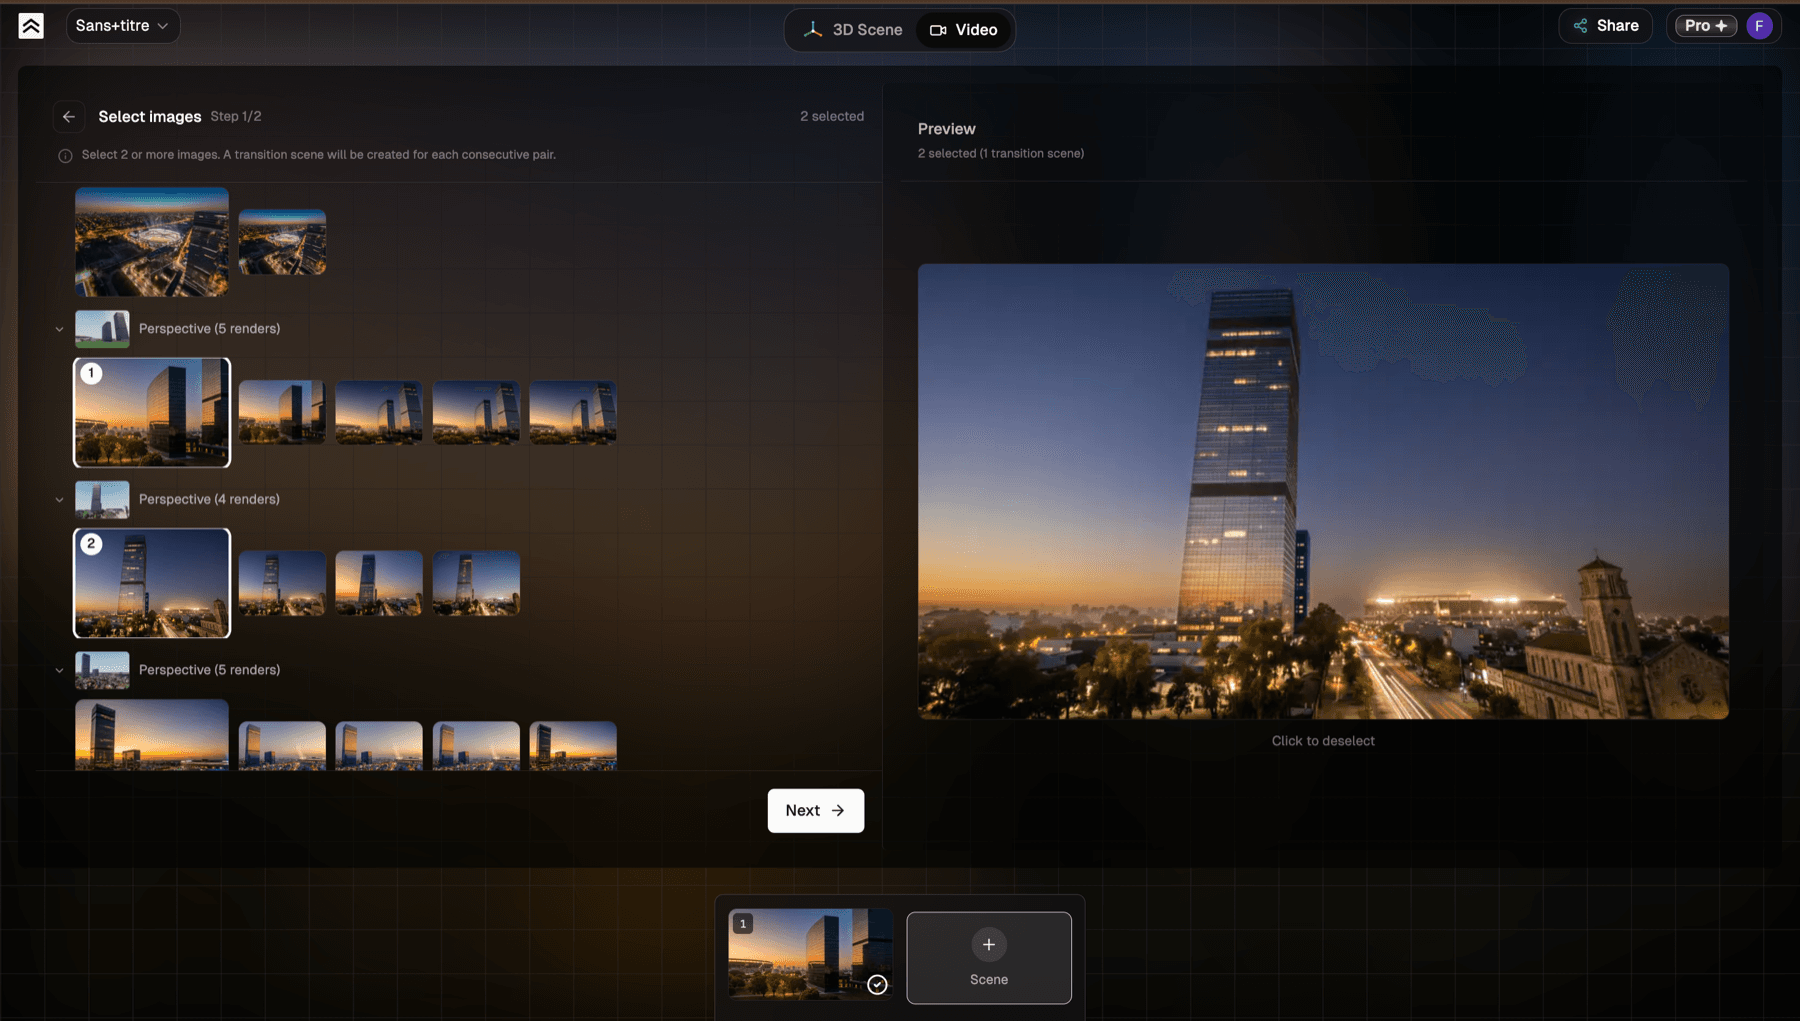
You can select more than two images. The tool then creates one scene for each consecutive pair: three images give you two scenes (first to second, then second to third), four images give you three, and so on. Each scene is saved on its own, so you can combine them in any video editor when you want a single continuous sequence.
Once your images are set, continue to step 2 with Next.
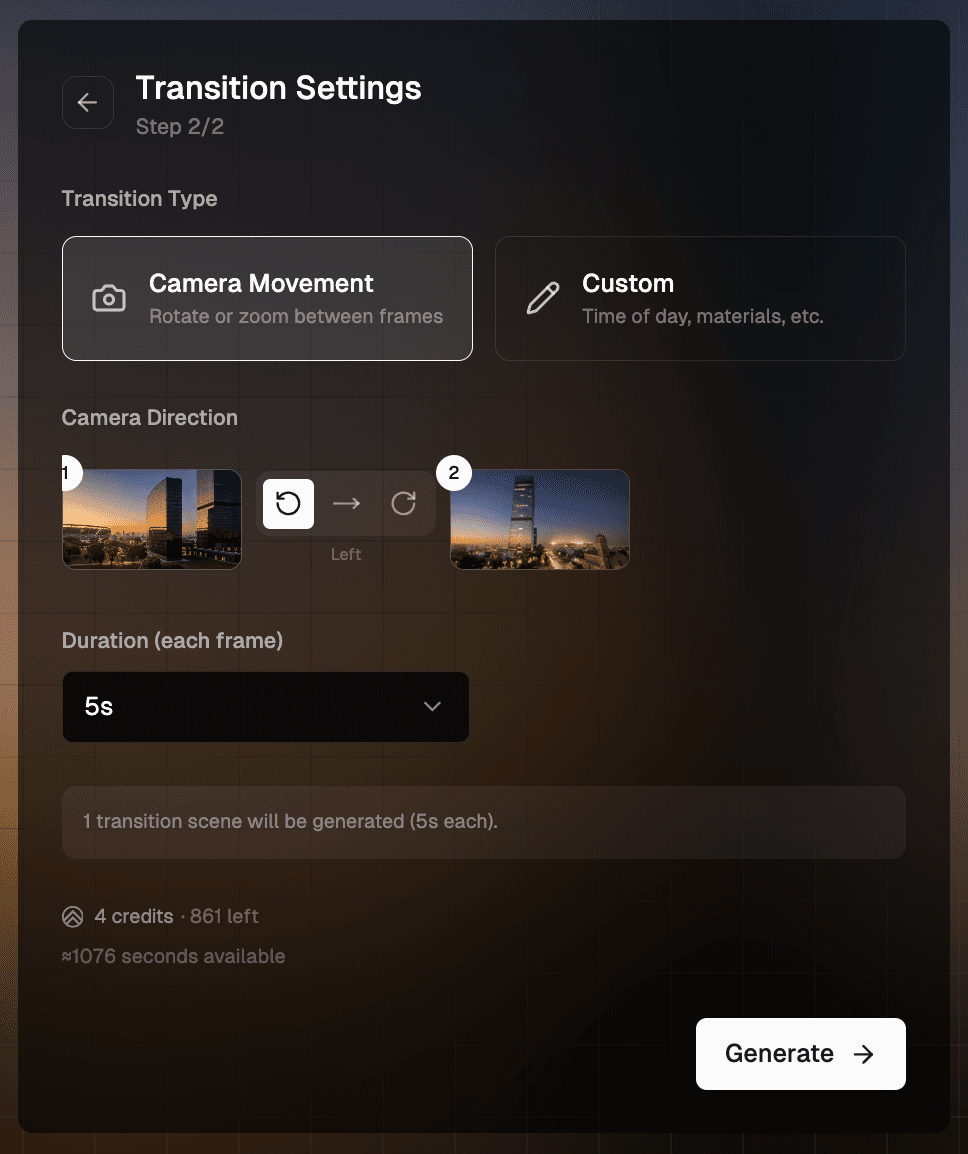
2. Choose how the transition moves
Step 2 is the Transition Settings. Pick a Transition Type, then fine-tune it. There are two types:
Camera Movement
Camera Movement rotates or zooms between the two renders so the clip feels like a single continuous shot. It works best when they are different angles, or different distances, of the same building.
Pick a Camera Direction that matches how your images are framed:
- Rotate right when the view moves from left to right.
- Rotate left when the view moves from right to left.
- Straight cut for a direct move between the two, with no rotation.
Custom
Custom changes the scene itself rather than the camera: a new time of day, different materials, or another season. Describe the change in the text box, or start from a preset:
- Day to Sunset: daylight warms gradually into golden hour.
- Material Change: swap finishes such as wood, concrete, or glass.
- Seasons: move from summer to winter, with foliage and snow.
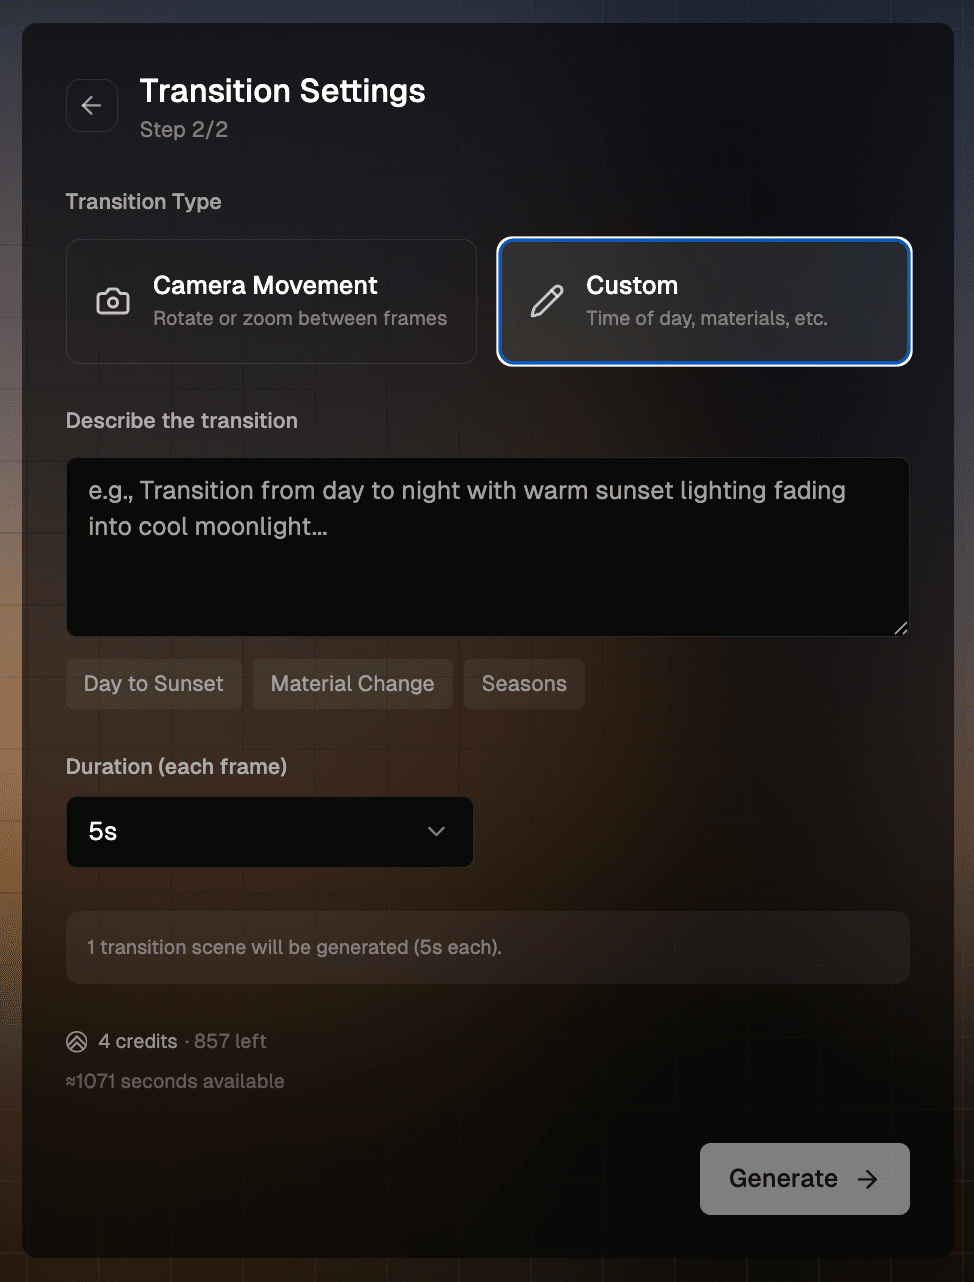
Set the duration and generate
Set Duration (each frame). A value of 5s works well for a single transition. Choose a longer value such as 10s when you are chaining several images together. When everything looks right, click Generate.
Each clip takes a few minutes. You can keep working on the project while it renders.
After it generates
Your new scene appears in the timeline at the bottom of the viewer. From there you can:
- Play the scene to review it.
- Download it as an MP4.
- Give 👍 or 👎 feedback to help us improve the model.
- Click + Scene to add another clip to the project.
Want to bring a single render to life instead of blending two? See Animate a render.